Next to Twitch, YouTube is the most popular live-streaming site to stream a video game. It has a growing community and it is easier to grow a following on the platform as you can also film and edit traditional YouTube videos designed to attract a following.
To stream games on YouTube, you must first set up a YouTube account.
How To Start a YouTube Live Channel
The first step you need to complete is to get an account. While you may one already, you may want to make a branded channel with a good streaming name.
If you don’t have a YouTube account, you will need to add one from the main page by clicking on the “Sign In” button on the top-right of the browser and following the instructions. You can also easily get one by using your google account.
To make a new channel if you already have one, you will need to complete the following:
-
Step 1

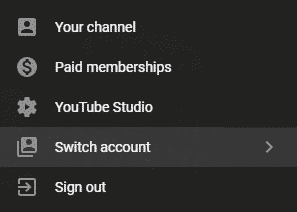
If you already have a YouTube account, you can create one that you will be able to access easily. To do this, click your avatar on the upper right-hand side of your browser and choose “Switch account” from the options given to you.
-
Step 2

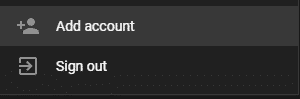
Click the “Add Account” option from the list. You will be taken to the YouTube login page.
-
Step 3
Choose “Use another account” from the available options. Log in from another email address or google account to make a new account. You’ll be able to set up a unique name.
-
Step 4
Fill out your profile and set up branded graphics on your YouTube page. Invite your friends to subscribe to you so that you have a few followers right off the bat.
Set up Streamlabs for YouTube Gaming
Streamlabs is a fantastic service to start streaming to YouTube Live. The software was created as an alternative to OBS (an open-source software) with an easier user interface. Here is how you can set up Streamlabs to get started on your streaming career:
-
Step 1

Visit the Streamlabs website and download the free software.
-
Step 2

Install Streamlabs onto your computer. Sync the program with your YouTube account.
-
Step 3

If you already have Streamlabs installed, but not synced with your YouTube account, click on the cog icon at the lower left-hand side of the app, then select “Stream.”
Signing in through YouTube on the Streamlabs site should automatically sync your accounts so that you will be able to stream without having to enter any other information. However, in the event that it doesn’t work, you will need to input your stream key. You can also use the program to stream to multiple platforms, such as YouTube or Amazon-owned Twitch.

How to Find Your YouTube Stream Key
To stream from OBS, Streamlabs, or XSplit, you may need to access your stream key from YouTube. Here is what you should do:
-
Step 1
Log in to your YouTube account.
-
Step 2

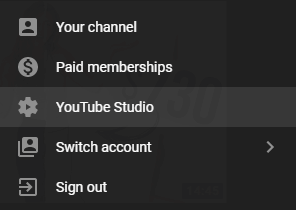
Click your avatar on the top-right of the screen and choose “YouTube Studio” from the drop-down menu.
-
Step 3

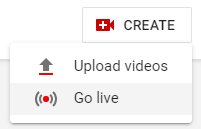
Click the “Create” button in the top-right of the screen and choose the “Go Live” option. If this is your first time, you may need to verify your account through a text or phone call. At that point, you will need to wait 24 hours for your account to be fully activated.
-
Step 4

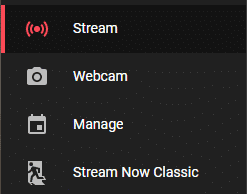
On the left-hand side of the screen, click the “Stream” option.
-
Step 5

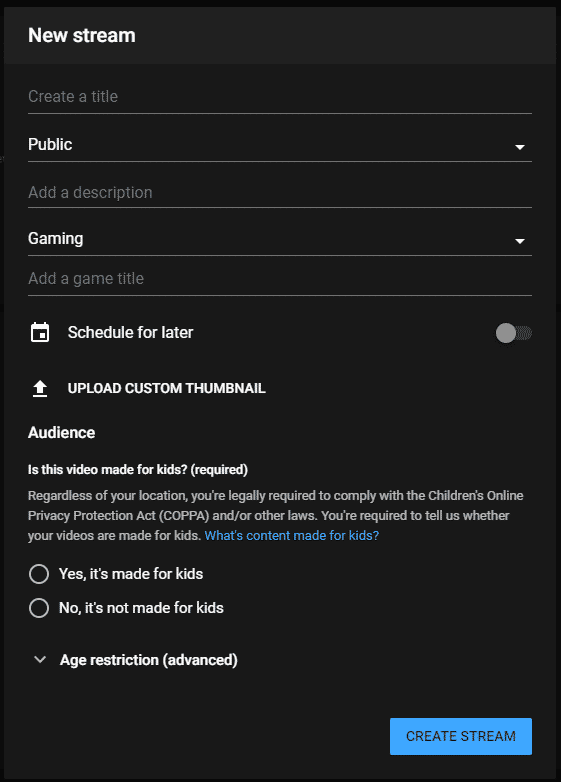
While you would need to fill out the information properly if you were planning to go live straight from YouTube, feel free to enter just enough information to get to the next screen where you will find the stream key.
-
Step 6

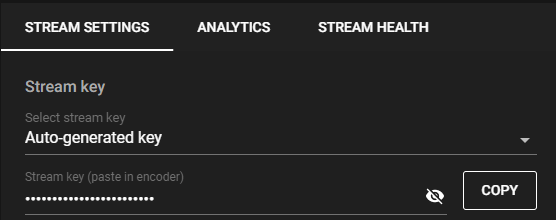
On the following page, you’ll be able to find and copy your stream key under the Stream Settings. You can copy and paste this key into Streamlabs for future reference if needed. It is important to never give away your stream key to anyone else as they will be able to use your channel with it.
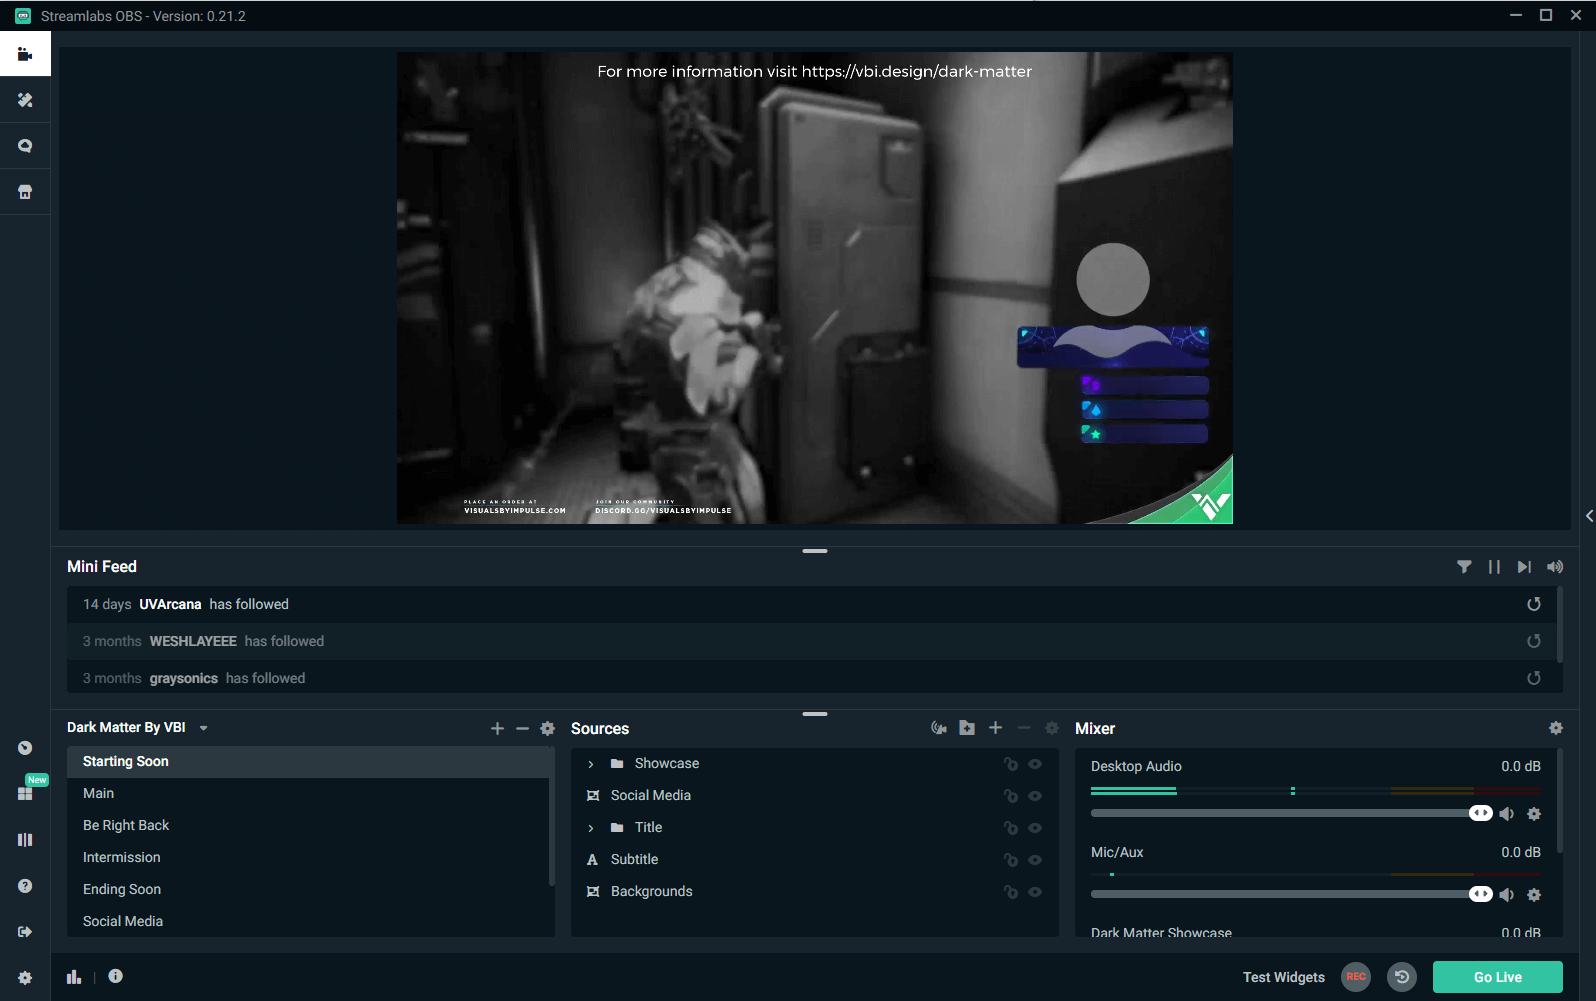
Set up Your Live Stream Screens
Setting up your YouTube screens in Streamlabs will allow you to transition to different scenes to give your stream a visual aesthetic to keep your audience interested. Not only will you want to live stream your favorite video game, but you should also customize scenes to show that you are starting your stream, ending your stream, or chatting with your audience. You can either edit the basic one that Streamlabs has pre-installed, or you can upload your own.
There are several services where you can YouTube Gaming scenes, but here are our favorites:
- OWN3D – OWN3D has several discounted packs available for streamers. These packs include all of the graphics you need to quickly set up your broadcast so that it looks branded and professional.
- Nerd or Die – Nerd or Die is a service that has a broad range of graphics that are appealing to a spectrum of content creators.
- Placeit – If you want a professionally animated scene that matches your brand’s colors, check out Placeit’s content by following the link. You can choose from a variety of options, then make edits to it to better match your brand.
- Fiverr – Fiverr is an online freelance marketplace where you can find designers who can design custom work for you. You can search through the portfolios to find graphics that you love and commission them individually.
- Streamlabs Prime – with Streamlabs prime, you can choose from several scene templates and edit them to go with the overall look of your live stream on their browser.
You can edit your Streamlabs base scenes by selecting each individual source in the source boxes. Each source will have unique features that you can edit.
You can have multiple different scenes that you can switch to depending on what you are currently doing on your stream. You will eventually want to use an Elgato Stream Deck to help streamline this process, but before the upgrade, you will be able to switch from scene to scene within Streamlabs. Scenes have proven to increase audience engagement, making it easier to grow on YouTube Live.
Add Overlays and Graphics to Your Scenes
Using relevant graphics on your stream is very important for your overall stream branding. Not only do they up the quality of your stream for your audience, but potential gaming sponsors will take your brand more seriously as they will see a level of professionalism on your broadcast.
Graphics and branding are good ways to create continuity across your social media platforms. While you can start out basic at first, remember to continually build on your graphics to give your viewers the quality they expect.
You should aim to have the following for your live streaming gaming content:
- Overlays – The best stream overlays will allow you to show data while you stream. They will add detail around your camera, make each scene interesting, and potentially showcase future sponsors or products.
- Logo/Avatar/Profile Picture – When you are first starting, use a photo of yourself as your profile picture. As you create your brand over time, you’ll be able to find a logo that suits your personal style and community.
- Banners – You will need a YouTube banner for the top of your YouTube profile page.
- YouTube Emotes – Creating YouTube Gaming emotes for your channel will give your viewers an incentive to become members and support your channel financially.
The services listed above are a great place to source graphics for your live streaming content on any streaming platform. Check out each service to find a version that works for you.
Set up the Streamlabs Chatbot and Cloudbot for YouTube Live
The Streamlabs Cloudbot offers great tools to help you moderate your chat to increase your audience engagement to use commands for memes and information. You and your viewers will interact with it through your chat for the duration of your stream. It is one of the most essential tools you can set up when you begin your career on YouTube Gaming.
How to Set up the Streamlabs Cloudbot
To set up your Streamlabs cloudbot, you will need to complete the following steps from your computer:
-
Step 1

Visit the Cloudbot page on Streamlabs’ website and sign in with your account.
-
Step 2

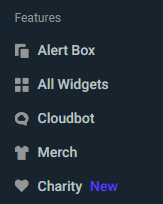
Click the “Cloudbot” option under Features on the left-hand side of the browser.
-
Step 3
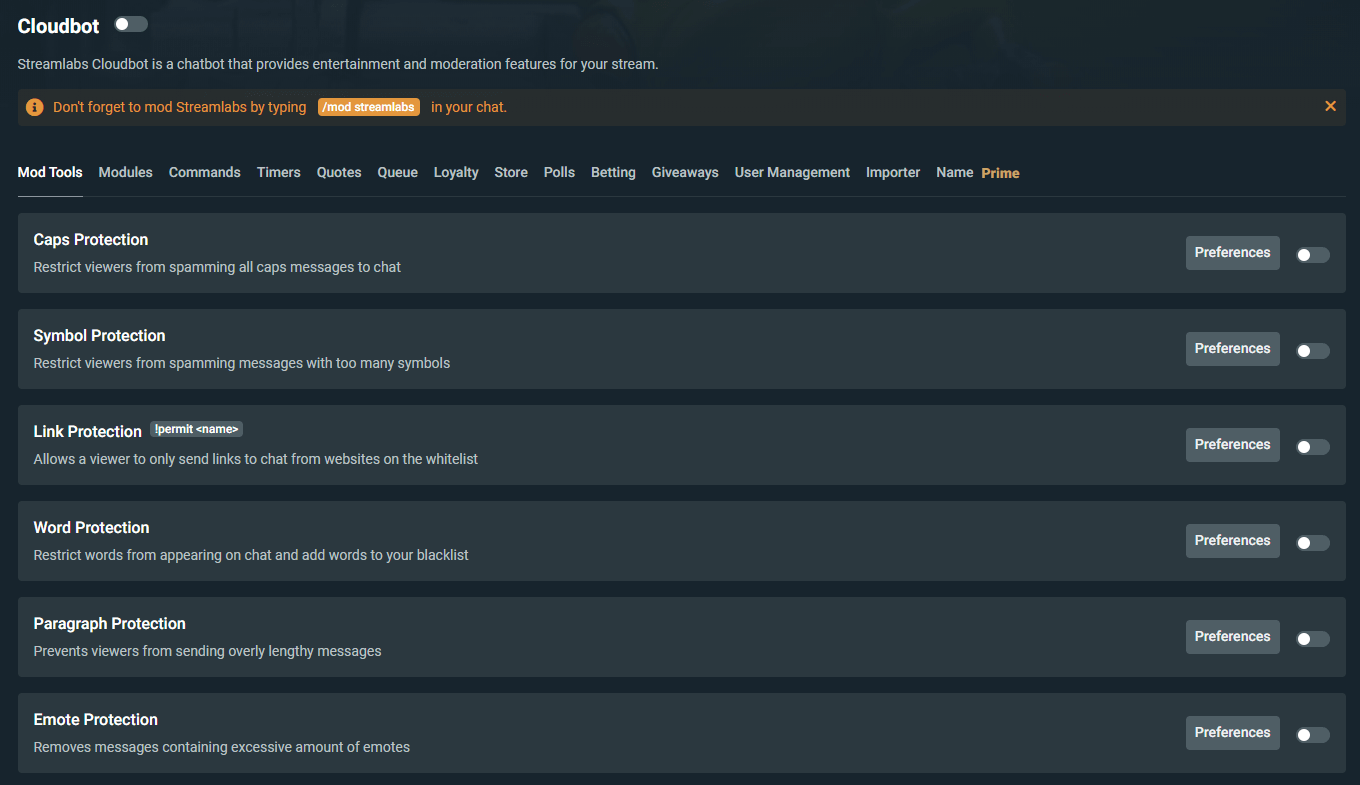
Set up your cloudbot with mod tools, word protection, mini-games (under modules and loyalty), custom commands, and more. As you grow, you will make adjustments to these features to make things more interactive for your audience.
Set up Stream Alerts for YouTube Gaming
Stream alerts are animated (generally) graphics that pop up when your viewers follow, subscribe, or donate to your channel. The best stream alerts will match the overall branding of your channel in a visually appealing way.
Setting up stream alerts using Streamlabs is easy as the most popular stream alerts widget is also made by Streamlabs. Here is how it is done:
-
Step 1

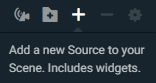
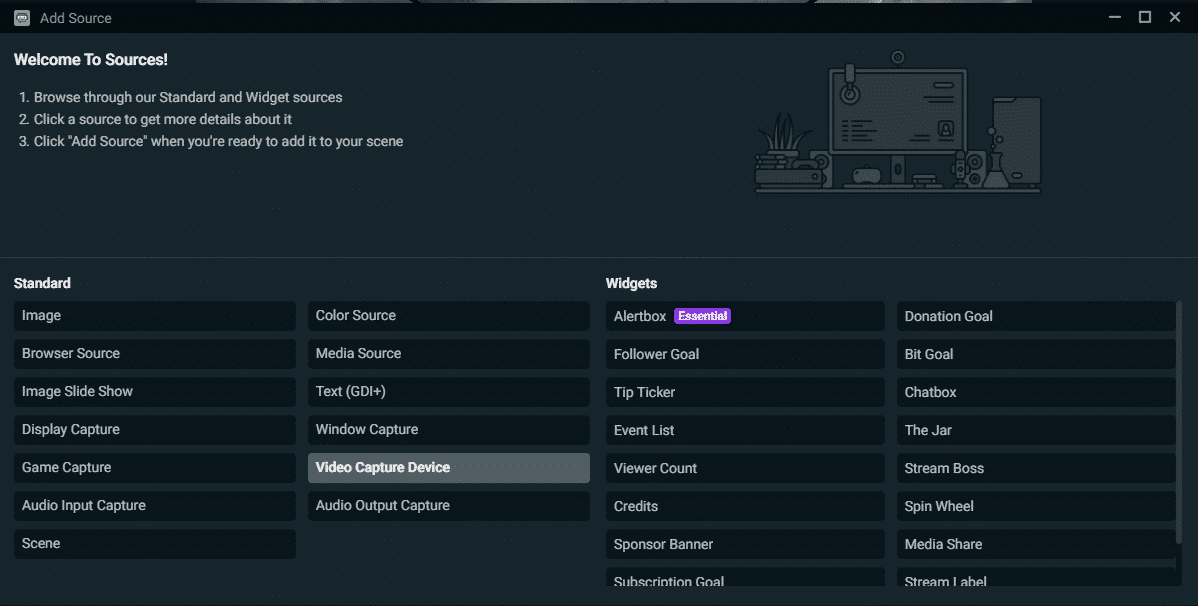
Click the “+” above the Source box to add a new source.
-
Step 2

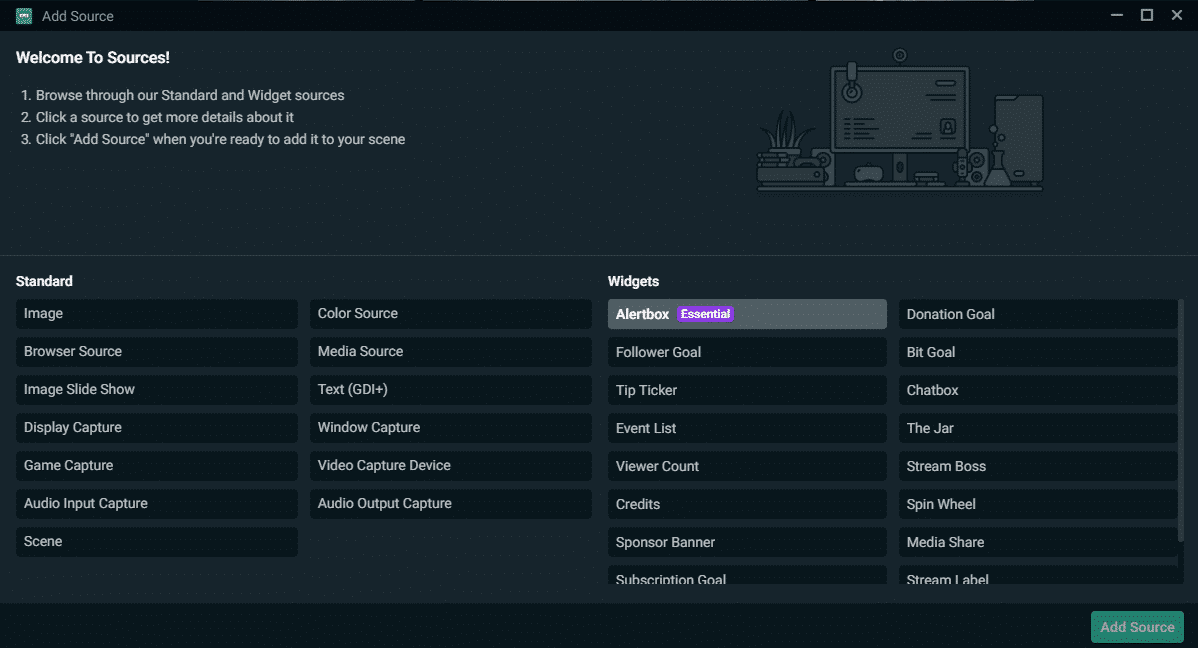
Choose “Alertbox” from the available widgets.
-
Step 3

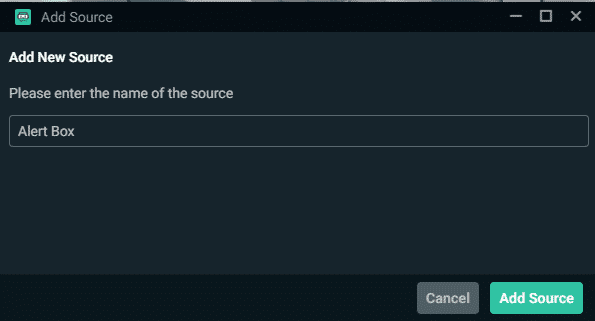
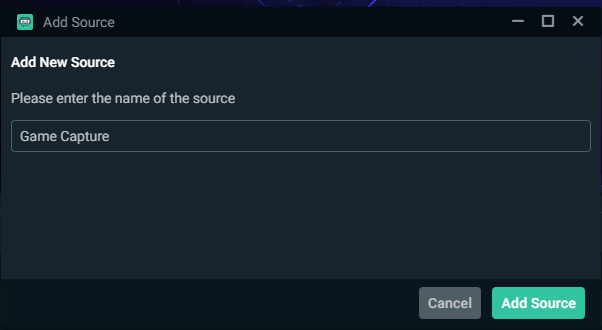
Name the source whatever you wish, then press the “Add Source” button.
-
Step 4

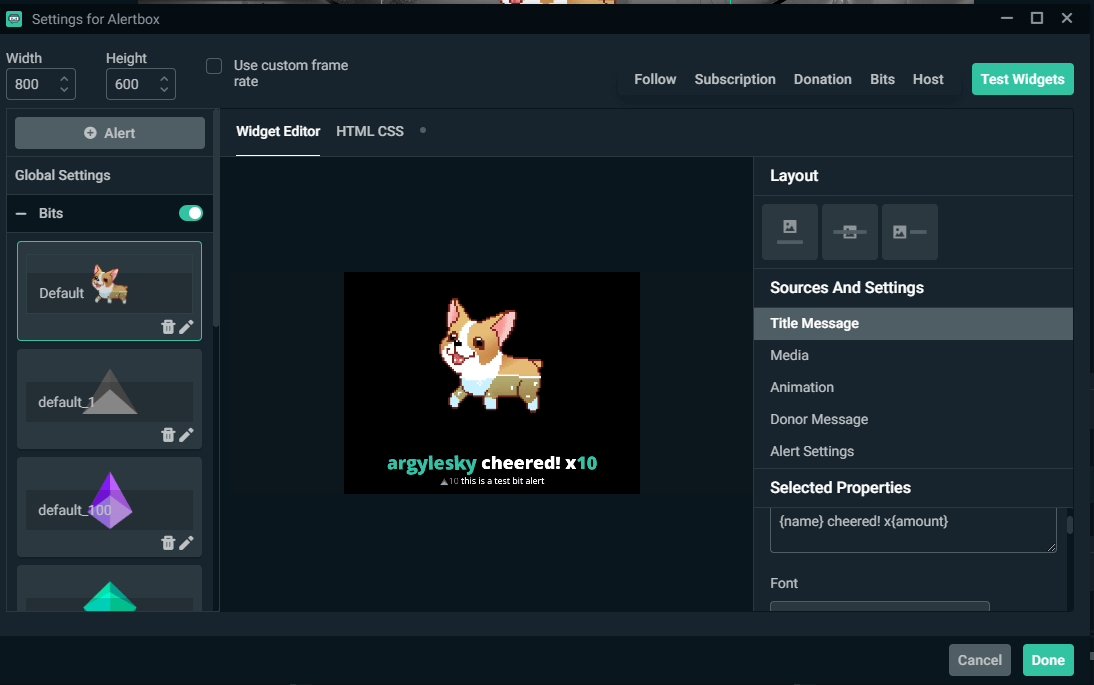
Edit the setting for each alert by clicking the name of it on the left side of the menu, as you can see in the above example. You can change the title message, what image of the gif is shown (you can even upload your own), the colors, and the fonts. You can even set up several variations depending on how much is donated, etc.
-
Step 5
Test each widget at the end to ensure that you have exactly what you want. When you are finished, press the “Done” button.
-
Step 6

Move the widget box to your desired location on the scene by clicking on the image and dragging it.
Set up Your Mic and Audio for YouTube Gaming
One of the most important things when setting up a live stream set up is your mic. While it is possible to grow a following without a webcam, it is nearly impossible to grow one without a mic. Sound quality is just as important as people will be turned off by static, background noise, and uneven sound. If you can only afford either a good mic for your stream or a camera, go with the good mic. Don’t skimp on your audio quality.
Most of your audio will already be picked up by Streamlabs. In the event that you need to add another audio source to Streamlabs, complete the following:
-
Step 1
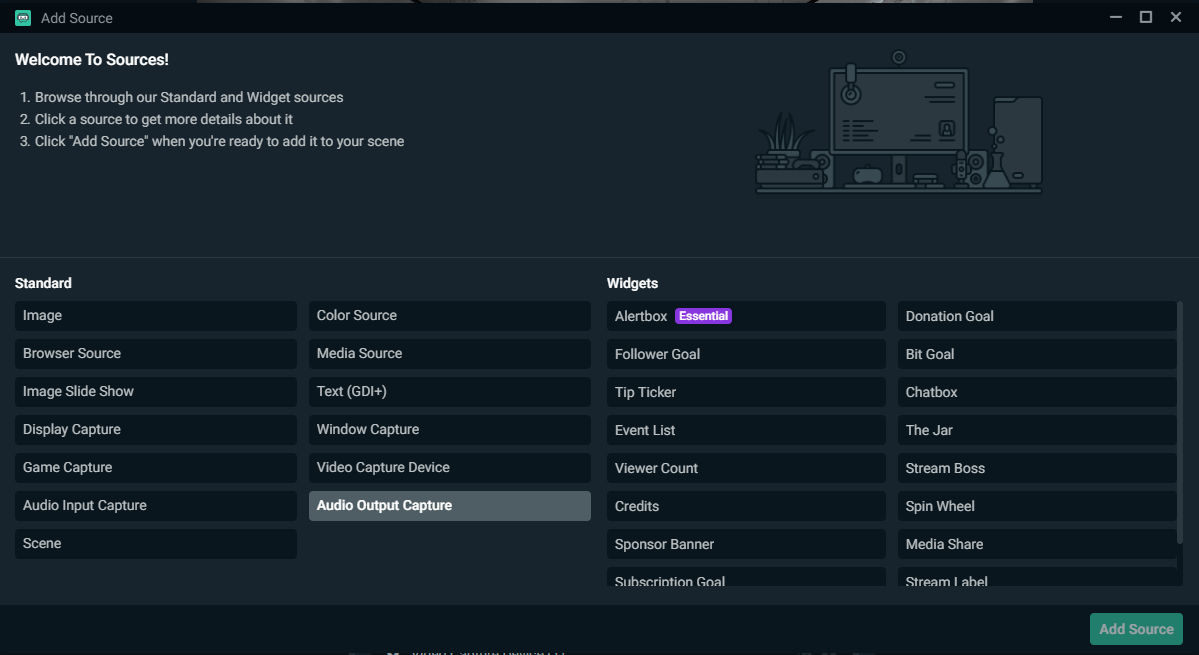
Click the “+” above the Source box to add a new source.
-
Step 2

Select “Audio Output Capture” from the Standard options.
-
Step 3

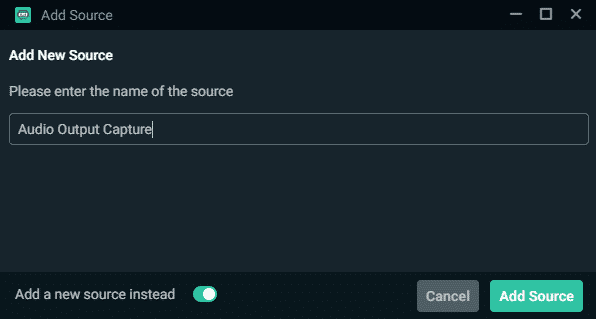
Name the source whatever you wish.
-
Step 4

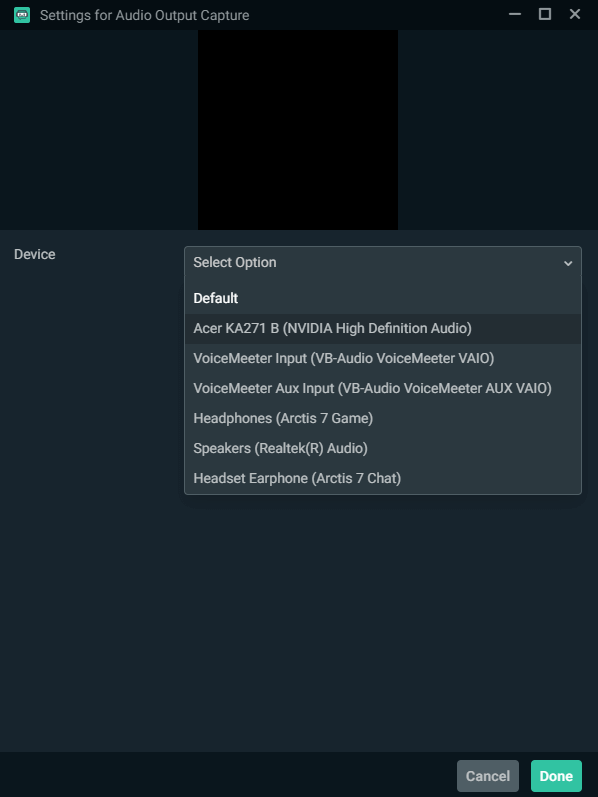
Choose the source you want to input from the drop-down menu. Click the “Done” button to finish.
Use Royalty Free Music and Sounds
You can find royalty-free music for YouTube from a variety of services. Our favorite option is Epidemic Sound, a service that offers thousands of tracks and sounds that you can use on your broadcast. While playing copyrighted music is against the law (and YouTube will ban your account), following the above link will allow you to set up a free 30-day trial that will provide you with fantastic, original music without having to deal with ads.
Set up Webcam, Green Screen, and Lighting
Setting up a camera in Streamlabs will help you connect with your strangers as your broadcast will seem more personable. If you have more than one camera, you can import feed from different ones to either show you at multiple angles on different scenes, show a project you are working on, or show off your pet.
To set up your visual feed in Streamlabs, complete the following steps:
-
Step 1
Click the “+” above the sources box.
-
Step 2

Select “Video Capture Device” from the available options, then click “Add Source.”
-
Step 3

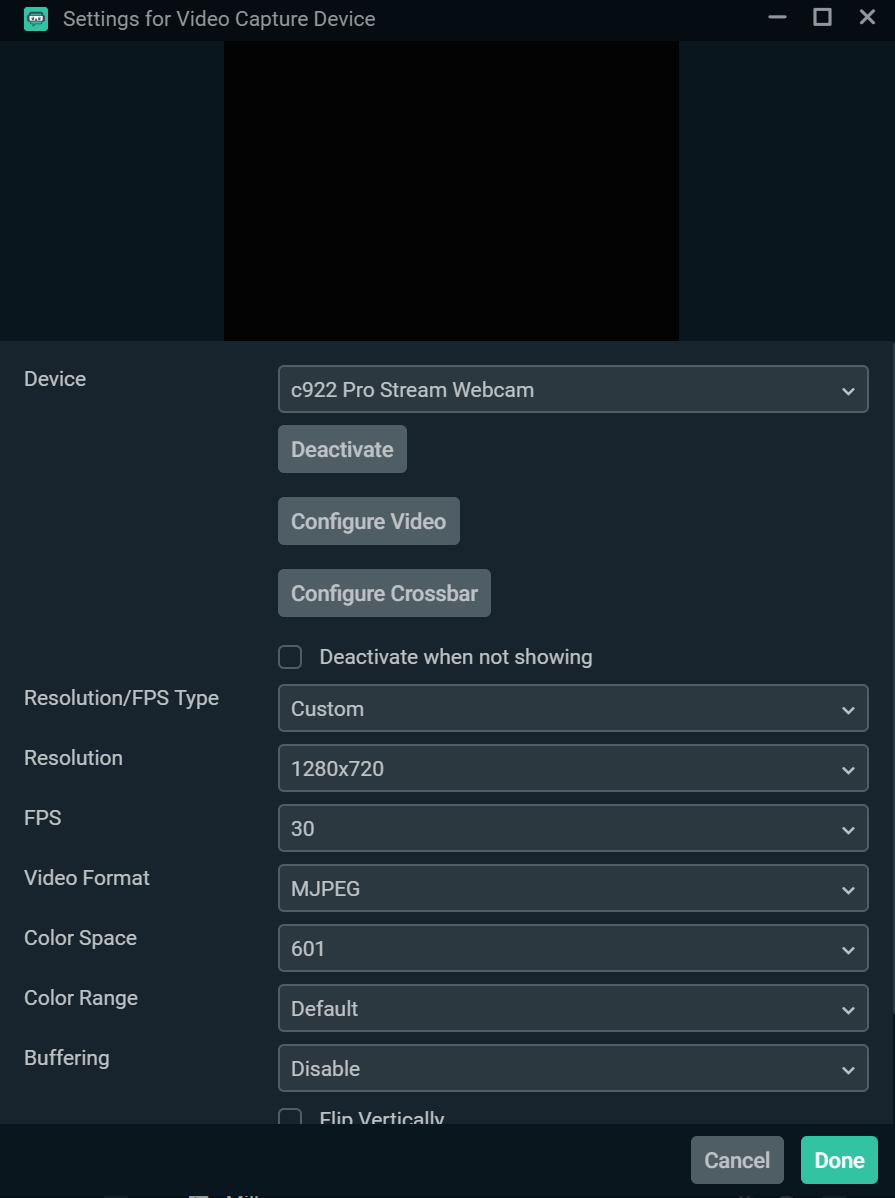
Make sure your cam is connected to your PC so that the software can find it. Choose the right camera source, then configure the settings to your liking. Click “Done” when you are satisfied.
-
Step 4
Move or resize the Streamlabs webcam feed anywhere on the scene until you find the right look.
Use a Green Screen to Stream
If you use a green screen, you can remove your background or replace it with something else entirely. Setting up a green screen in Streamlabs can be done quite easily, especially if you have proper lighting.
Set Up Your Stream Lighting Equipment
While this isn’t a necessary expense when you first start streaming, once you make a little money, you should look into good lighting to improve your videos. After your mic, camera, and graphics, lights should be your next expense.
If you have room for them, you will eventually want to have at least 3 quality lights set up around your stream room. Here is what you will need:
- Key light – your key light will be the main source of light. It should be placed in front of you and to the side so that it lights up your face, but isn’t centered on your face.
- Fill light – the fill light will be placed on the other side of your setup to fill in any shadows created by the key light.
- Backlight – the backlight should be behind you to the side so that it is filling in the space behind you. This will separate you and your background. When using a green screen, direct the light toward it to remove any harsh or obvious shadows.
When you are just starting, you really only need the key and fill lights to start.
How to Stream Games on YouTube Gaming
Though you have probably considered what you would want to stream before setting up your YouTube Gaming account, you will need to have a little strategy in order to bring in new viewers. This will require some market research and some creativity and thinking outside of the box.
When you start streaming gameplay, try to make your content interactive. Set aside a night to play with those who tune in to watch you. For example, you can design a new Minecraft world the play with other people who have the app.
Not only does this do well for streaming content, but you can edit videos of the gameplay later. Fill out your video description to bring in more potential subscribers. Some may even pay to be one of your members.
Depending on what you stream, you will need to set up scenes in Streamlabs to show off your content. Most YouTube Gaming streamers focus on gaming. Here is how you can set up your gaming app through Streamlabs:
-
Step 1
Add a new scene using the “+” button above the “Scene box.”
-
Step 2
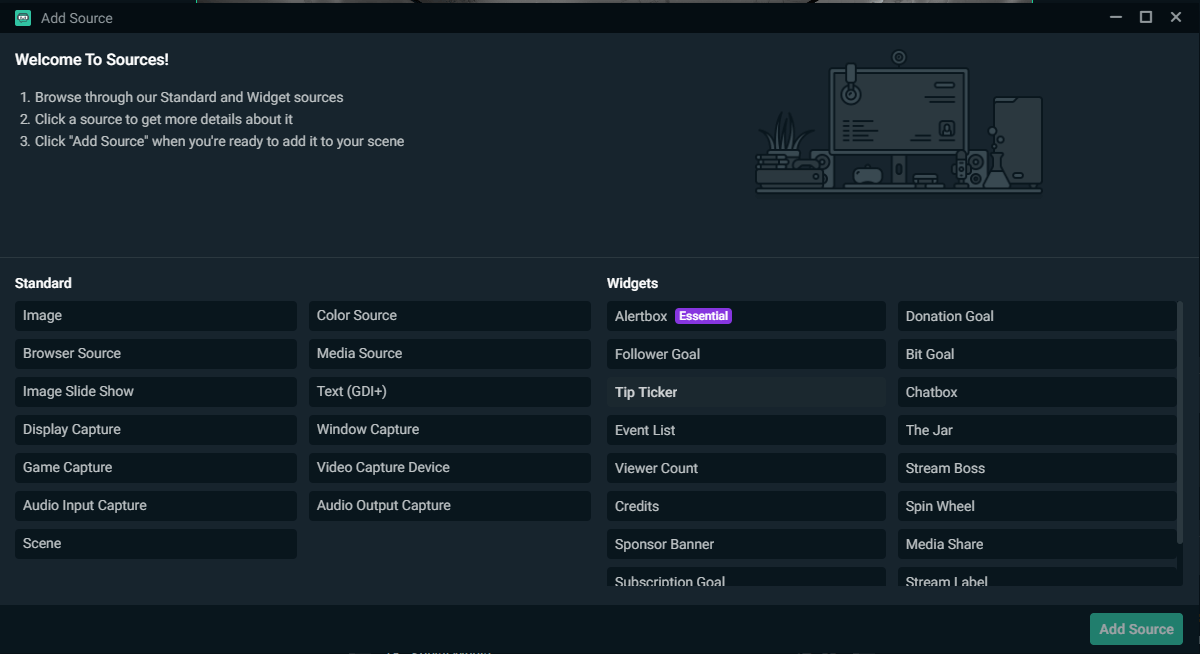
Then click the “+” icon that sits above the “Sources” box.
-
Step 3

Select “Game Capture” from the Standard source choices, then click “Add Source.”
-
Step 4

Name the source whatever you wish.
-
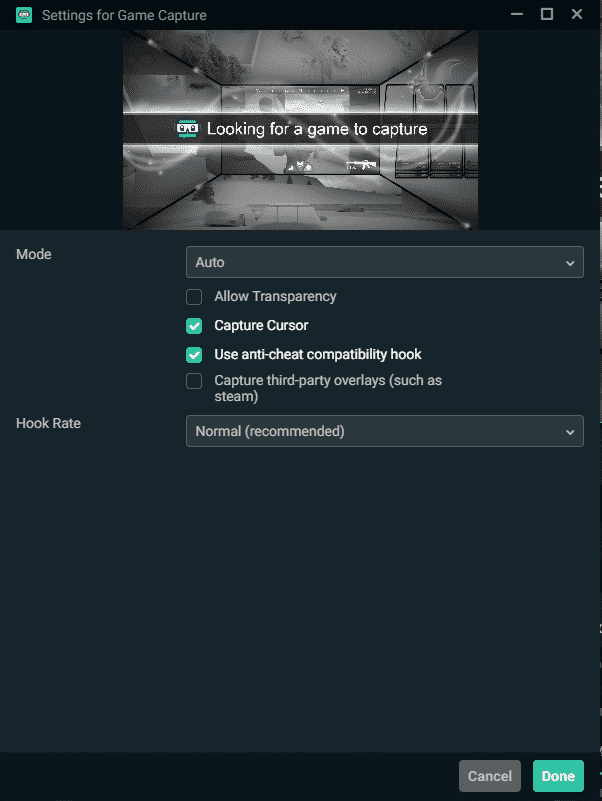
Step 5

A new screen will appear with the standard settings with this source (shown above). Edit these settings to your personal preferences. Click “Add Source.”
-
Step 6
Streamlabs will automatically pull the visuals for most modern games without you having to input the actual game if you have the “auto” capture on. There are a few games that won’t automatically capture, so you will want to test the game before you go live.
Try to avoid saturated games. Instead, take the time to pick the right game. Start broadcasting gaming content in a category that has a good viewer-to-streamer ratio. This will allow you to have a better chance to be seen by random people browsing the app on both mobile and the online version.
Go Live on YouTube Gaming
When it is finally time to go live, follow these steps:
-
Step 1
Make sure your equipment is turned on and in place.
-
Step 2

Launch Streamlabs and make sure that your settings are correct.
-
Step 3
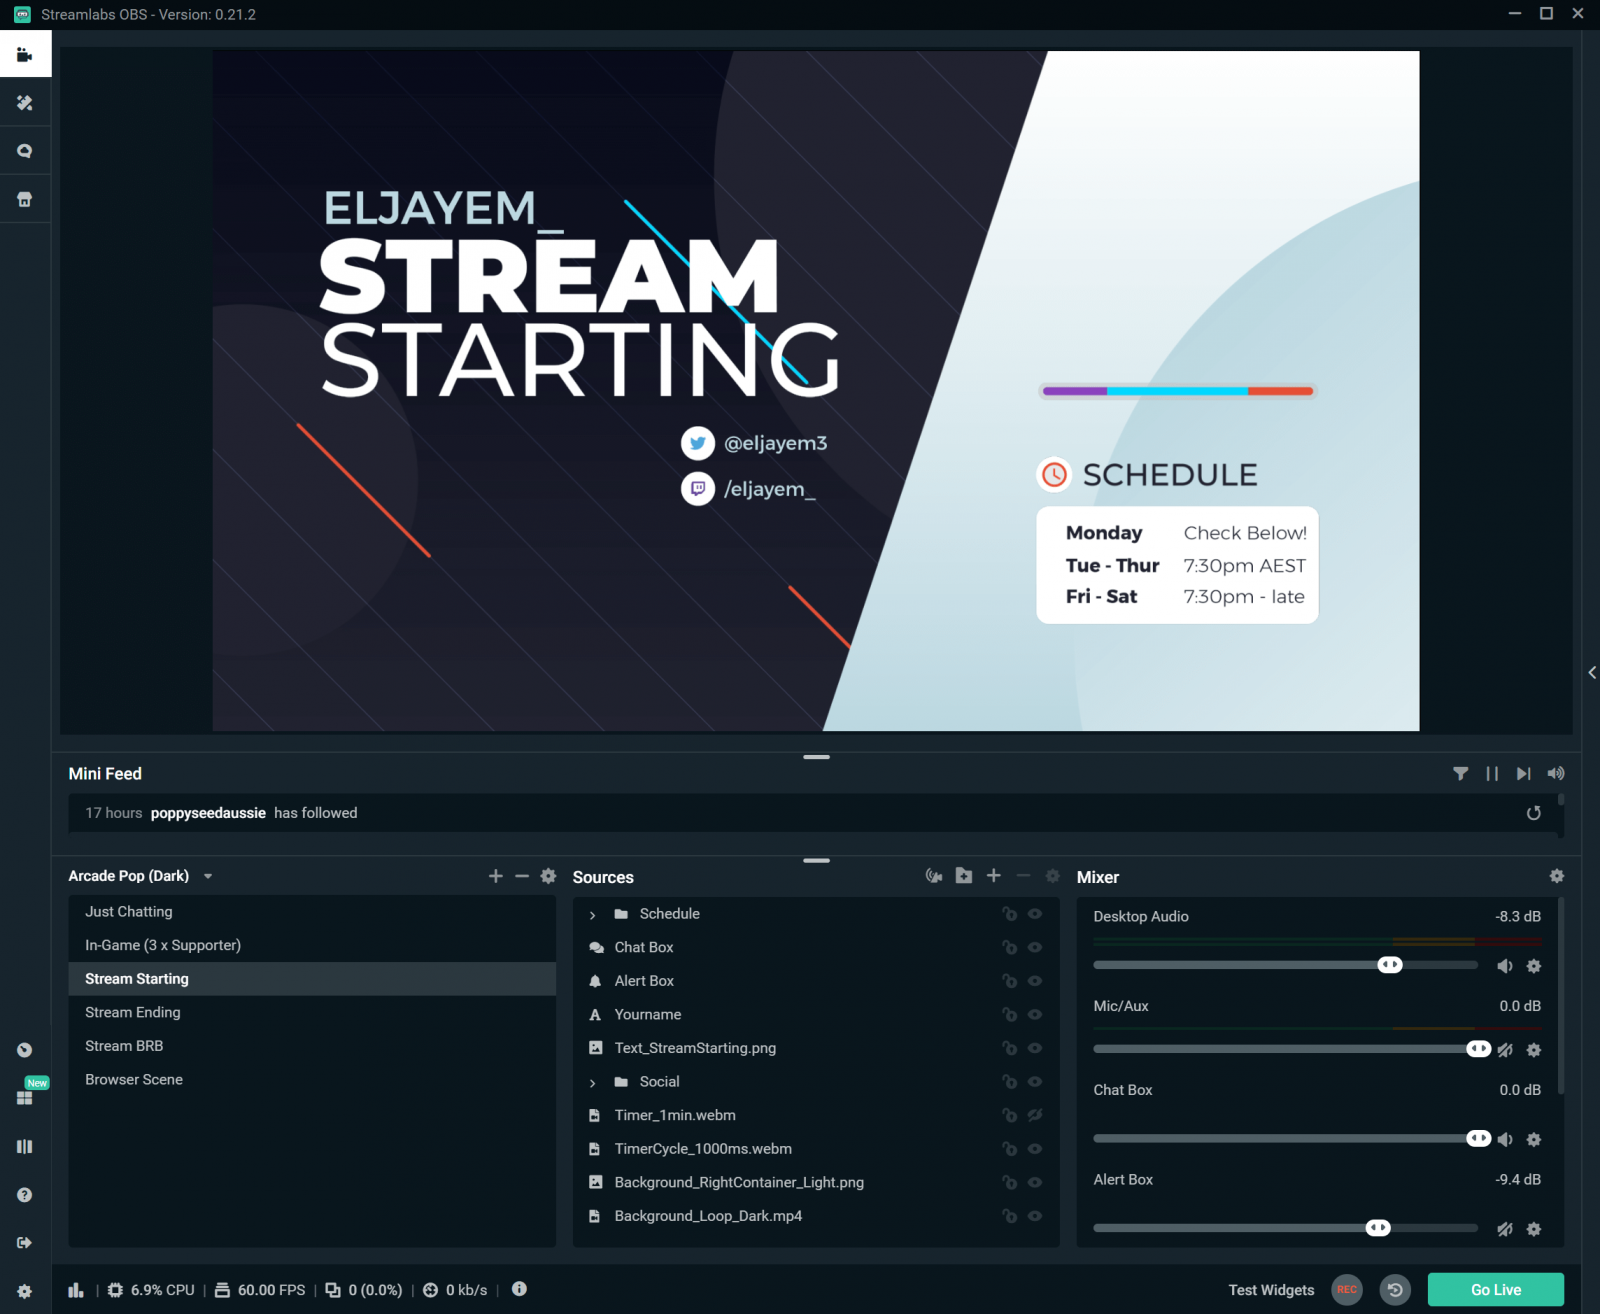
Select your starting screen so that it is what is seen in your channel’s specific window.
-
Step 4
Click the “Go Live” button at the lower right-hand side of the app to start your broadcast.
Note: We highly recommend that you set up a confirmation message before you start your gameplay live stream. This will help you make sure that your title, categories, and other aspects are correct and prevent you from accidentally broadcasting your display when it isn’t your intention.
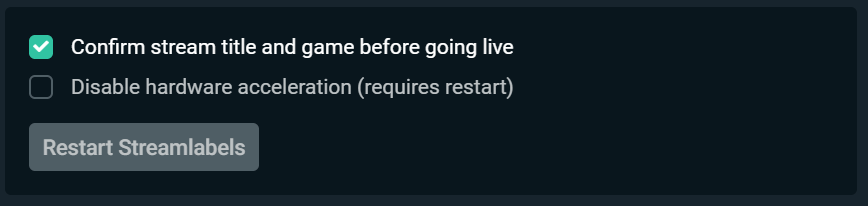
To do this, go into your Streamlabs settings, and select the “Confirm stream title and game before going live” option.
Build Your YouTube Gaming Community
View your first few streams as a practice round. Very few people are comfortable right out of the gate. Ask some good friends to spend time with you in your chat and to give you feedback about what you can improve. Take their advice. If someone joins one of your live streams, interact with them as soon as you can and be welcoming. Let them know that you are just starting and wanting to learn the ropes.
Keep talking and entertaining. If the game you are playing makes it difficult to interact with your chat, you may need to find another game while you are growing. Newer channels rely on interaction to grow. Be yourself and laugh as much as you can. Don’t be afraid to poke fun at your mistakes or if something on your stream breaks. Your viewers are more likely to stay if you can laugh about a situation instead of becoming angry or frustrated.
Write out a streaming schedule and stick to it. Start off doing 3-4 days per week until you know how much you want to stream. You don’t want to burn out, but you also want to be seen by as many people as you can.
Thank Your Viewers and Sign Off
Don’t forget to thank your viewers for spending time watching your broadcast. After you have finished streaming gaming content, make sure that you have turned off your webcam and your streaming software. Several people have inadvertently let their cameras continue running, occasionally getting banned for streaming content against ToS to the rest of the world.
Luci
Luci is a novelist, freelance writer, and active blogger. A journalist at heart, she loves nothing more than interviewing the outliers of the gaming community who are blazing a trail with entertaining original content. When she’s not penning an article, coffee in hand, she can be found gearing her shieldmaiden or playing with her son at the beach.