This style guide will cover all the information you need to create or commission the graphics you need for your Twitch channel.
Content creators who are serious about their channel go the extra mile to make sure their graphics appeal to their community. You should consider several things when designing (or hiring a designer) to complete your graphics.
Where to Get Twitch Graphics
Here are a few of our favorite places where you can get Twitch graphics online:
- Own3D – with a catalog of hundreds of professionally designed graphics, there are options for every streamer’s taste. You can purchase the product individually or as part of a package.
- Fiverr – it is easy to browse options when you are on Fiverr. Look for the product you need, find a designer, and commission them for custom work.
- Nerd or Die – this platform has graphics, templates, and generators to help streamers brand their channel.
- Placeit – if you are building your Twitch channel alongside your socials and Discord, you may want to look at Placeit. They have a catalog of thousands of templates for many platforms that are customizable to your brand.
- Twitch Creative Section – Look for a designer who is creating graphics that you like. Reach out to them and ask them how much it would be for them to create designs for your channel.
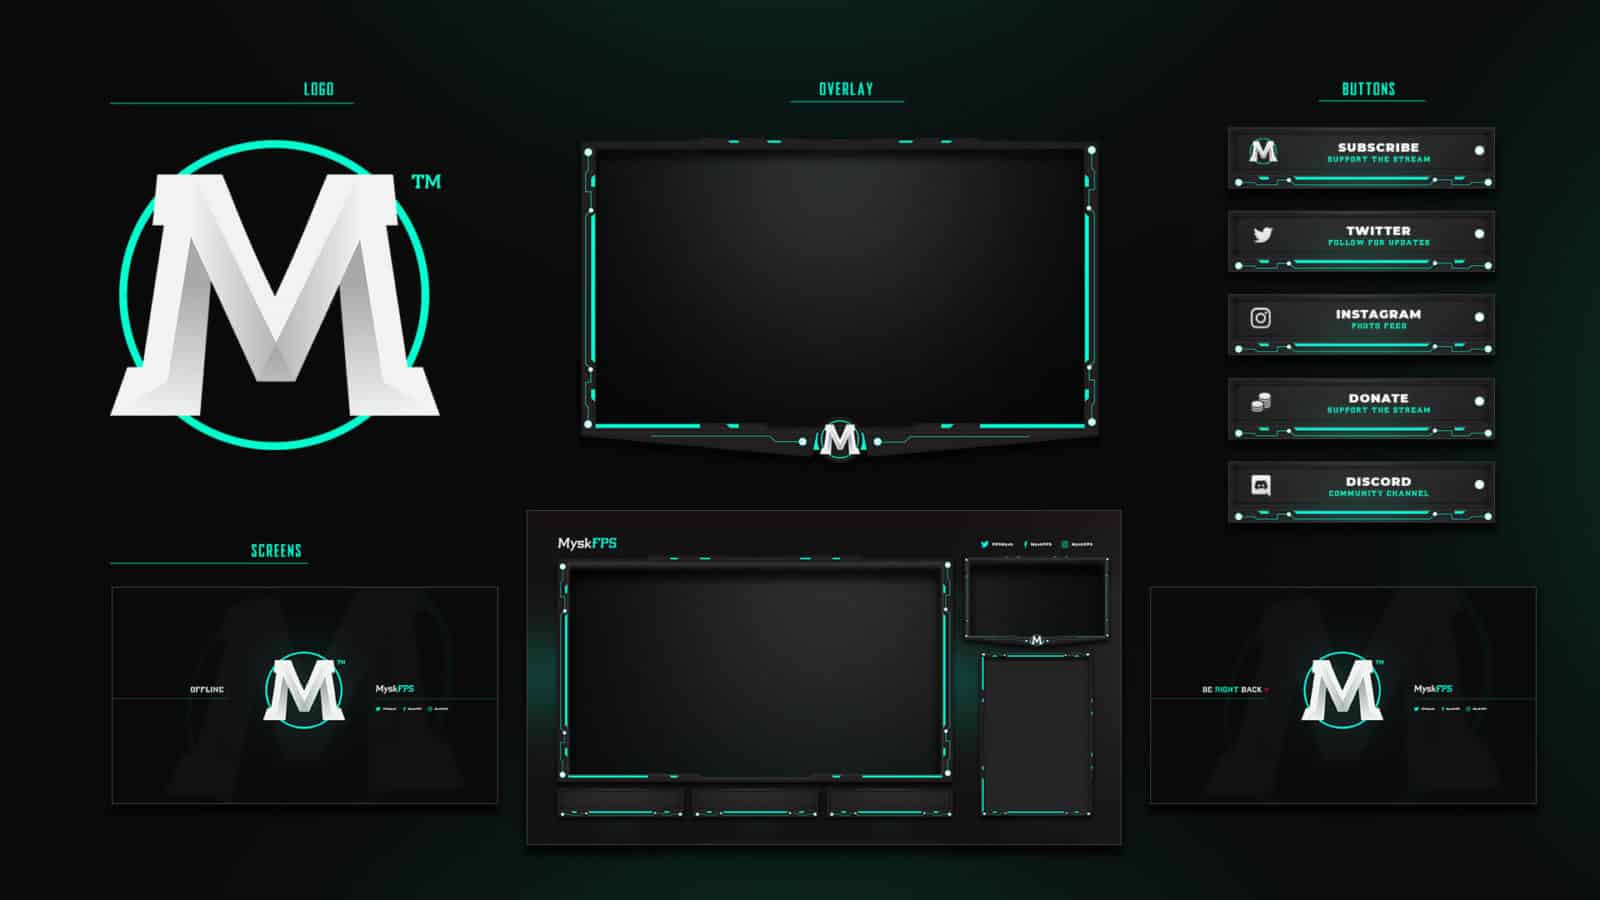
Your Twitch channel branding is crucial for promotion and recognition. Your goal should be that people will potentially recognize your channel even if they don’t directly follow you. While this kind of notoriety isn’t typical, it is possible. Regardless of how popular you become, create a stunning layout for your viewers.
Create Twitch Starting, Intermission, Ending Screens
Create different screens for every situation you’ll encounter while you broadcast. This creates a professional, visual look that will new viewers who are tuning in know what’s happening on stream. Make sure that all your scenes are well branded.
Always “turn on” your channel 5-10 minutes before you plan to go live. This simple step can ensure that your followers have time to get to your stream after being notified. Nobody wants to miss any good content and to let them gather in your channel to get hyped an excellent way to start every stream.
Design a starting soon screen to show during this period. Add a countdown timer to give your audience an idea of when your stream will begin.
Create an Twitch Intermission Scene
There are times where you will need to step away from your stream. Create an intermission screen for these times so that your viewers have something to look at besides your empty room. Try to keep your breaks as short as possible so that you don’t lose users who are just checking out your channel.
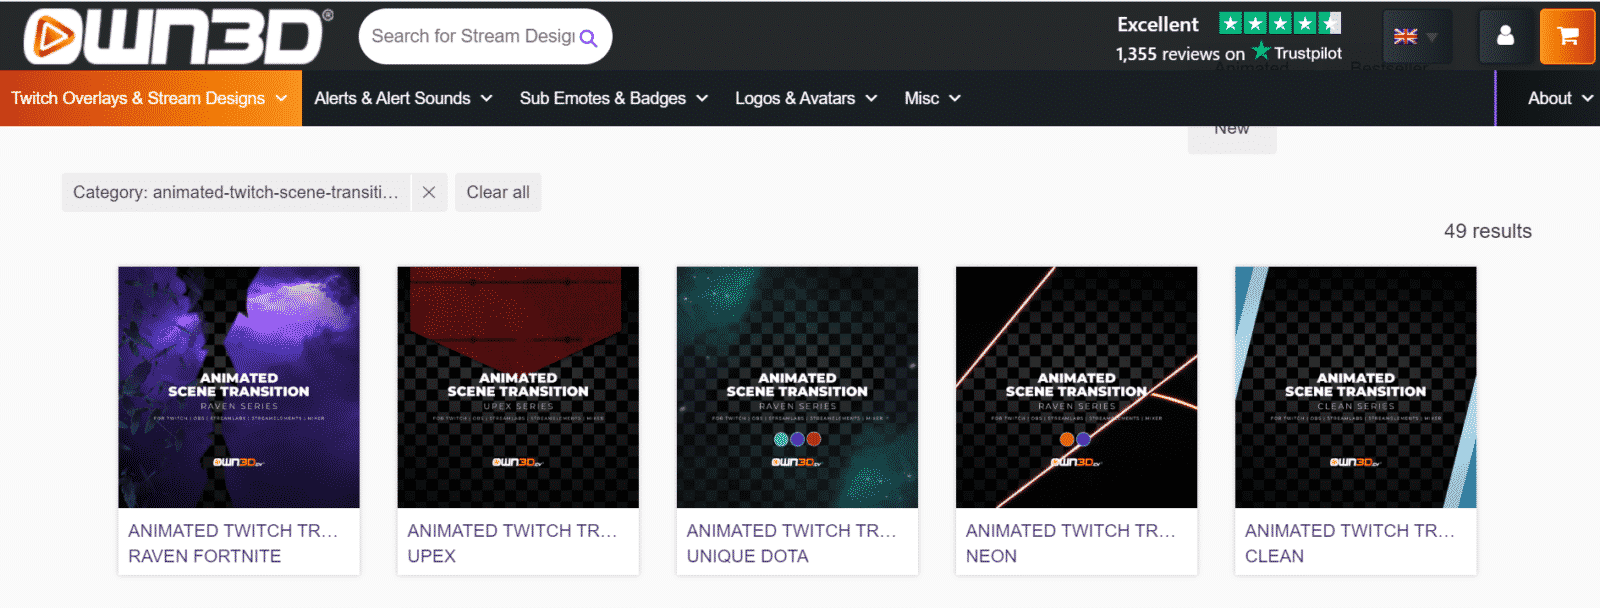
Both the starting soon screen and the intermission screens can either be animated or static. While the animations may cost more to have made, they do add a professional element to your channel. Start with what you can afford and upgrade later when you get the chance. You can also combine clips from past streams and use these compilations as an “intermission.”
Twitch Scene Sizing
Make sure that all scenes are created within the following requirements:
- The recommended size for all three of these is 1920px by 1080px.
- Files must be in JPEG or PNG format.
- Scenes shouldn’t exceed 10MB.
Create Twitch Overlays/HUDs for Your Scenes
The best Twitch overlays (occasionally called HUDs for “heads-up display”) can be used for a variety of purposes. Most commonly, streamers use overlays to spice up the border of their webcam for a professional look. They can be used to cover sensitive information on your screen (such as your position on an in-game map) or to create whole new scenes in between rounds of your game. Animated overlays do very well if they aren’t too distracting from your content.
Twitch Overlay Size
There isn’t a recommended size for overlays in general since different overlays serve unique purposes. Even when it comes to webcams, most streamers adjust the size of their cam within their broadcasting software.
If you want to stick to an ideal ratio for your webcam, the most common suggestions are 16:9 or 4:3. If you are using a green screen, you won’t require a box and your overlay can be designed differently.
Accepted file formats for Twitch overlays are PNG and GIF.
Design Branded Twitch Emotes and Badges
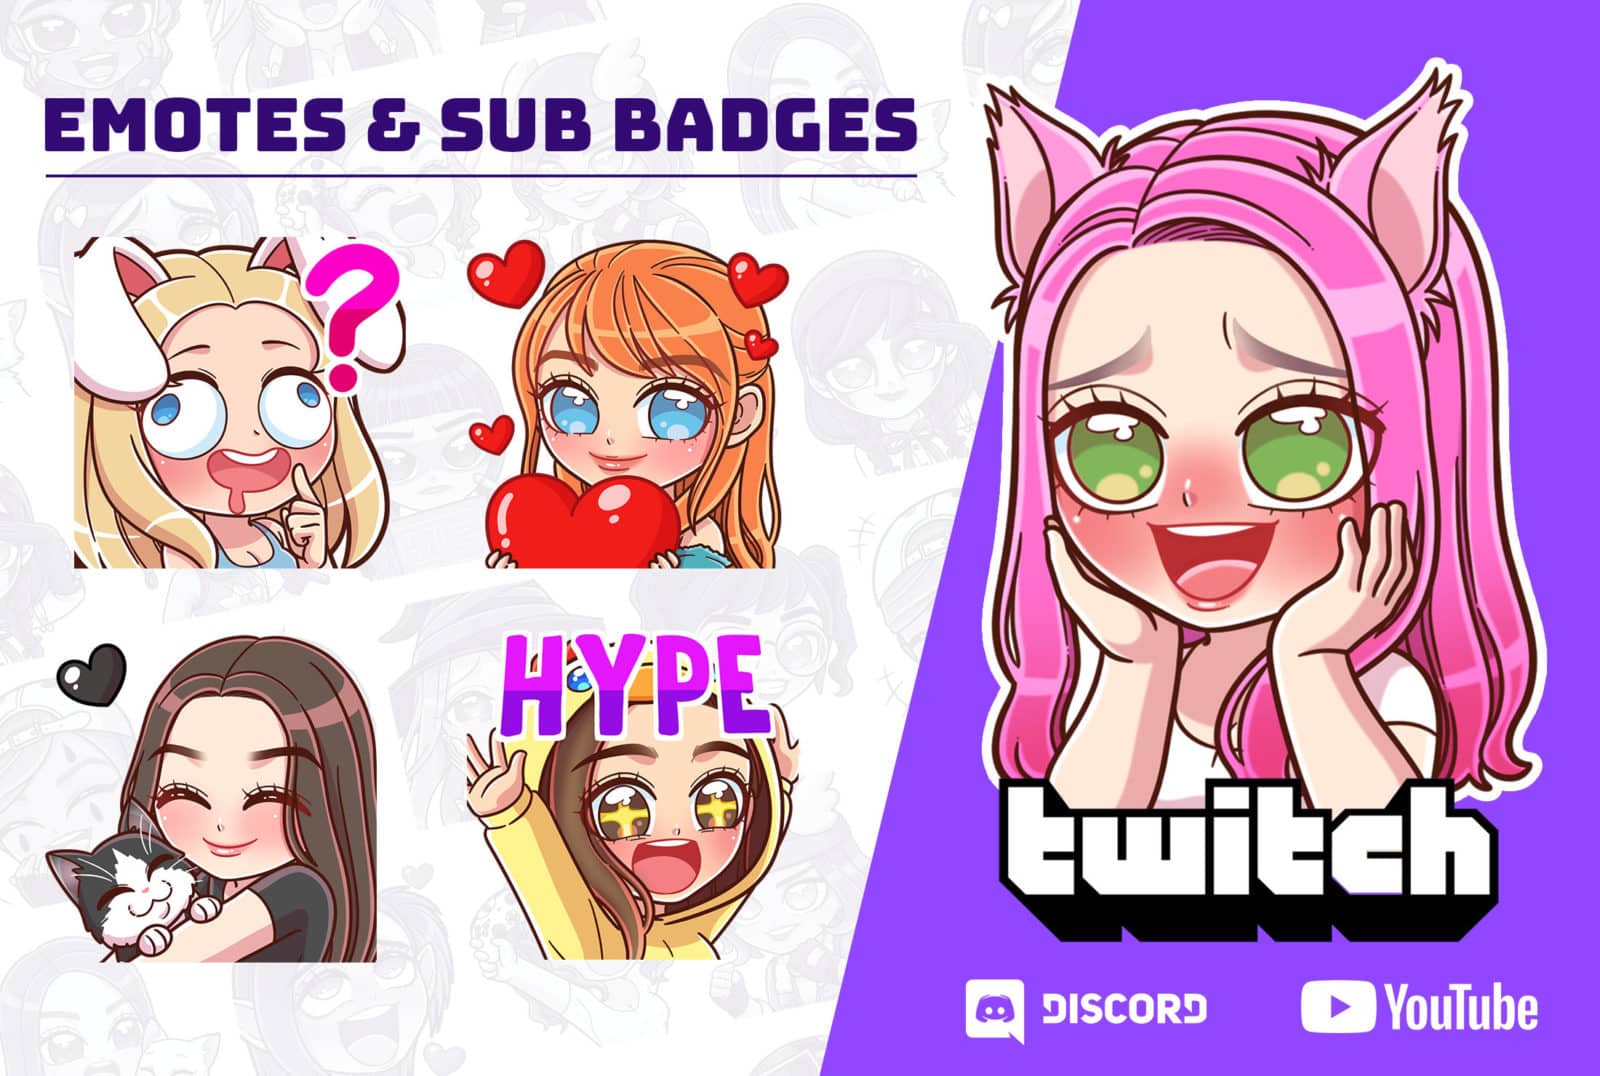
Emotes are one of the most essential design elements of your channel. They are a perk for viewers who support your stream financially and can be a promotional tool.
Create the best Twitch emotes to stand out from others, and that resonates with your community. If there are inside jokes within your following, try to incorporate that into a visual element that they can spam in your chat periodically. There are many strategies to use when creating emotes.
What are Twitch Badges?
Badges are a way to celebrate your long-time supporters. Try to keep them related to each other but slightly better the longer someone has been subscribed. Badges are a big deal to some viewers, and they will be more likely to engage in chat if they can show off their “status” subconsciously.
Twitch creates its own badges as well. In October 2019, Twitch released the Founders badge, which rewards the first few subscribers to any channel with a unique badge.
Twitch Emotes and Badge Size
Twitch requires you to submit three different sizes of your Twitch emotes and badges.
- Emotes need to be 112px by 112px, 56px by 56px, and 28px by 28px.
- Emotes shouldn’t exceed 25KB each and must be in PNG format.
- Badges are even smaller. Their required sizes are 72px by 72px, 36px by 36px, and 18ps by 18px.
- Badges also shouldn’t exceed 25KB and must be in PNG format.
How to Create Twitch Panels
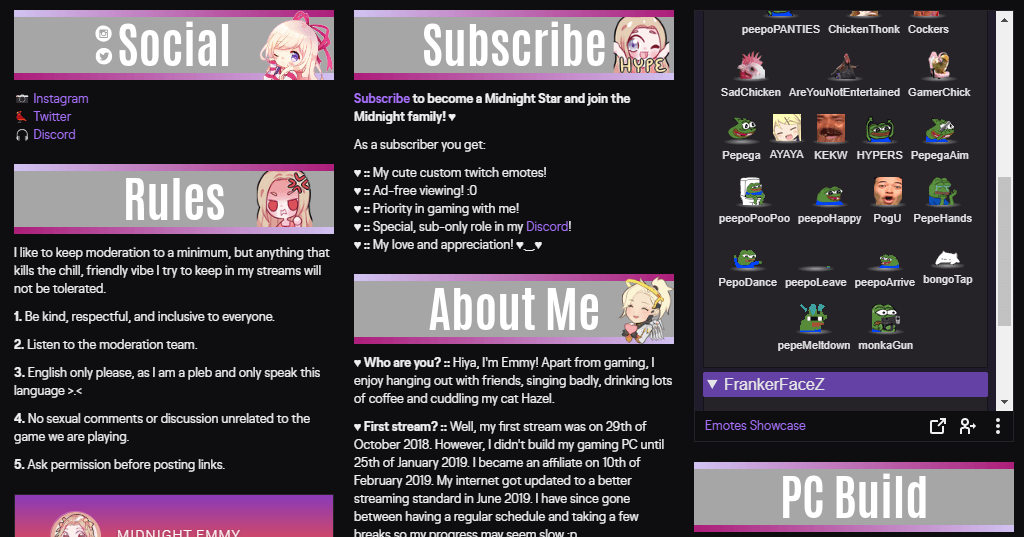
Twitch panels are an excellent way to spice up your profile and show off your creativity and branding. The beautiful thing about panels is that they can be different lengths, giving you several options for how you can design your profile.
Combine these panels with text to create visual masterpieces that viewers want to see. The more they learn about you and your channel, the more likely they’ll be to support it.
Should Twitch Panels Be the Same Size?
In our opinion, using a variety of panel lengths is your best bet to have it visually appealing. When designing Twitch panels, you may start with generic panels, you should try to get some custom made to show off your brand in the future.
Create Twitch Panel Links
You can also use your panels to link out to other pages, such as your social media or stream channel’s Discord channel. If this is done right, your Discord server can serve as the central hub for your community.
Size Requirements for Twitch Panels
When designing your Twitch panels, use the following guidelines:
- Twitch panels must be 320px wide. There is currently no limit on how long they are, but we recommend not going any longer than 750px unless there is an excellent reason to do so. Play around with length sizes until you find something that you like.
- Panels must not exceed 2.9MB.
- Acceptable file types are JPEG and PNG.
Set Up Twitch Alerts
The best Twitch alerts are stylized pop-ups that happen on your screen when someone follows, subscribes, or donates to your channel. They are a great way to acknowledge your supporters. Create unique graphics that are in line with your branding to show that you’ve made the extra effort.
Make Your Twitch Alerts Stand Out
Animated Twitch alerts are most popular as they add distinctive elements to your stream. If you are unable to afford custom graphics right away, you can use GIFs of something that you love. Add sound for an additional layer to the effect.
Twitch Alerts Sizes
Twitch alerts can vary in size, though you should try to stay consistent. Follow these requirements:
- The maximum file size is 10MB.
- They must be PNG (for still alerts) or GIFS or WEBM for animated alerts.
Graphics for a Twitch Banner
Your Twitch Banner will show at the top of your screen if someone clicks on your avatar or username. Even though most people don’t bother looking at them anymore, it is a good idea to have something there for those who do.

Design Your Twitch Banner for Mobile Users
Mobile users will see it the most as it appears when they look at your profile information. They will see a shorter version (the center portion) of it along with your streaming bio. Create your design with that in mind.
Twitch Banner Sizing
Make sure that your Twitch banner meets the following requirements:
- Twitch recommends the size to be 1200px by 380px.
- It will need to be uploaded as a JPEG, PNG, or a GIF file and that max file size is 10MB.
It is common to use this banner for other social media banners. Remember that not all banners will display in the same way. Create the image in a way where certain edges can be “cropped” without losing the impact of the overall design.
How to Design a Twitch Logo
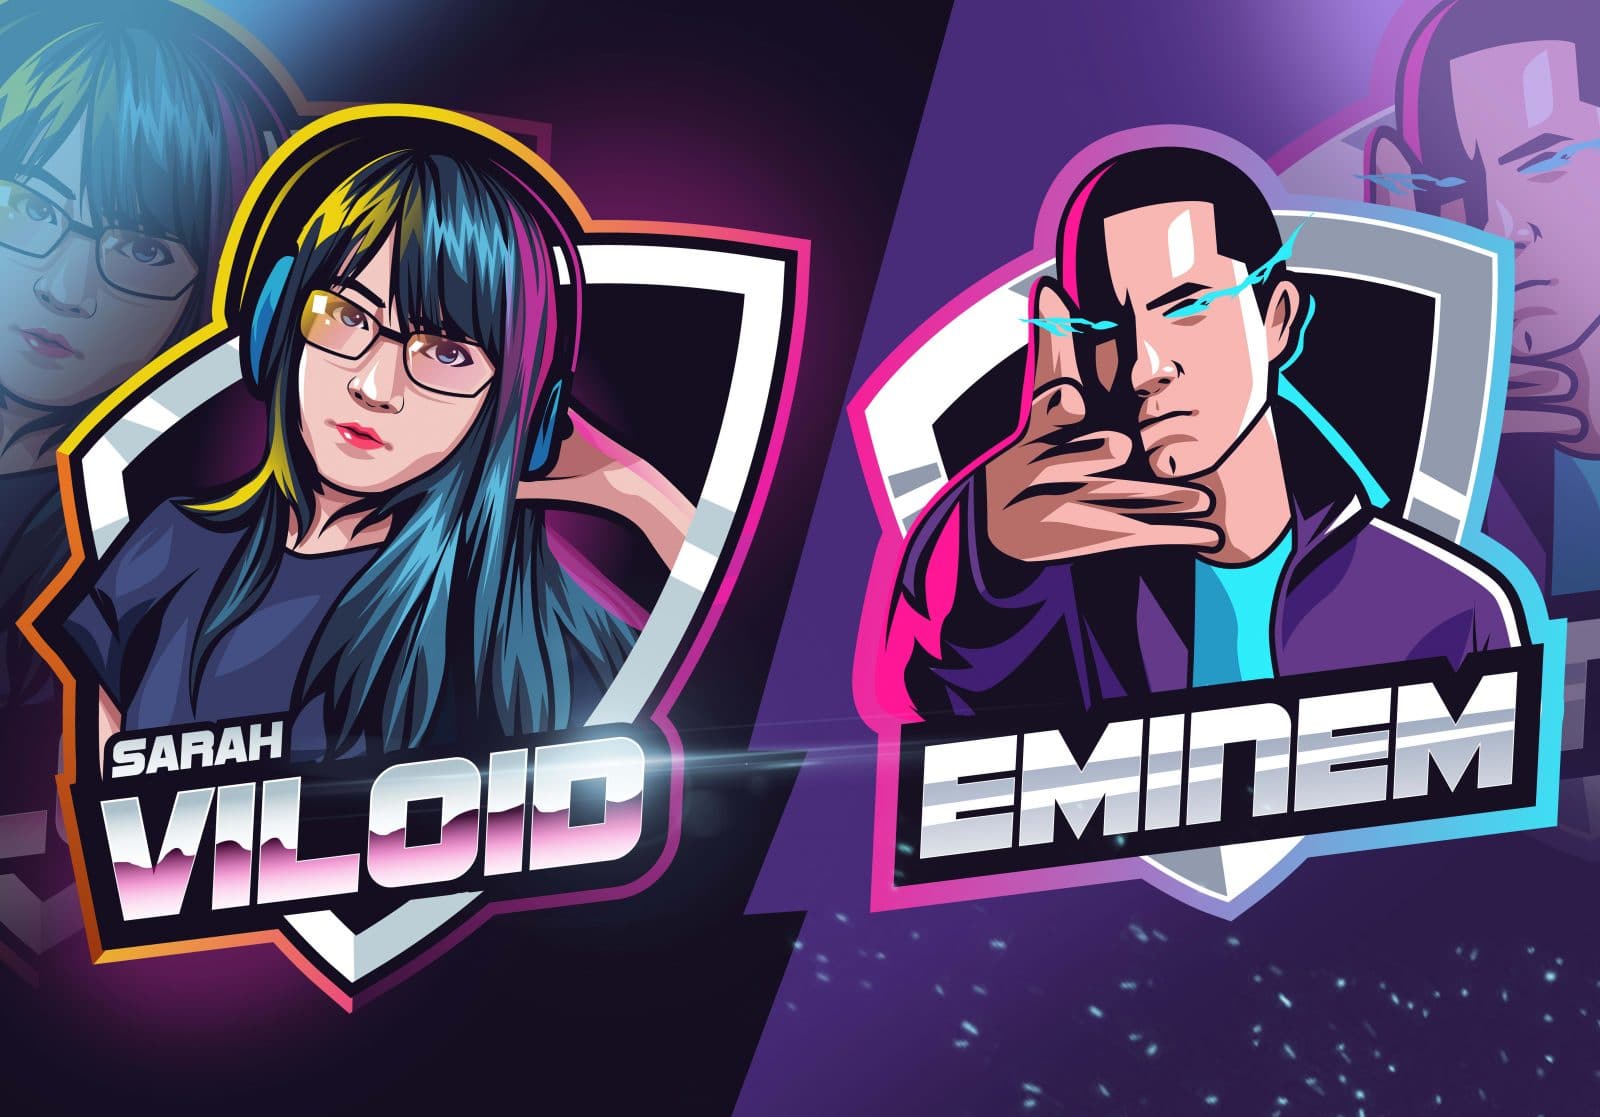
The first thing you’ll need is a logo. This logo could potentially be used everywhere – on your banner, in scenes, on social media, on business cards, etc. Even if you don’t do it right away, try to find a design that can potentially be animated. This will create a visual appeal that will help you stand out from your competition.
Where to Have a Twitch Logo Designed
As your gaming logo will be a major aspect of your branding, we do recommend commissioning a designer to create one for you. Alternatively, you can purchase a professionally pre-designed logo, such as designed by Fiverr.
Free Twitch Logo Generators
If you need help thinking of ideas, try out a logo generator such as PlaceIt or Wix’s Logo Maker. While these can generally throw out some odd ideas, they may help you narrow down some ideas of what you want for your brand.
How to Design Your Twitch Logo
Design the logo so that it can look good in a variety of styles and purposes. If you plan to place it on a banner, try to give it a background element that is appealing on wide images. Keep in mind that you may also need to use your logo as you profile picture or as a square. Make sure you can crop it to those dimensions while still be appealing.
Use a design that is simple but recognizable. You will want to use elements of your logo throughout your branding. Build it around your style, your content, and your stream name.
Your logo (and avatar) may be a new viewer’s first impression of you, so design it with your target audience in mind. Look at what broadcasters of similar channels are doing and what their viewers seem to like. Don’t copy the other streamer, but use their ideas as inspiration for your own.
Graphics for Your Twitch Avatar/Photo
Your profile picture will appear on more than just your profile. Not only will it be used on Twitch, but it will be your image on sites that track Twitch information such as SullyGnome or TwitchTracker. It will show up as a notification when you go live and people will be able to see as they browse channels. As with your logo, this may be your first impression on a new viewer.
Twitch Avatar: Personal Photo vs Logo
Many viewers have stated that they like to see an image of the streamer as the avatar. It is personal and it helps them connect with you as another human. Most social media users use a selfie or personal picture as their profile image. Doing the same on Twitch could invite more interaction from your viewers.
If you are uncomfortable using a personal picture, you can also use your logo as your avatar. While it may make your channel seem more like a “business” rather than a easy-to-talk-to person, your logo is a major part of your branding. Your viewers will easily recognize it across social media platforms and get your latest updates.
Twitch Avatar Sizing
Regardless of what you choose as your avatar, make sure that it looks good at a smaller size and meets the following requirements:
- The image needs to be a square JPEG or PNG image.
- Twitch requires it to be at least 200px by 200px. The maximum size they will accept is 256px by 256px. Anything submitted larger than that will be resized.
- Files are not to exceed 10MB.
Should You Create Twitch VOD Thumbnails?
While this is an optional feature, creating thumbnails for your VODs shows that you mean business when it comes to your channel. Creating unique thumbnails for each VOD would take quite a bit of time. Instead, we suggest designing 2-3 that you can quickly edit to make a new screen.
The size must be in the 16:9 aspect ratio. Try to aim for 1280px by 720px. Acceptable file types are JPEG and PNG.
Programs You Can Use for Twitch Graphic Design
If you want to try to design some of these elements yourself, there are a few programs you can try out.
- Gimp – Gimp is a free designing software that has several options for budding designers. It is an excellent way to gauge if learning to create your own graphics is a good use of your time.
- Affinity Designer – Many creative apps require you to subscribe to its features. Affinity Designer is old-school in that you only have to pay a one-time fee to unlock its professional studio capabilities.
- Adobe Illustrator – The granddaddy of all designer software, Adobe sets the industry standards for creative capabilities.
Make Twitch and Social Media Branding Match
Use similar images (or the same images) across your social media. This will give you brand continuity. Your followers will be able to instantly know what they are looking at and what you are posting.
Some graphics may have to be adjusted a bit to look good on specific sites. Take the effort to make them look clean and professional. If you hire a designer, talk to them about your social media plans upfront. They may be able to make small tweaks for you for a small fee.
If you subscribe to Discord Nitro and can get two boosts on your channel, you can get an animated server icon. These will stand out to Discord users, and they will likely remember to go into your server more often.
Conclusion
However you create your images, remember that your main goal should be to attract viewers to your channel. Design your graphics with them in mind rather than your own personal preferences.

Luci
Luci is a novelist, freelance writer, and active blogger. A journalist at heart, she loves nothing more than interviewing the outliers of the gaming community who are blazing a trail with entertaining original content. When she’s not penning an article, coffee in hand, she can be found gearing her shieldmaiden or playing with her son at the beach.

