Streaming from a console can be a great step into the world of Twitch, though there are some limitations to console streaming. Thankfully, adding overlays no longer has to be one of those limitations! Using third-party software you can now add overlays to your console streams, here’s how.
What You Need to Put Overlays on Xbox
Adding your overlays to your console has never been easier, all you need is a subscription to Lightstream! Lightstream can be set up on almost any browser, meaning there is no need for a fancy computer. However, if you are using more than one scene, I would definitely recommend using your mobile device as a remote control by going to https://remote.golightstream.com/ so you can easily switch scenes while you stream.
You may also want to prepare yourself some overlays. Though Lightstream does have some great presets, it also gives you the ability to upload your own image and video files – making your console stream reflect your brand is no longer an issue! It was also suggested to me by a rep that you use a wired connection over a wireless one, though it seemed fine on wireless for myself so maybe consider that as troubleshooting if you ever come into any problems.
Steps to Putting Overlays on Xbox
Here is all you need to know to get yourself set up with Lightstream! This method works on Xbox One and Xbox Series X/S.
-
Step 1
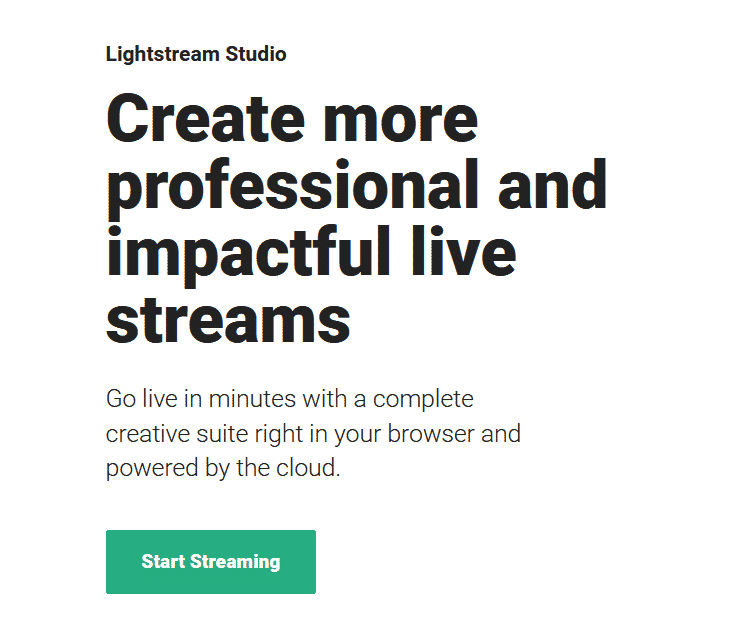
Head over to the Lightstream website and click Start Streaming.
-
Step 2
Select your chosen platform, wait for the pop-up, then log in to your account. In this case, we’ll be choosing Twitch.
-
Step 3
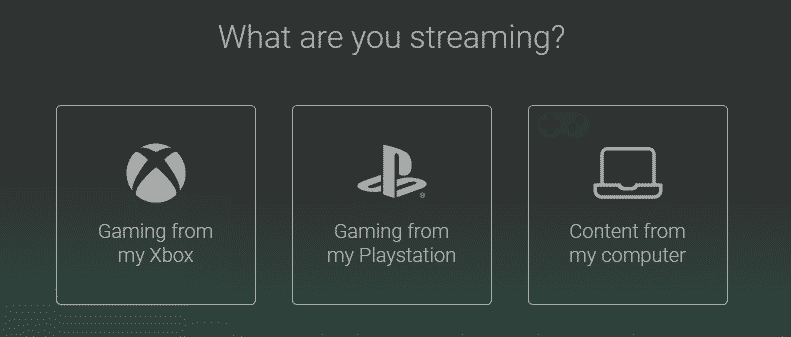
Select the Console you will be streaming from, in this case, we’ll be choosing Xbox.
-
Step 4
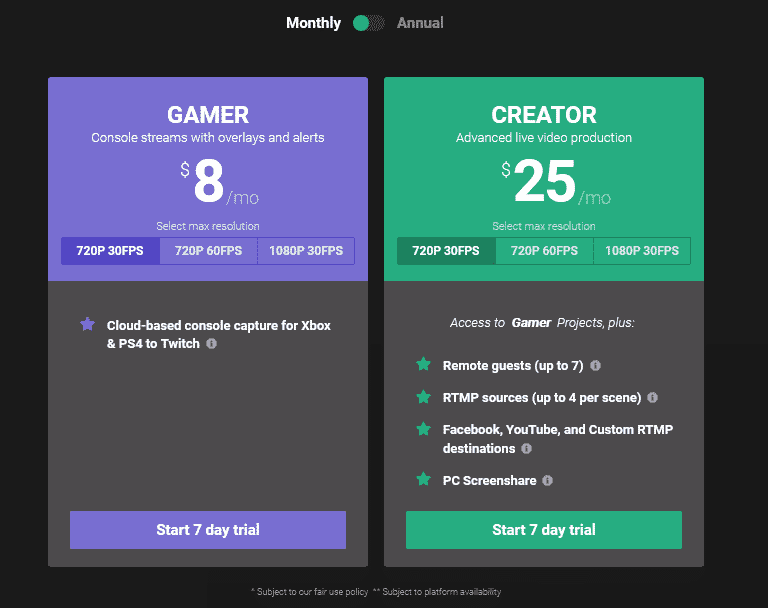
Choose your subscription type, if you only plan to stream from your console, then the Gamer plan is all you’ll need. If you have not already used it, you will be able to gain access for free for 7 days. Then enter your payment details.
-
Step 5
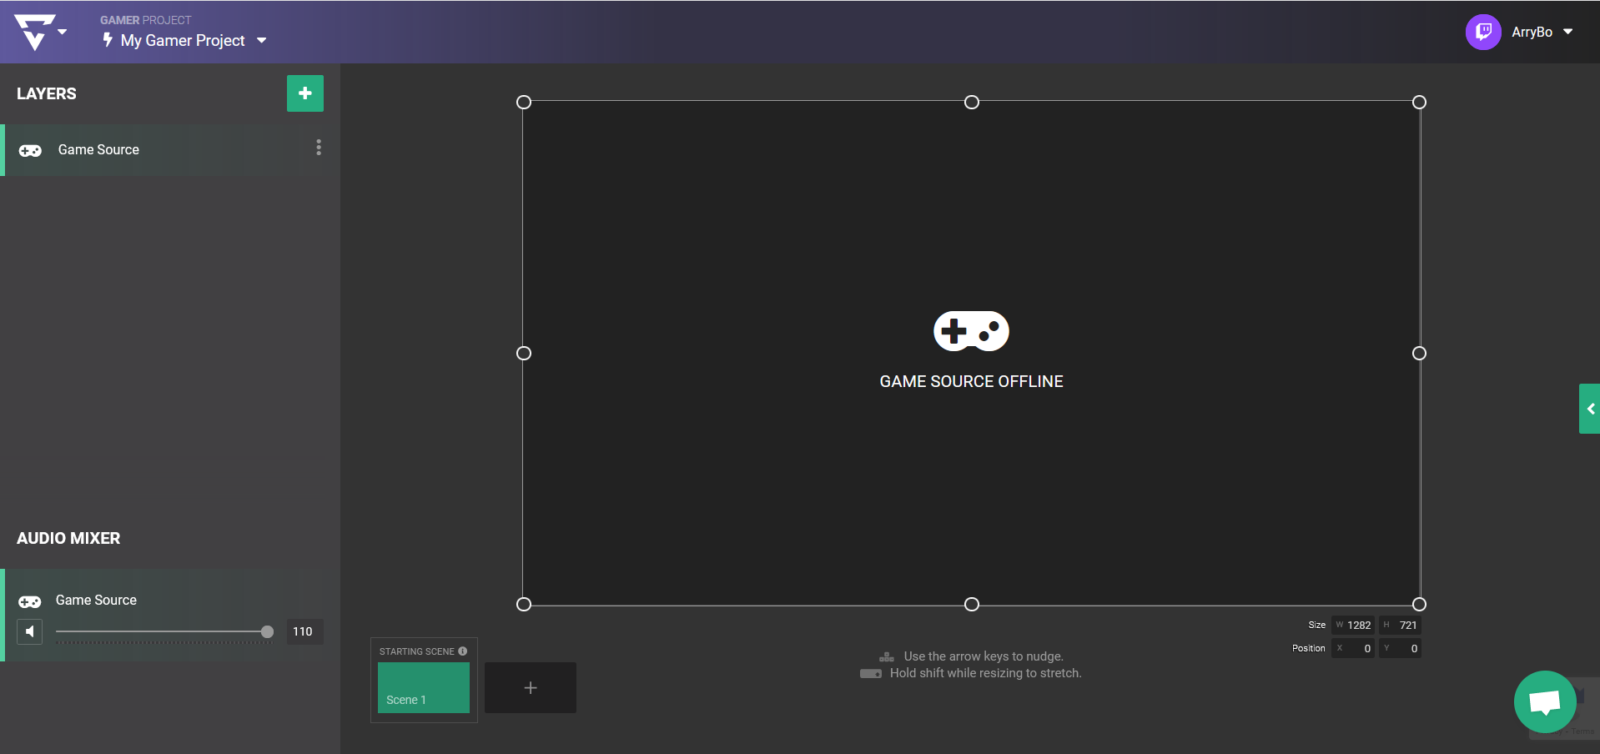
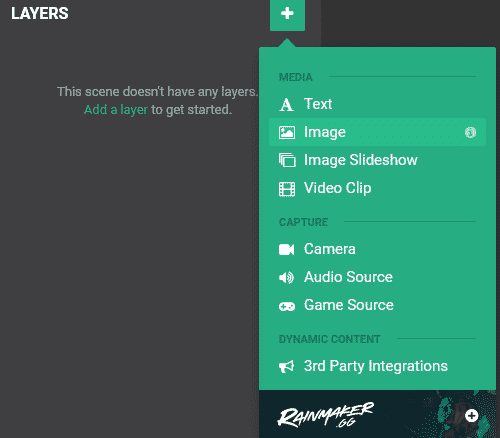
You will now see your project dashboard, this is where you start adding your overlays and even scenes! Lightstream has many preset images such as starting soon and brb screens, or you can even add some of your own! Start by clicking the + in the top right to start creating layers
-
Step 6
For your first scene, let’s create a starting soon! Selecting images then choose to upload one you made earlier, or choose a design from the presets that fits your brand.
-
Step 7
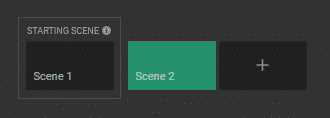
Now add yourself a new scene for gameplay by clicking the + next to your scenes.
-
Step 8
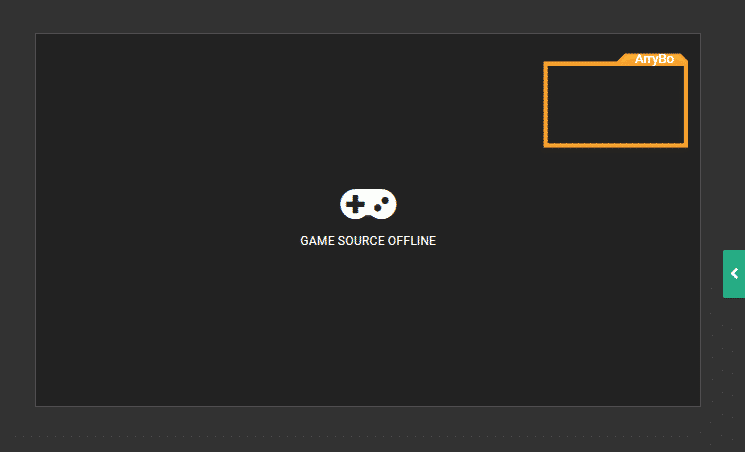
Add a layer for your display capture, and another for a cam border and place that where your camera normally would be located.
-
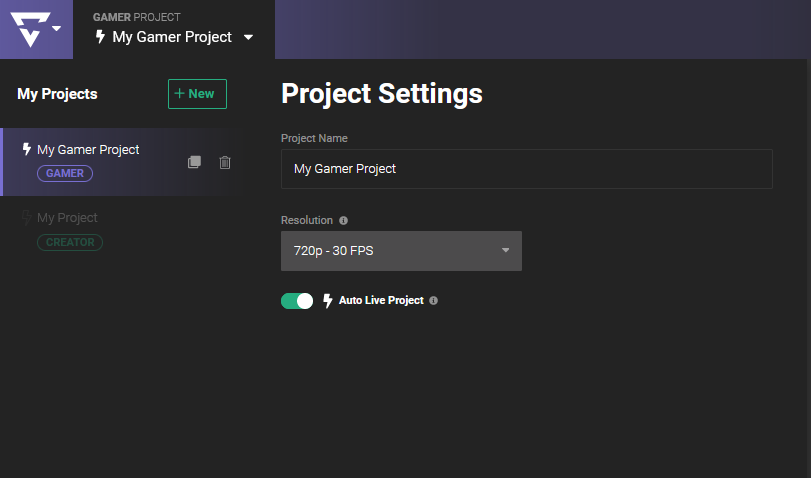
Step 9
Before you go live, click the drop-down arrow on your project and make sure you have enabled Auto Live Project. If this is not turned on, your overlays will not show!
-
Step 10
Now, on the Twitch app on your Xbox, locate the Broadcast tab and choose ‘Lightstream’ as your destination. Once you’ve done this, the next time you start broadcasting through the Twitch app, everything will be sent to your project on Lightstream!
Conclusion
Streaming from a console might not be the most ideal way to stream, but it’s a good start. Services like Lightstream can make that start even better and boost interactions on your live stream. Though it may add a few dollars to your monthly Twitch expense, it’s a worthy investment. Just try the 7-day free trial and see what you think!

Arry
Arry, also known as ArryBo, is a full time Partnered Twitch streamer from the southeast of England! Video gaming and music are two of the passions he shares on his stream.

