One of the best-integrated streaming solutions is Streamlabs. It makes using widgets, setting up overlays, alerts, and more, very easy and straightforward. Streamlabs can help make your stream a breeze to set up and run, allowing the streamer to concentrate on the most important factor – the broadcast. Let’s take a look at how to set up Streamlabs for your stream.
How to Setup Streamlabs
To set up Streamlabs, you will need to complete the following steps:
-
Step 1

When you first install Streamlabs, you’ll be prompted to select your streaming service. It’s important to do this now, as it ties in your widgets to that streaming service.
-
Step 2

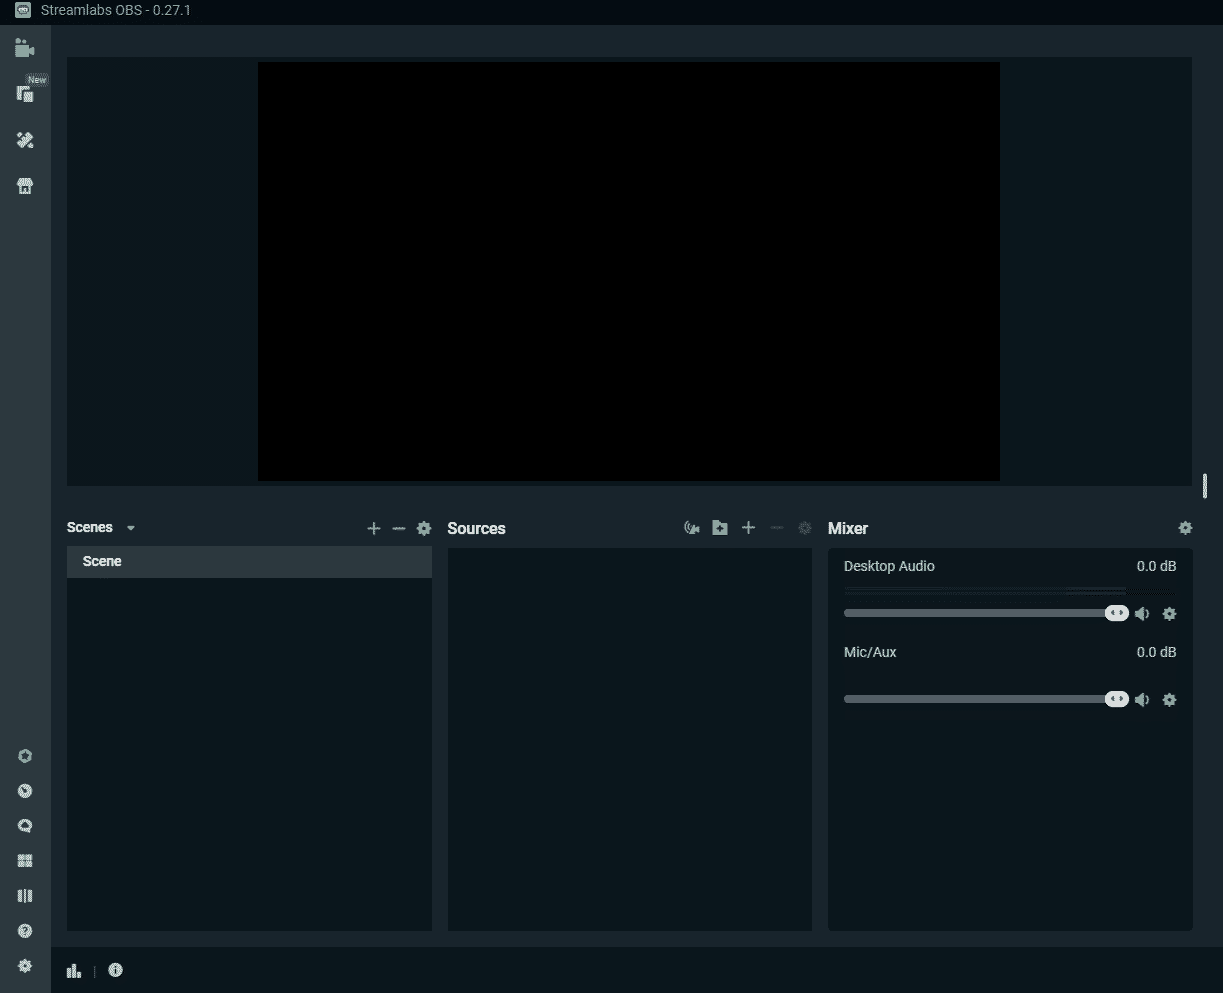
Once that’s completed, you’ll be navigated to a blank scene on Streamlabs.
-
Step 3

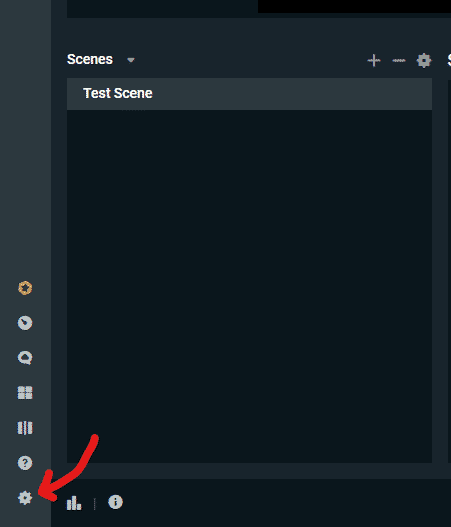
Before we add any of the details, let’s first set up Streamlabs, to make sure it’s optimal for your settings and your stream. Click the cog icon on the bottom left of Streamlabs to enter the settings menu.

Connect to Your Streaming Service
Set up your connection to your streaming service by clicking on the Output tab and set the output mode to advanced.
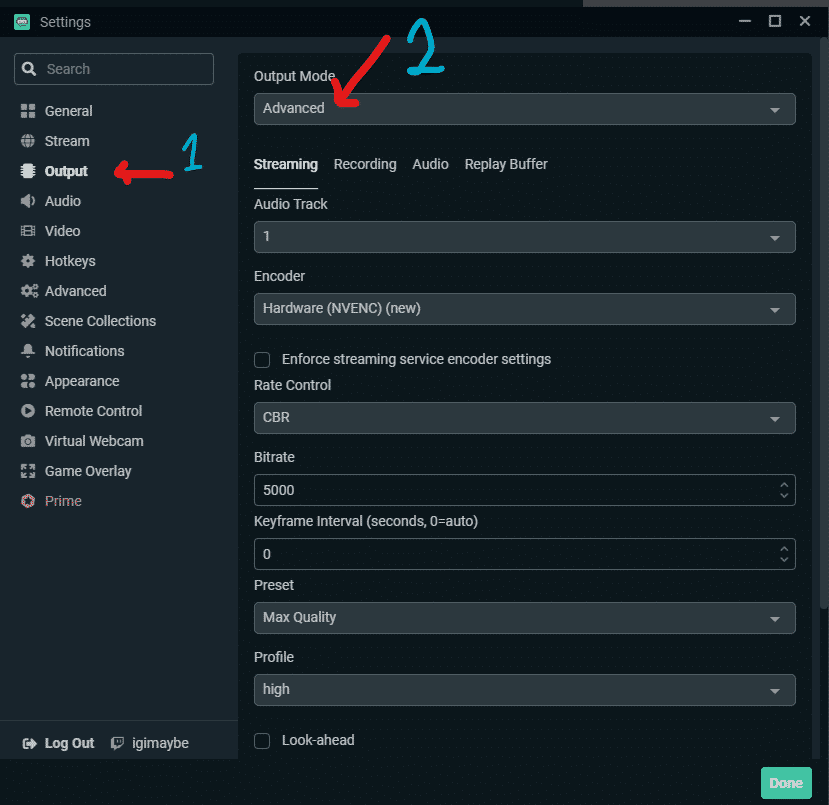
Under the streaming section, you’ll see a variety of options, you’ll want to set these options in accordance with your hardware.
- Encoder: This is selecting which component of your computer you would like to handle sending the stream to Twitch, YouTube, or Facebook Gaming. By selecting x264, you’re allowing your processor (CPU) to handle it. If you have an Nvidia Graphics card, you can leverage NVENC, which uses your graphics card. You can test both to see what gives you the most stable experience, generally using NVENC is the better solution.
- Rate Control: You will want to set this to CBR (Constant Bit Rate). Streamlabs will try to always encode at your desired bitrate by setting it to CBR.
Bitrate: This setting essentially controls the quality of stream you’re sending to your streaming service. The higher the number, the better the visuals for the viewer. However streaming services such as Twitch have a cap, and it varies by service, for Twitch it’s 6,000. Most streaming services publish their recommended settings: Twitch, YouTube, and Facebook Gaming. You can use Speedtest.net to test your upload speed and see how high of a bitrate you can use, generally, you’ll want to leave a bit of headroom.
Streamlabs Video Settings
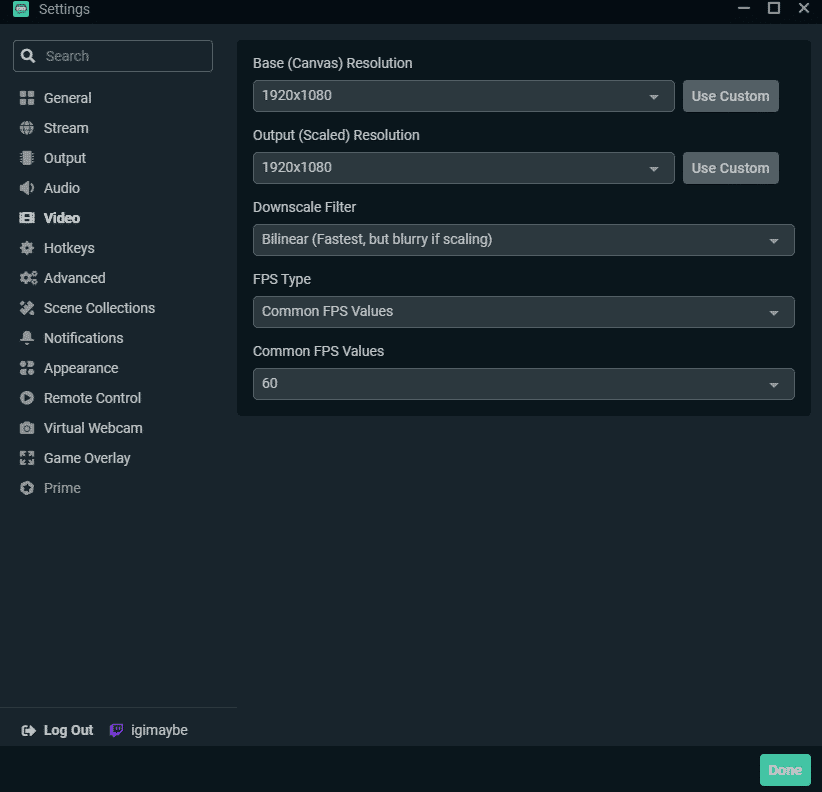
To set up your video options, you will need to click on the video tab.
Let’s take a look at these options.
- Base (Canvas) Resolution: This is the canvas in your Streamlabs, where you’re adding sources and scenes. You’ll want to leave this at the native resolution of your monitor, so it’s all proportional and easy to work in.
- Output (Scaled) Resolution: This is the resolution you’ll be sending to Twitch. So if your canvas resolution is 1920×1080, but your output resolution is 1280×720, it’ll take whatsoever on the canvas and squish it down to fit into your output resolution.
- Downscale Filter: If your canvas resolution and output resolution are different, you can experiment with different downscale filters, as they can retain some quality from the difference of the resolutions. The lower down the list you go, the more intensive it is for the processing, however, if you’re using NVENC it shouldn’t be a problem.
- FPS Type: Leave this at common FPS values
- Common FPS Values: Select the FPS you would like your viewers to see. The higher the frame rate, the smoother the watching experience for the viewer. Some lower-end systems may struggle running a stable 60FPS frame rate on a stream, so 30FPS might be a better option.
Streamlabs Audio Settings
Click the Audio tab in order to manage your Streamlabs audio settings.
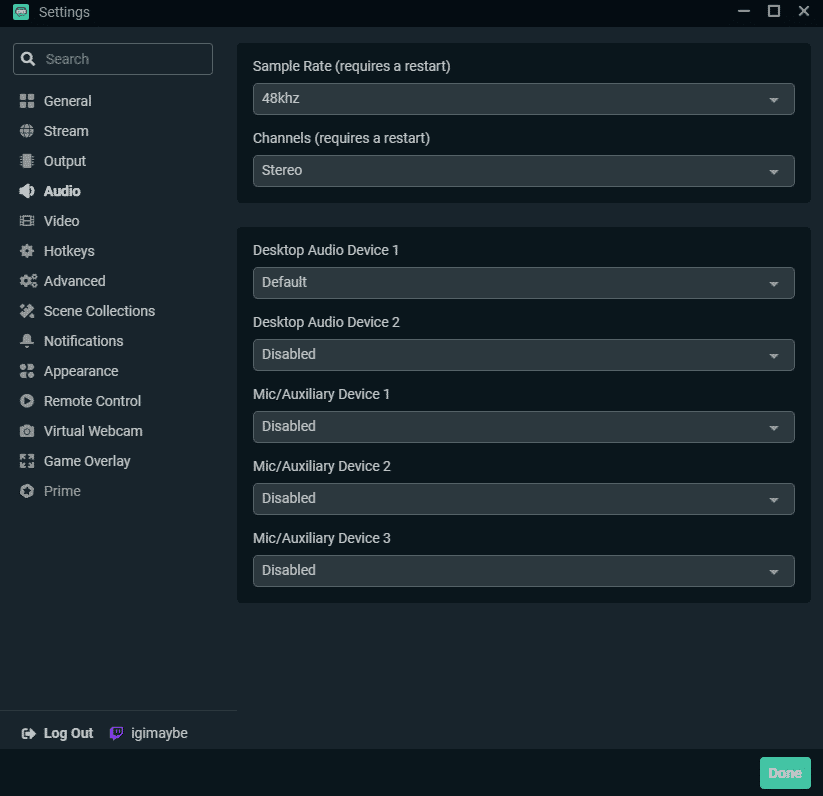
- Desktop Audio Device: Select the device which is responsible for any sound that’s coming from your desktop. For example music and game audio.
- Mic/Aux: Select your microphone on the drop-down.
Add Scenes and Sources
Now that we’ve logged into the Streamlabs and configured the settings, we can take a look at the details. Let’s start by learning how to add scenes and sources.
-
Step 1

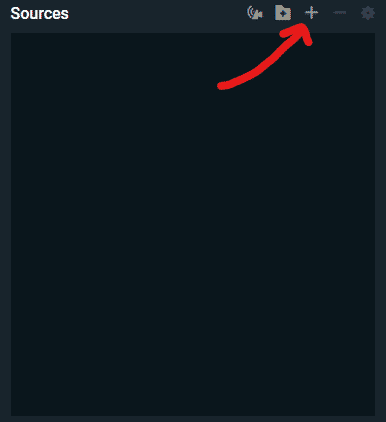
To add new scenes, click the + button at the top right of the scenes box.
Essentially scenes will be where you will store sources. Scenes will typically be named something like: Gaming Scene, Just Chatting Scene, Starting Soon, or Be right Back Scene. You can organize the task of each scene individually and switch to them at your discretion.
-
Step 2

Add your sources, which will live in your scenes. Sources are things like, your game capture, your images, overlays, and other bits and pieces. Similarly to adding a scene, you can add a source by clicking the + icon at the top right of the scenes box.

Streamlabs Source Menu
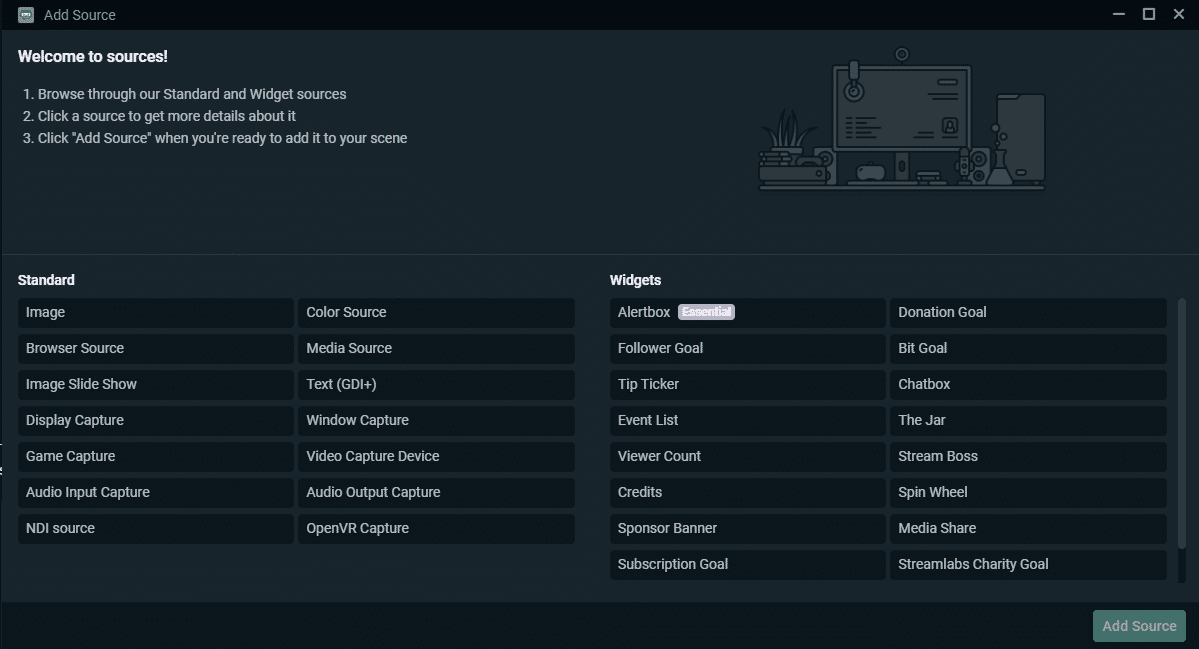
The sources menu can look a little bit overwhelming, but let’s go over the most important bits on the left-hand side first.
- Image: If you have an image you’d like to display on stream, you can use the Image source.
- Browser Source: If you have an overlay that lives on a different website, typically that service will provide a link you can use to display it on stream. For example, StreamElements has widgets you can implement through Browser source links.
- Image Slideshow: Goes through a slideshow of many different images for a set period of time.
- Display Capture: Captures your display, think of it as your screen, and displays it on Streamlabs
- Game Capture: Captures the video game you’re playing and displays it in Streamlabs.
- Media Source: If you have a moving image, such as a GIF or a WEBM file, you can use a media source to show it on stream and even loop it indefinitely.
- Text (GDI+): This allows you to quickly display some text on screen, you can choose the size, font, and weight.
- Window Capture: Captures a specific window on your PC and displays it on Streamlabs. For example, you can specifically target Google Chrome, Spotify, or any other opened window.
- Video Capture Device: This allows you to display an external video source, such as a webcam, DSLR, or capture card.
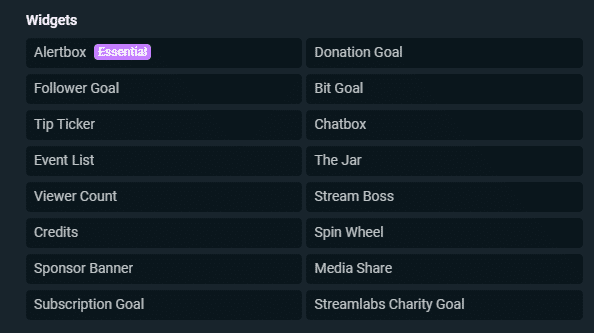
On the right-hand side, you’ll see additional source features that are unique to Streamlabs. Let’s take a look at the most common features streamers use on Streamlabs.
- Alertbox: Displays alerts such as new followers, subscriptions, tips, and more.
- Event List: Shows the latest events that have occurred, such as the newest follower, subscriber, and tipper
- Chatbox: This shows a real-time overlay of your chat.
- Follower Goal: Displays a graphic of your current followers and your goal amount.
- Donation Goal: Displays a graphic of your total donation pool and your goal amount.
- Subscription Goal: Displays a graphic of your subscriber count and your goal amount.
Once you’ve finished your first-time setup, your settings and you’ve configured your scenes and sources, you’re ready to start live-streaming!
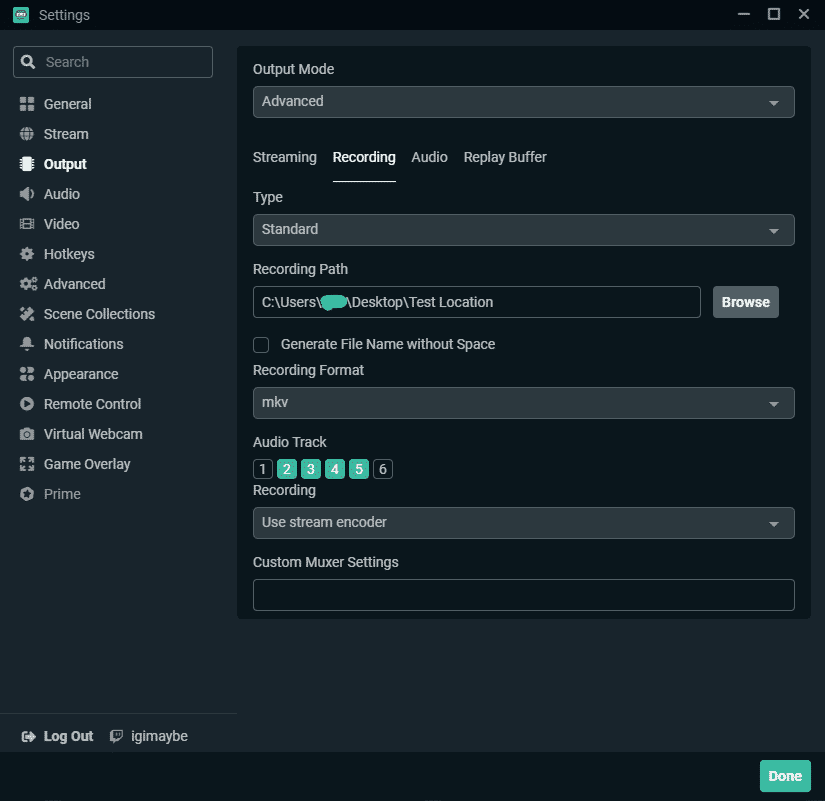
Where does Streamlabs save Recordings?
Under the Output section, navigating to Recording, you can set where you want your recording path to be. By default, Streamlabs will be saved under the default Videos section of Windows – C:\Users\YourName\Videos.
Conclusion
In summary, Streamlabs is a very robust solution for any new streamer. It’s a one-stop shop for all the features you could need, as a new content creator, and can offer so much more when you’ve established yourself. It can be a bit much at the beginning, but over time you’ll pick it up really quickly and reap the benefits

Igi
Igi is a Content Strategist from England and makes streams on Twitch and YouTube. He's big into self-improvement and loves fitness! He excels at data analysis and experimenting with new ideas.