Not only is Gamecaster one of the best streaming platforms for new and intermediate streamers, but they also offer several customizable overlay packs. That being said, if you want to use a pack that you received or commissioned elsewhere, you can upload them seamlessly.
This post will walk you step by step through uploading custom overlays to Gamecaster using our own Cherry Blossoms pack offered for free on our Discord server.
How to Create a Scene in Gamecaster
Before you create a scene in Gamecaster, you will need to create a set. Complete the following:
-
Step 1

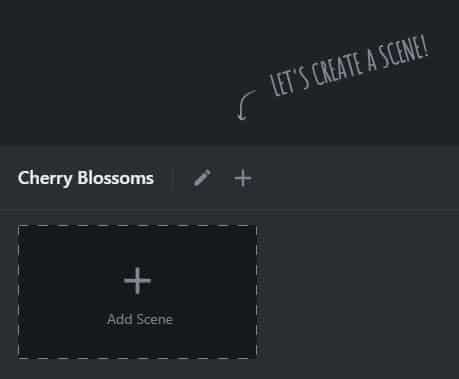
Create a set by clicking the plus sign in the left-hand sidebar. Set the name as whatever you wish and choose an icon so that you can quickly tell your sets apart in the future.
-
Step 2

Once you’ve created a set, click anywhere in the “Add Scene” box at the bottom of the screen.
-
Step 3

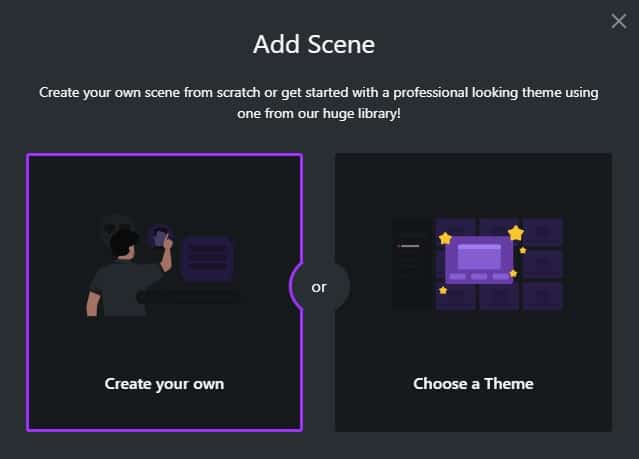
When uploading your own custom overlay pieces (or a pre-purchased pack from OWN3D or Nerd or Die), choose the “Create your own” option on the left. At this point, a new scene will be created.
-
Step 4

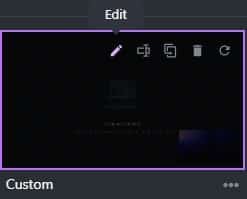
To edit the scene, hover over its thumbnail at the bottom of the screen and click the edit button (the pencil icon).

How to Create a Starting Screen in Gamecaster
You can also use the following process to create an ending scene or a be-right-back scene. You would just use different blocks and set it up a little differently. This section will show you how to set up a background and add widget to your Gamecaster scene. Here is how you can create a starting screen in Gamecaster:
-
Step 1

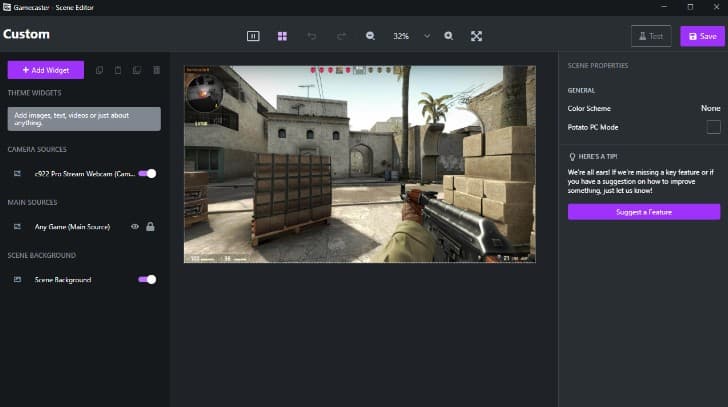
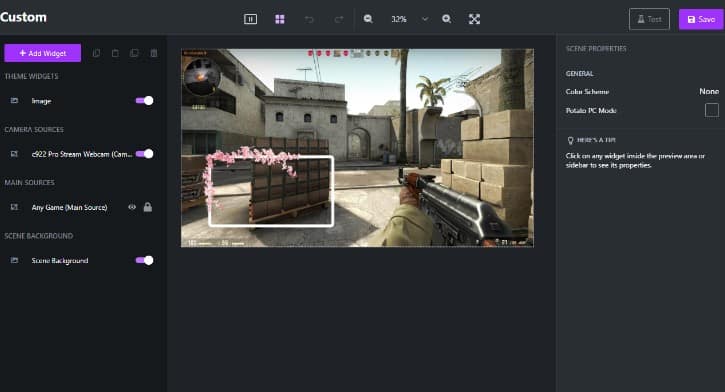
Once the scene editor comes up, remove both the main source (Any Game) and the camera source (optional – leave it if you want your webcam on this screen) by selecting them, then clicking the trash icon at the top of the sidebar. This will ensure that your background will show up instead of a game.
-
Step 2

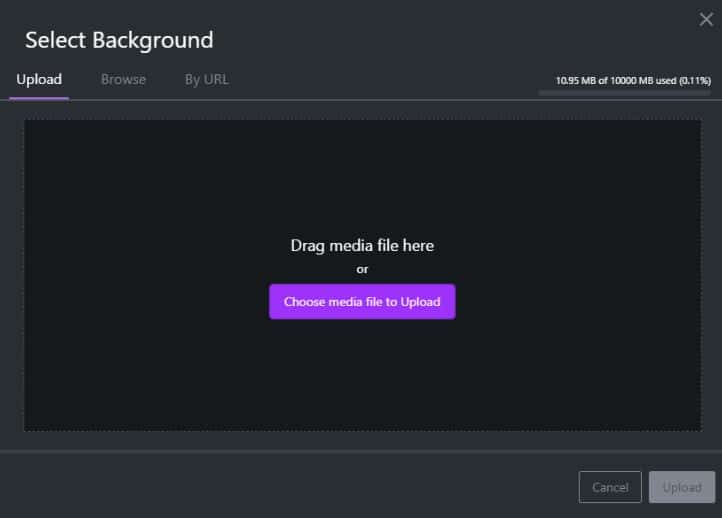
Upload the media file of your choice for your background. In some cases, you may have to add it as a widget (either an image or a video) first, then choose it from previously uploaded media. In this example, I used the video file for the cherry blossom overlay.
-
Step 3

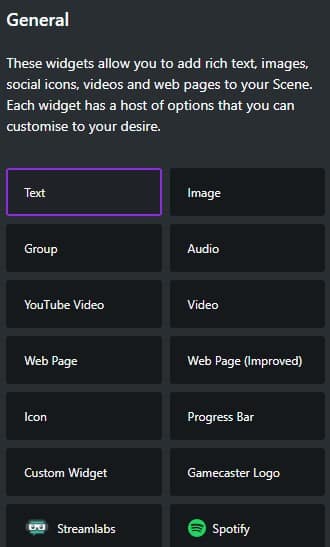
To add an image, video, or widget, click the “Add Widget” button, then choose what you wish to add.

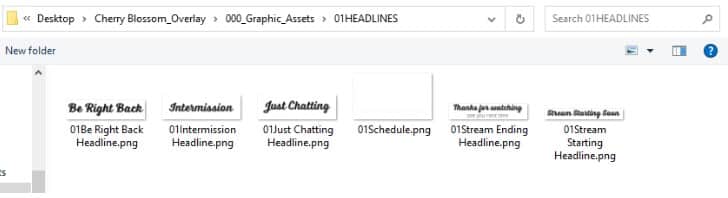
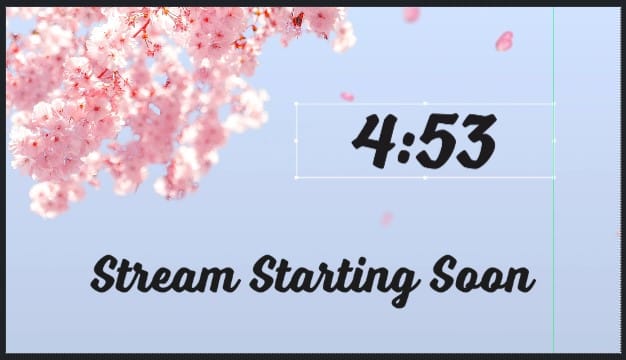
While you can use the text feature to type out “Stream Starting Soon,” I’m choosing to upload an image file included with the Cherry Blossom’s pack that already has the text. Once added, you can easily resize it and move it to anywhere on the screen.
-
Step 4

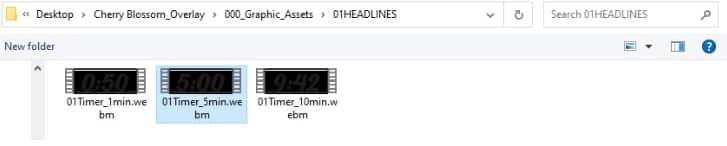
To add a timer, I’m uploading a webm file included in the pack.

When repositioning it on the screen, check for the green line that will line it up with other elements that you’ve already placed.
-
Step 5

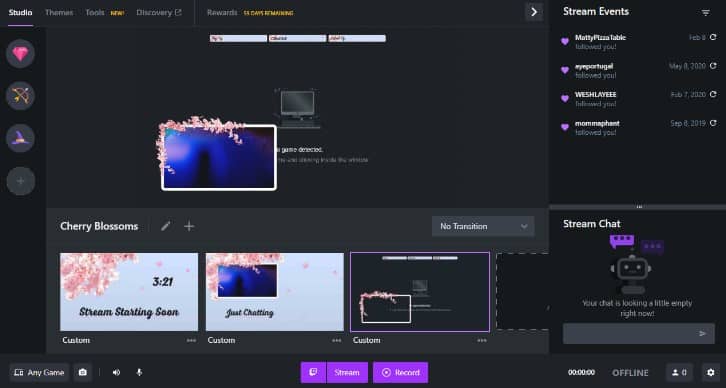
When you are happy with your results, click the “Save” button. You can always return to the scene editor if you decide to change something in the future.

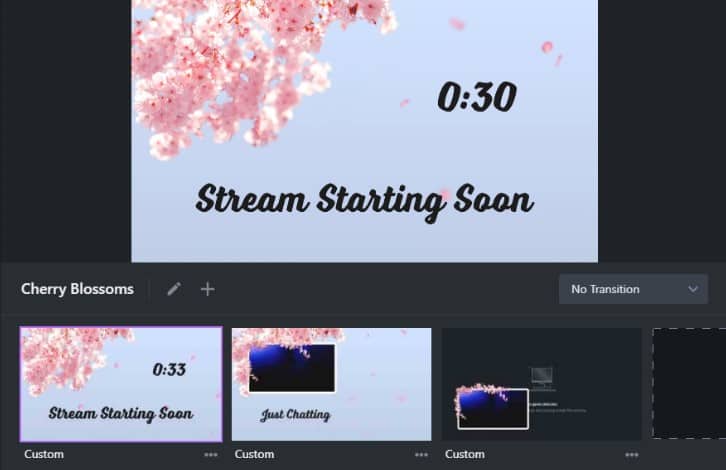
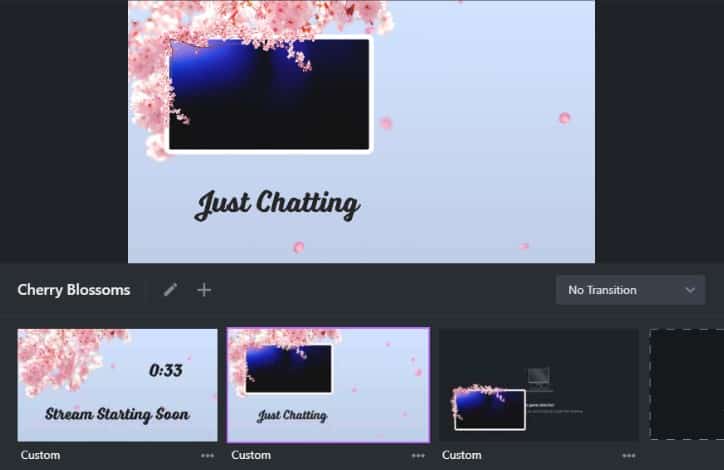
You should now be able to see your scene within the Gamecaster menu.
How to Set Up a Just Chatting Scene in Gamecaster
This section will show you how to add a webcam overlay and a chat overlay to a Just Chatting scene. To start, create a new scene, go into the scene editor, remove the game source and upload your background. Note that if you want to use the same background as another scene you created, you can duplicate the original scene and delete any elements you don’t want on the new scene. Once you have your background set, complete the following:
-
Step 1
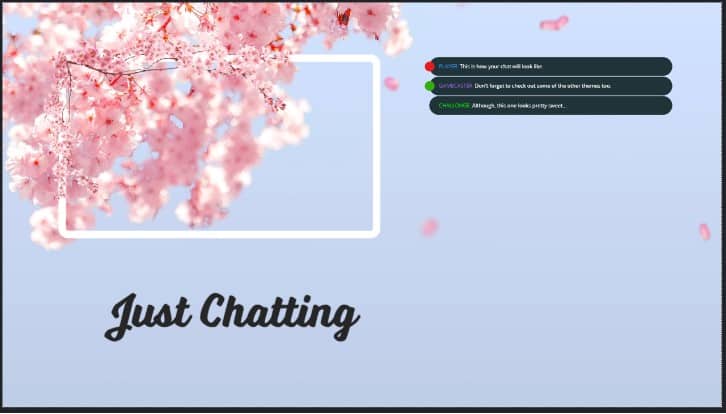
Upload the image for your webcam overlay, and place it in your desired location on your scene.
-
Step 2

Move your webcam source behind the overlay graphic and resize it to fit within the graphic’s box.
-
Step 3

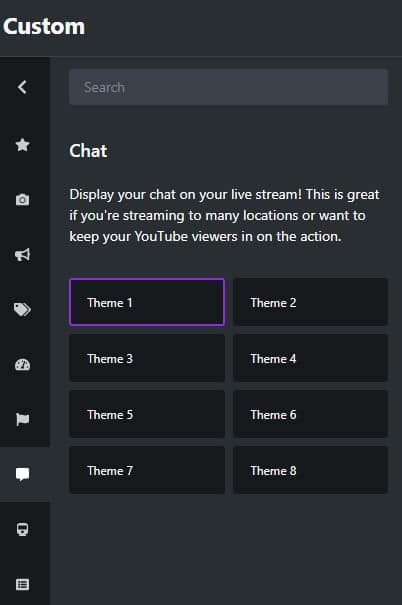
To add a chat overlay, click the “Add Widget” button then click the chat icon in the menu. This will open 8 themes from which you can choose. You can change your choice in the next step if you change your mind.
-
Step 4

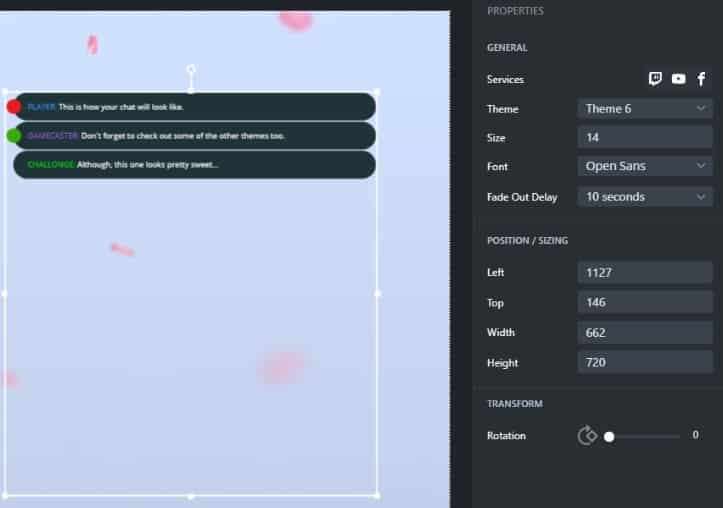
Position the chat in your desired location, then customize it using the sidebar on the right-hand side of the screen. You have the options to include the chat from your Twitch, YouTube, or Facebook channels.
-
Step 5

Add any additional elements you wish to the screen such as text, logos, stickers, or supporter bars, then save your settings.

You should be able to see your screen from the main menu. Your chat box will not show up until the stream is live and people are actively chatting.

How to Set Up Gaming Scene on Gamecaster
To set up a gaming scene on Gamecaster, all you need to do is create a new scene.
-
Step 1

The main source will already auto-pull from any game that you launch. If you would prefer, you can change the main source to a desktop feed or steam from a particular application. You can also add your webcam overlay to the screen and reposition your webcam feed within your desired space.
-
Step 2

To add an event list, visit the Event List section on the widgets and choose (and customize) your theme. Alternatively, you can do the following:

Upload your chosen graphics for your support bar.
-
Step 3

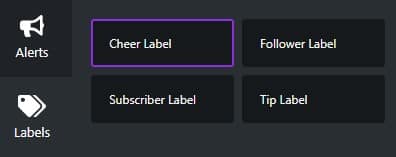
Go to your widgets section, then add the label of your choice.
-
Step 4

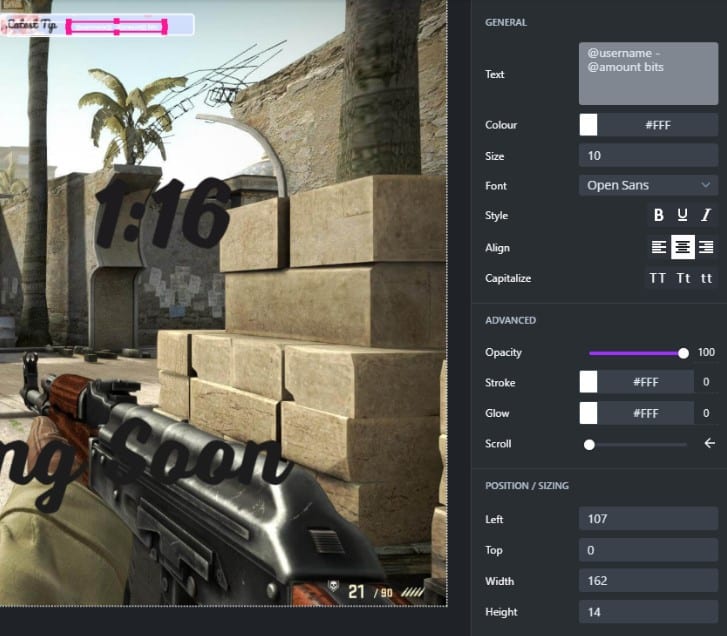
Reposition the label on your screen, edit the text to remove the label name. You can also customize the size, font, and color of your label.
Add a customized label for each event you wish to track.
-
Step 5

When finished, click save, then check your progress from the main screen.


Conclusion
With Gamecaster, you are able to create as many scenes as you wish and easily customize them at a later date. They offer many customizable widgets so that you can easily upload your own custom scenes and branding. Some exploration and a little bit of practice will unlock many different options on how you can create stunning content that excites your viewers.
Luci
Luci is a novelist, freelance writer, and active blogger. A journalist at heart, she loves nothing more than interviewing the outliers of the gaming community who are blazing a trail with entertaining original content. When she’s not penning an article, coffee in hand, she can be found gearing her shieldmaiden or playing with her son at the beach.