
When you, as a streamer, start to grow, you will eventually want to set up your own merch store, as your fans might want to show off that they are your fans. Luckily Streamlabs has a built in merch store that you can easily set up and use to sell your own products.
What Can You Sell With Streamlabs Merch?
There are 6 categories you can choose the merchandise from, these are the following (small note, this is not all of the merchandise, but just a small selection):
-
1. Accessories
Bags, phone cases and masks (Average price: $20-30)
-
2. Clothing
T-shirts, tank tops and hoodies (Average price: $15-30)
-
3. Headwear
Beanies, caps and snapbacks (Average price: $20)
-
4. Shoes
Men and women sneakers ($40)
-
5. School
Journal and notebooks (Average price $10-15)
-
6. Home & living
Mugs, towels and posters. (Average price: $15-20)
How much you make depends on how high you set the profit price, this can be up to $20 profit per product. Streamlabs lets you have 100% of the profit that is made on your products, there is also no payout threshold you need to hit before getting paid out. However, since payments are done through Paypal, it could be that there is a small fee that gets deducted from the profit, but overall you get 100% of the profit that you set on the products.
How Much More Can You Make With Streamlabs Prime?
Besides the fact that you have access to more products when you have streamlabs prime, you also get a discount on the wholesale price, which means that on average you earn around $5 more than if you don’t have prime. Taking into consideration you sell the items with the MSRP (Manufacturer’s Suggested Retail Price).
How to Set Up a Streamlabs Merch Storefront
-
Step 1

Log into your streamlabs account and go to your dashboard.
-
Step 2

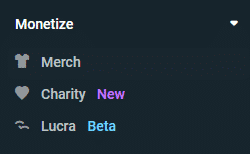
On the left hand side you have the header “monetize”, make sure it’s folded out and choose “Merch”.
-
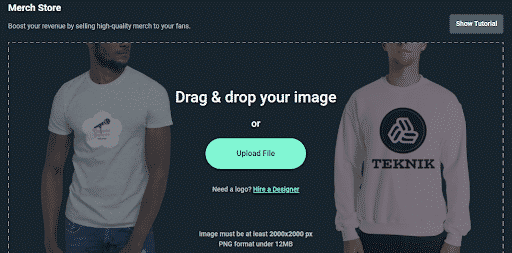
Step 3

You will see the above screen, here you can upload the image you want to use as logo on your merch.
-
Step 4
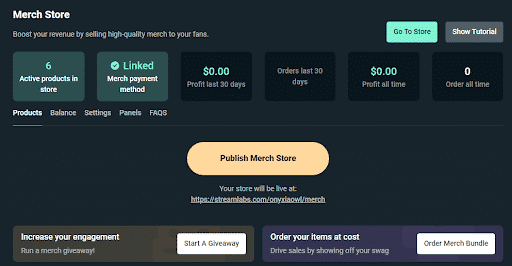
After you upload the file you want to use, Streamlabs will set up your store. This can take a moment, so be patient.
-
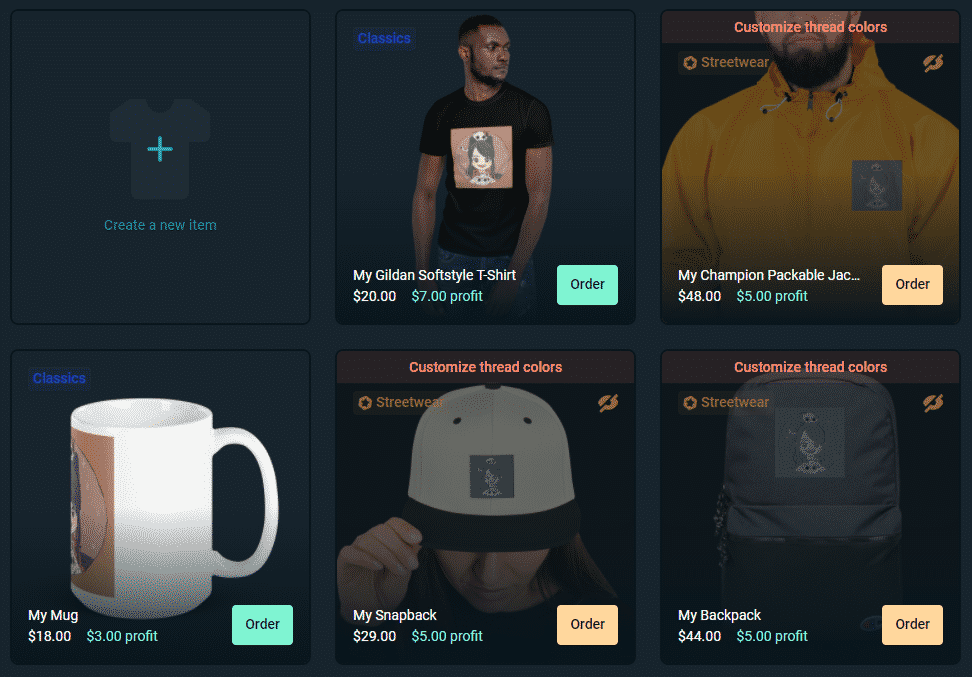
Step 5


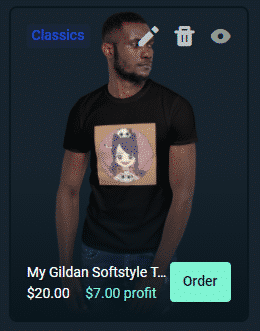
After Streamlabs set up the store, it will show you 6 items with your logo. It will show you the prize and profit you will get on each item.
-
Step 6

All there is left to do is finalize the last details, such as the profit margin and how big you want your logo to be on the products. You do this by hovering over the product with your mouse and then click on the pencil.
-
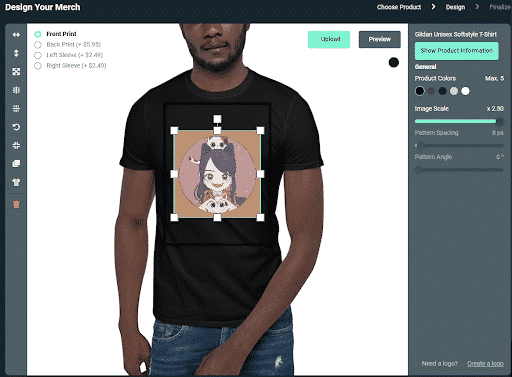
Step 7

You will go to the design page, here you can move the logo around, resize it, choose the product colors you want in your shop. Scroll down and click on next.
-
Step 8

In the last page for finalizing, you give the product a name, the profit you want to make and when you want the product to expire.
-
Step 9
The product is now in your store. If you want to add more items then click on create a new item, choose the product you want and retake steps 6-8 until you’re satisfied. Keep in mind that you can have up to 24 items in store and you will need Streamlabs Prime for most of them.


Benefits to Streamlabs Merch
The benefits of using the Streamlabs Merch store is that after you upload the images and items you want to sell, the rest of the troubles will be taken care of by Streamlabs. This includes printing, shipping, the merch alerts, which after you’ve set them up are sent out automatically, and any customer service that is needed.
Some other features that you could also see as benefits is that the printing and shipping is fast (3-7 business days), prices for fans are relatively low, while margins are high for streamers, there is no use of sweatshops and last but not least, there is a free embroidery digitization option instead of having to pay $9 per logo.
How to Set Up Merch Alerts
-
Step 1
Log into your Streamlabs account and go to your dashboard.
-
Step 2

On the left hand side you have the header “Stream Essentials”, once again make sure this is folded out and click on “Alert box.”
-
Step 3

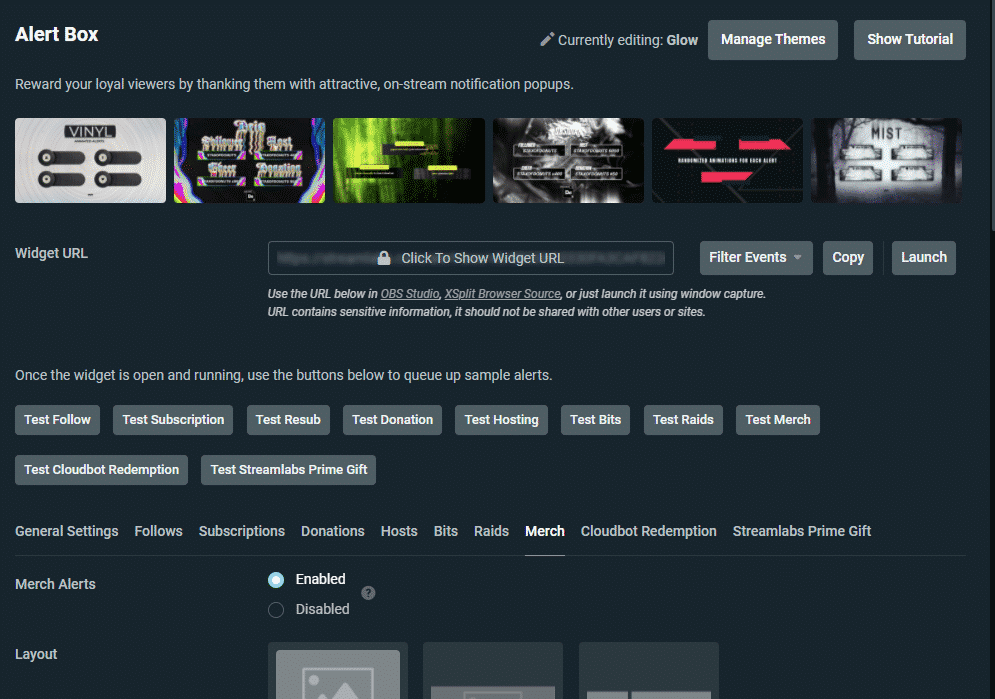
This will open up your alert box settings, here you will have to go to “merch.”
-
Step 4
First of all make sure to enable the alerts and save any edits afterwards, otherwise anything you will set up next, won’t show up during your stream.
-
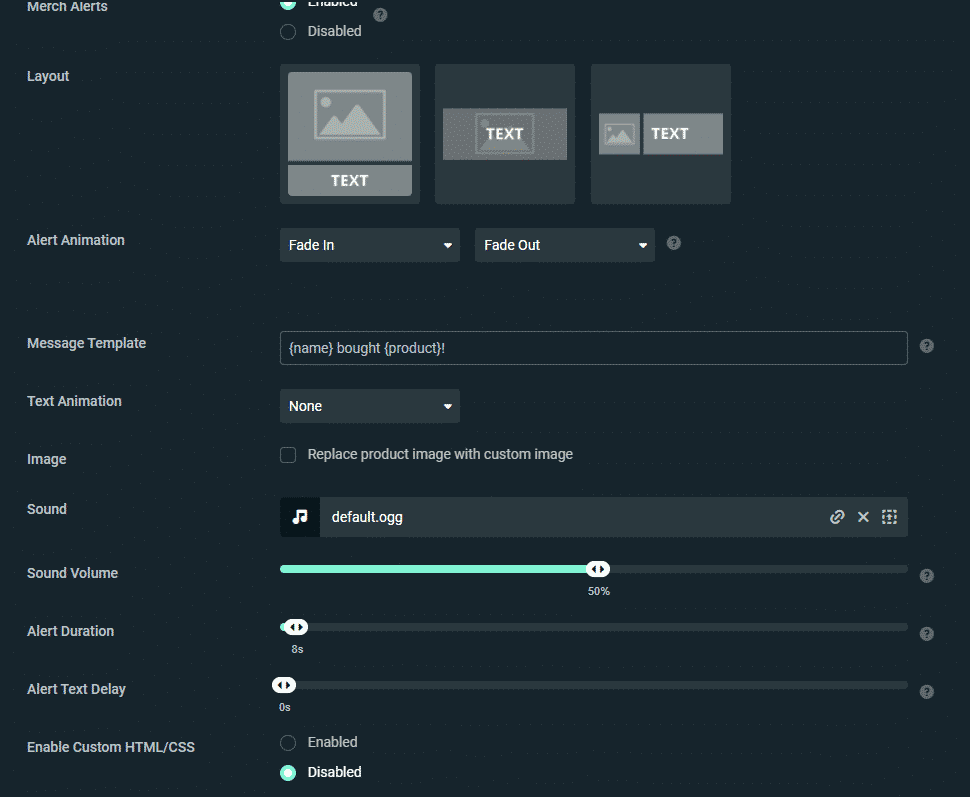
Step 5
If you scroll down, you will see the following as your screen. I’ll break down every setting so you can set it up however you would like.

Now you have set up the basics, there are 4 more settings you can use to set up your merch alert.
-
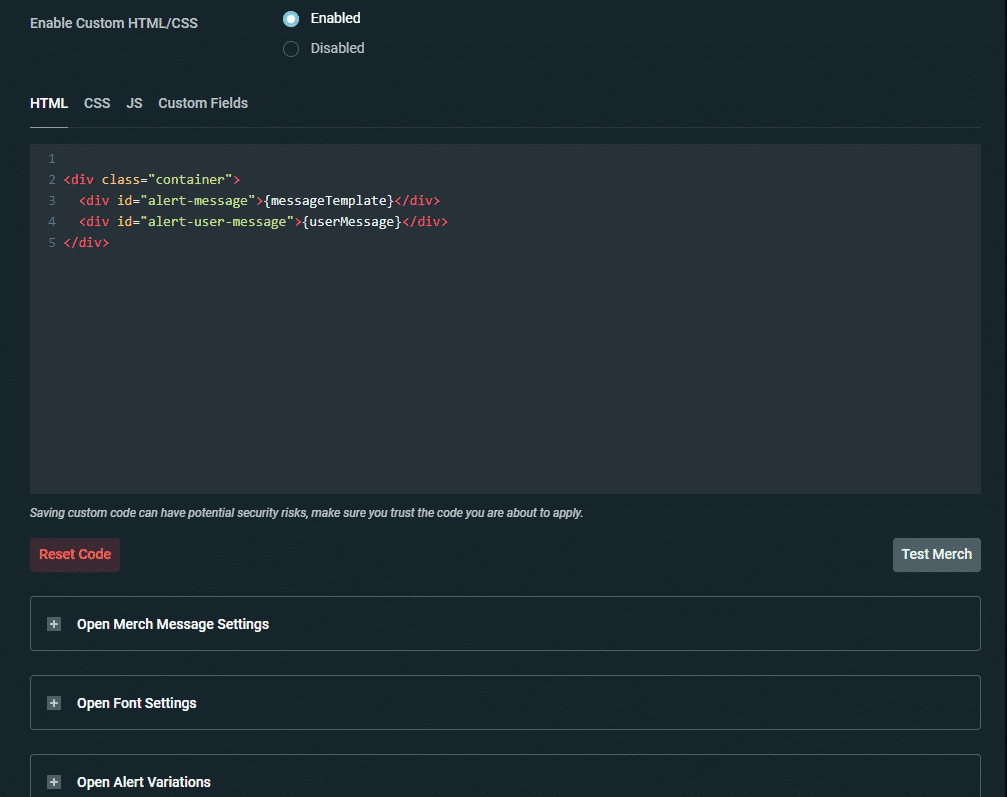
Custom HTML/CSS

If you know either HTML or CSS, then you can write down all of the information here. You can use HTML, CSS, Java Script or add a different custom field.
-
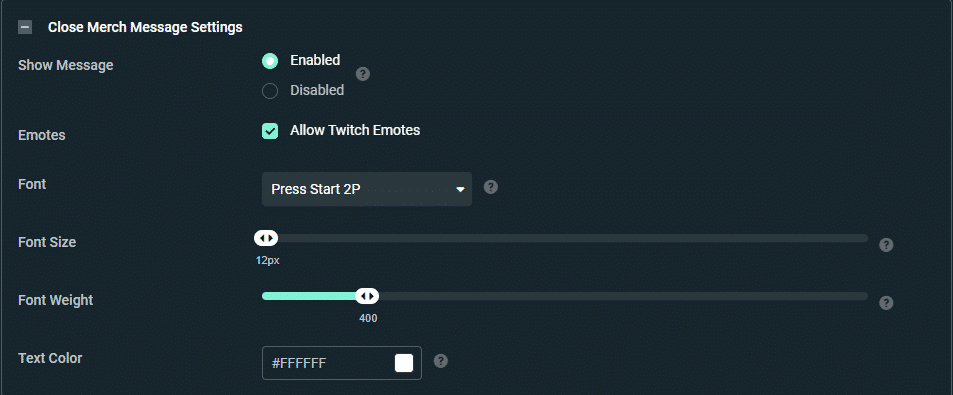
Merch Message Settings

You can choose if you allow people to send a small message with their purchase that will show up on stream. So here, you can decide if you allow twitch emotes in the message, the font of the message, the thickness of the font and what color you want the text to be.
-
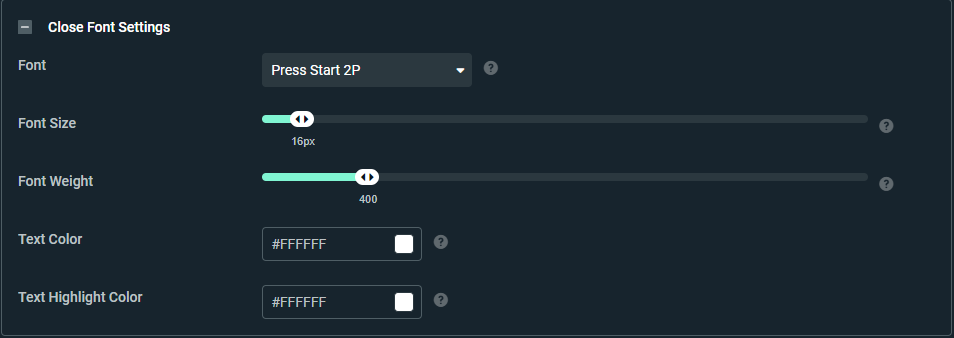
Font Settings

In the beginning of step 5, I have mentioned a message template, the message that will show up and says who bought what product. In these settings you will be able to set up the font, the size, the thickness, the text color and what color you want the highlight to be.
-
Alert Variations


The last setting you can change is any alert variations. This is a more detailed screen but is basically a repeat of the first part of step 5, the only difference is that you can decide if this alert variation comes randomly, for pre-orders or with a certain product. You can add as many variations as you see fit.
-
-
Step 6
Make sure that, when you have set up everything to save all your settings and test it with your streaming software open. That way you can see if you’re satisfied with your settings or if anything still needs to be changed.


Conclusion
Overall, if you want to sell your own merch, the streamlabs merch store is an easy way to sell it while keeping everything in the same place.

Onyxia
Onyxia is a content creator college student from the Netherlands, who recently got into streaming. She loves to share her knowledge and love for writing and streaming with people and is also passionate about building an understanding and open-minded community.