Gamecaster is one of the easiest streaming software to set up. Whether you are new to streaming or you want a simple system that offers everything you need, Gamecaster delivers a high-quality experience that is difficult to find elsewhere.
While you can upload your own branding, overlays, and graphics, Gamecaster also offers its library of free overlays and alerts that you can customize in a matter of minutes. Not only can you have something that fits your style and community, but you can also create quality content with professional-grade graphics.
This post will go over how you can set up Gamecaster for your 1st or 101st stream as well as go over a few of the options that will help you get your settings perfected.
How to Set Up Gamecaster
Gamecaster makes it easy to quickly set up a theme for your first stream. After downloading and launching the broadcasting app, complete the following steps:
-
Step 1

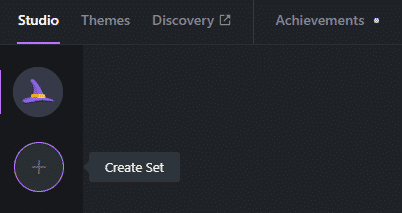
If Gamecaster didn’t prompt you, create a new set by clicking the circle with a plus button located on the left-hand side of the screen. You can create numerous sets for different styles of streams in the future.
-
Step 2

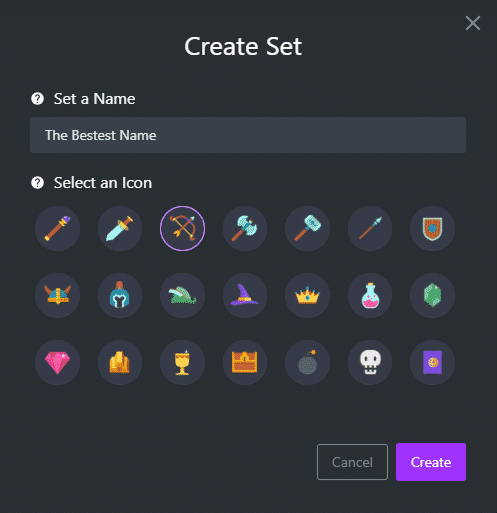
Name your set and choose an icon. If you plan to have multiple sets in the future, give it a name that will help you identify your planned purpose for it.
-
Step 3

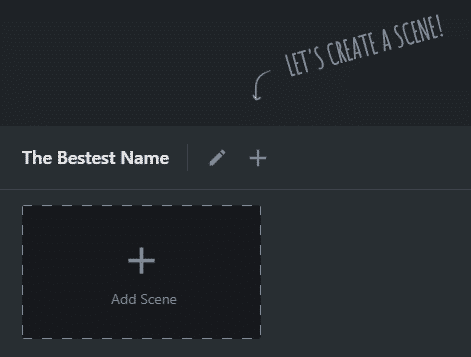
Once you have created a set, you will need to create a scene. To do this, either click the “+” on the “Add Scene” box or click the “+” to the right of your scene’s name at the bottom left-hand side of the screen.
-
Step 4

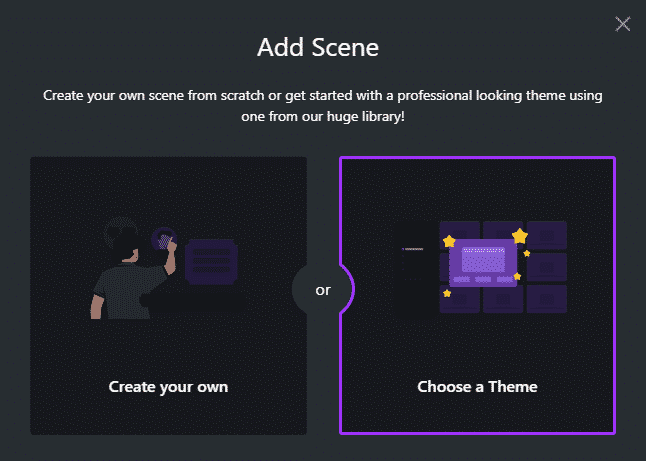
You will be able to choose between creating your own theme or choosing one that you can modify. For the purposes of this post, we will choose a theme.

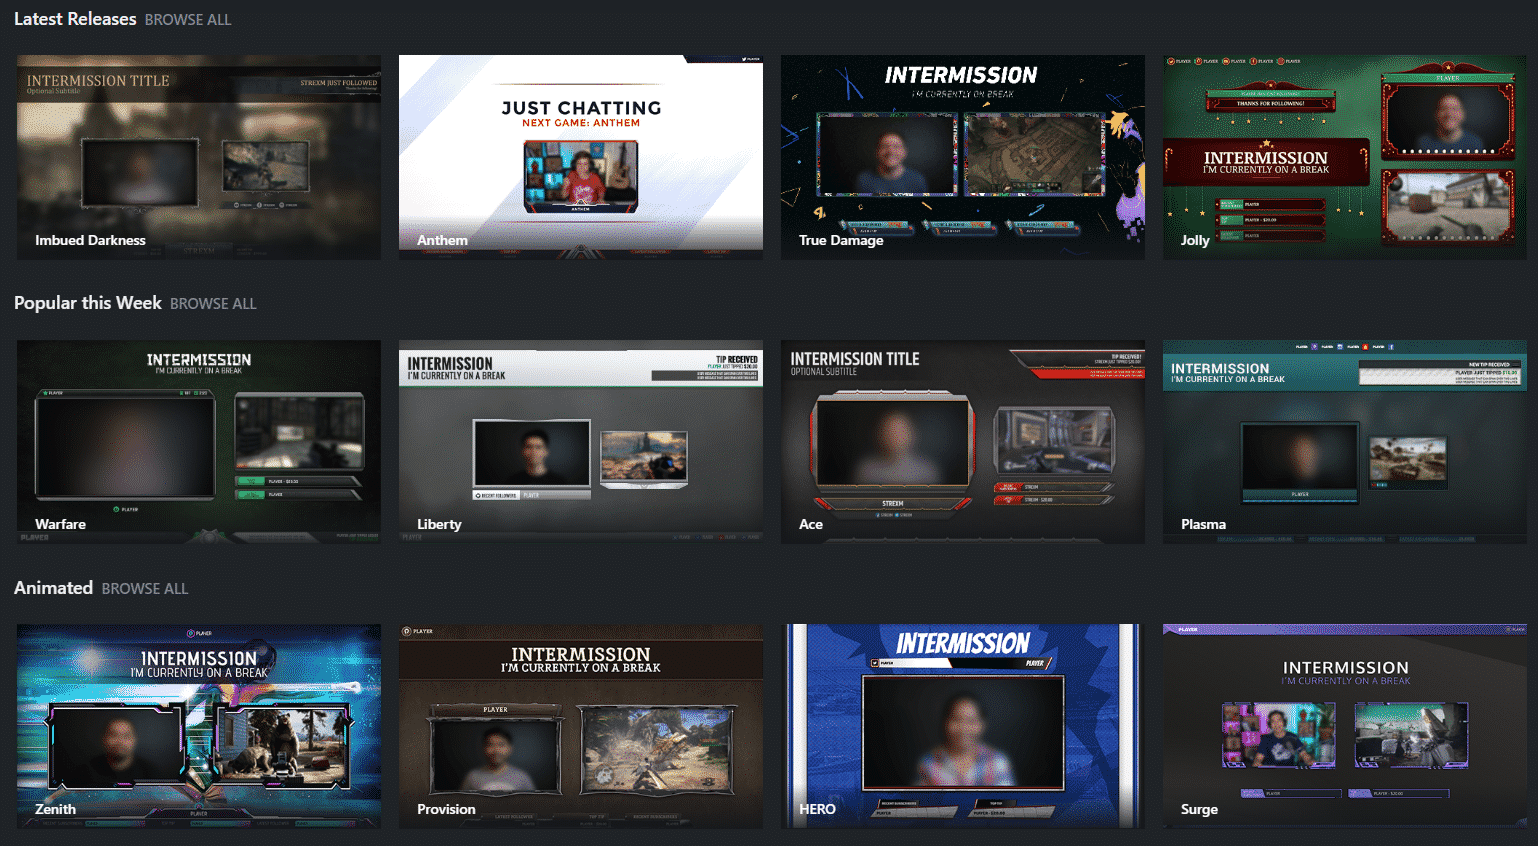
Gamecaster has dozens of themes that you can choose from. Each comes with a series of customizable options that will allow you to modify it to be closer to your personal branding.

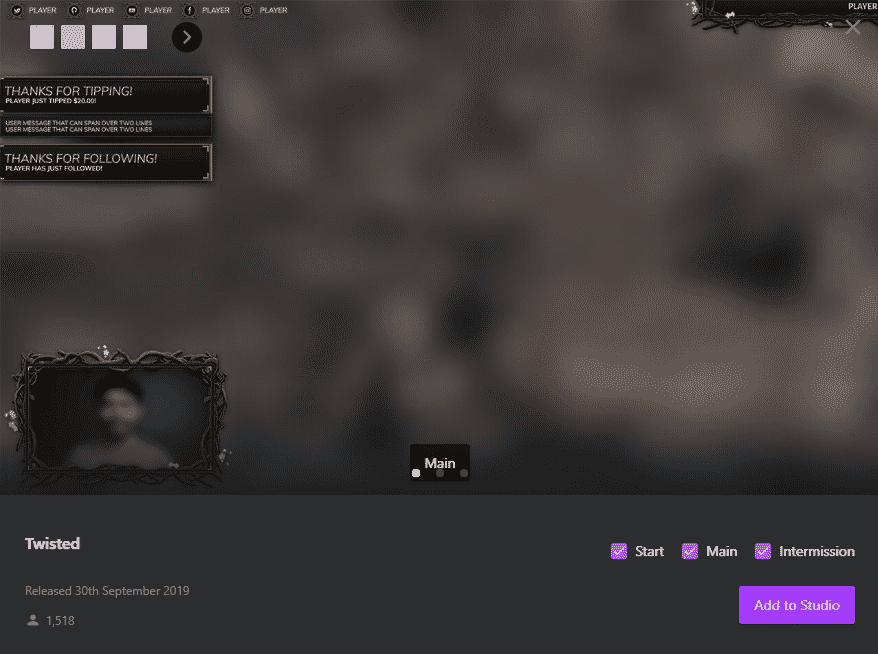
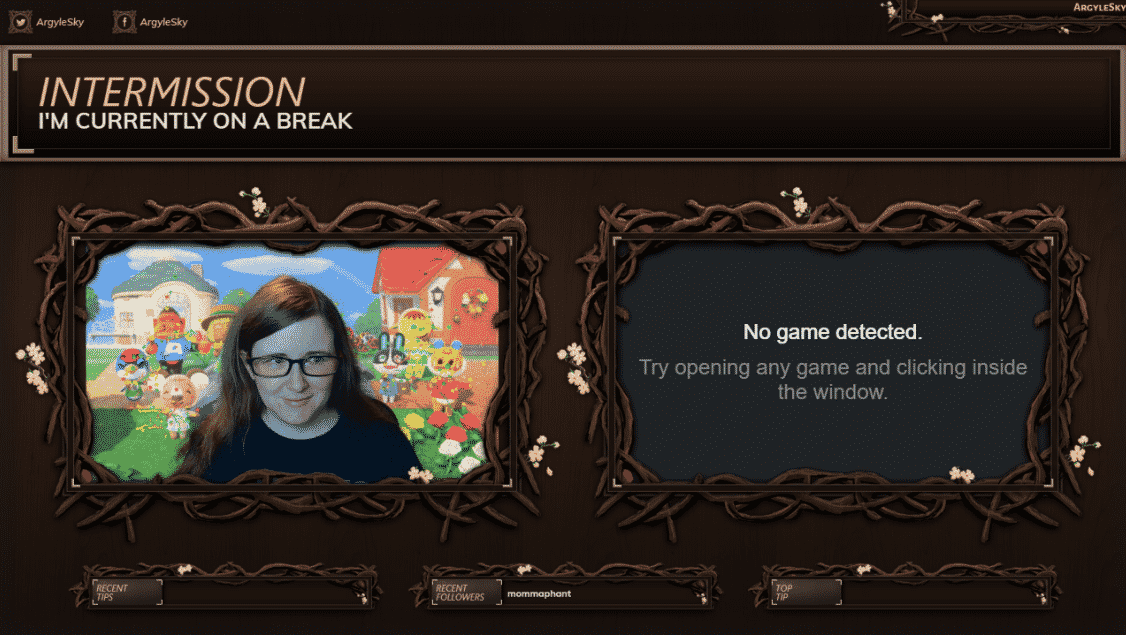
I chose the “Twisted” theme and will walk you through how to set it up for your stream.
-
Step 5

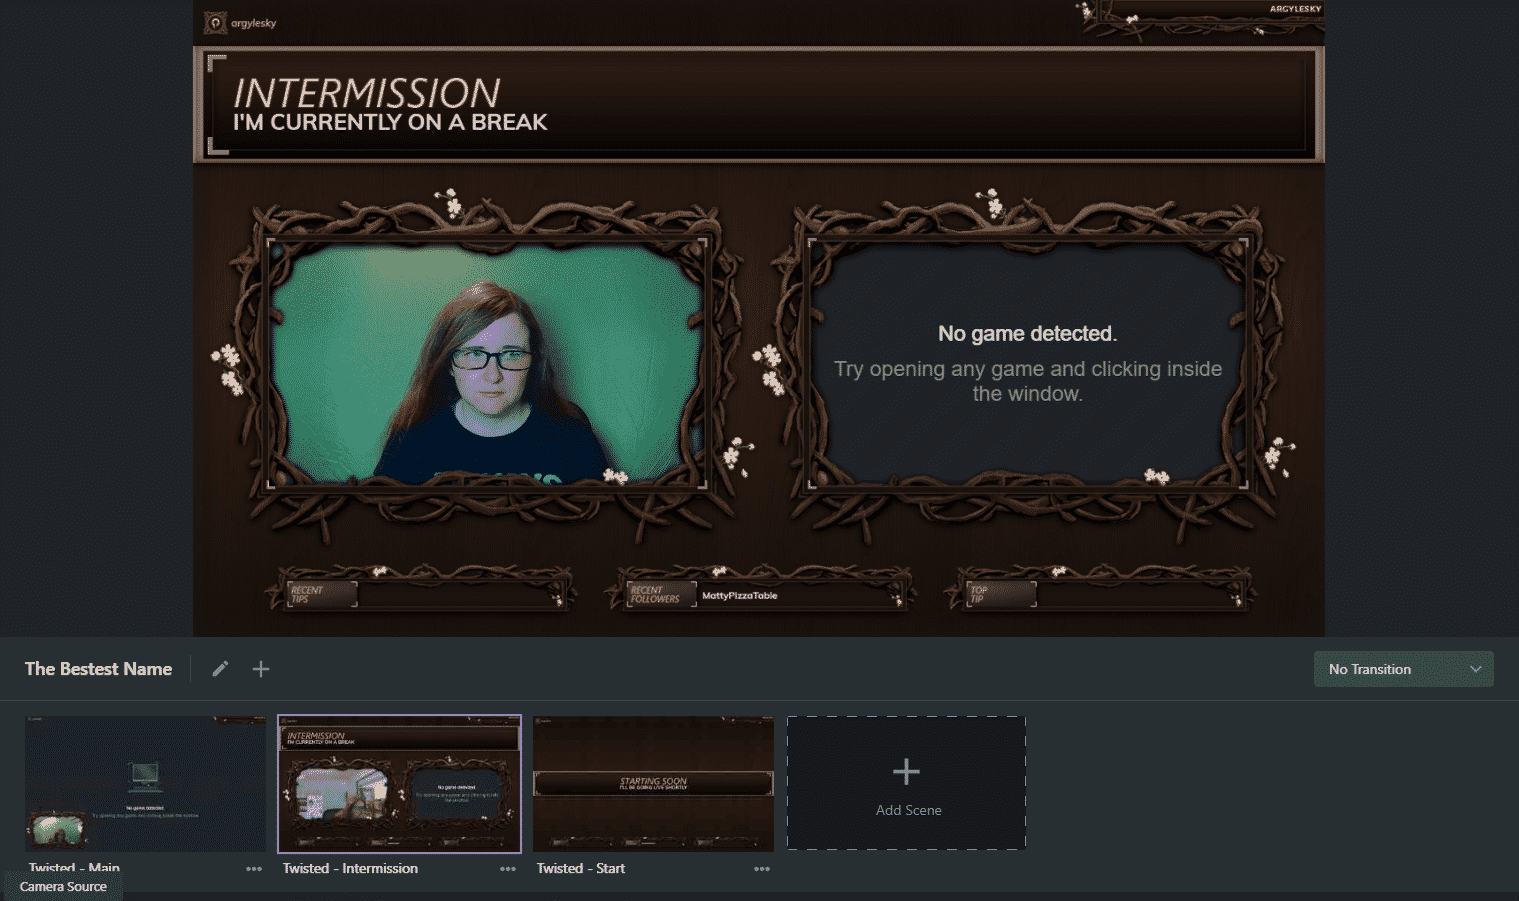
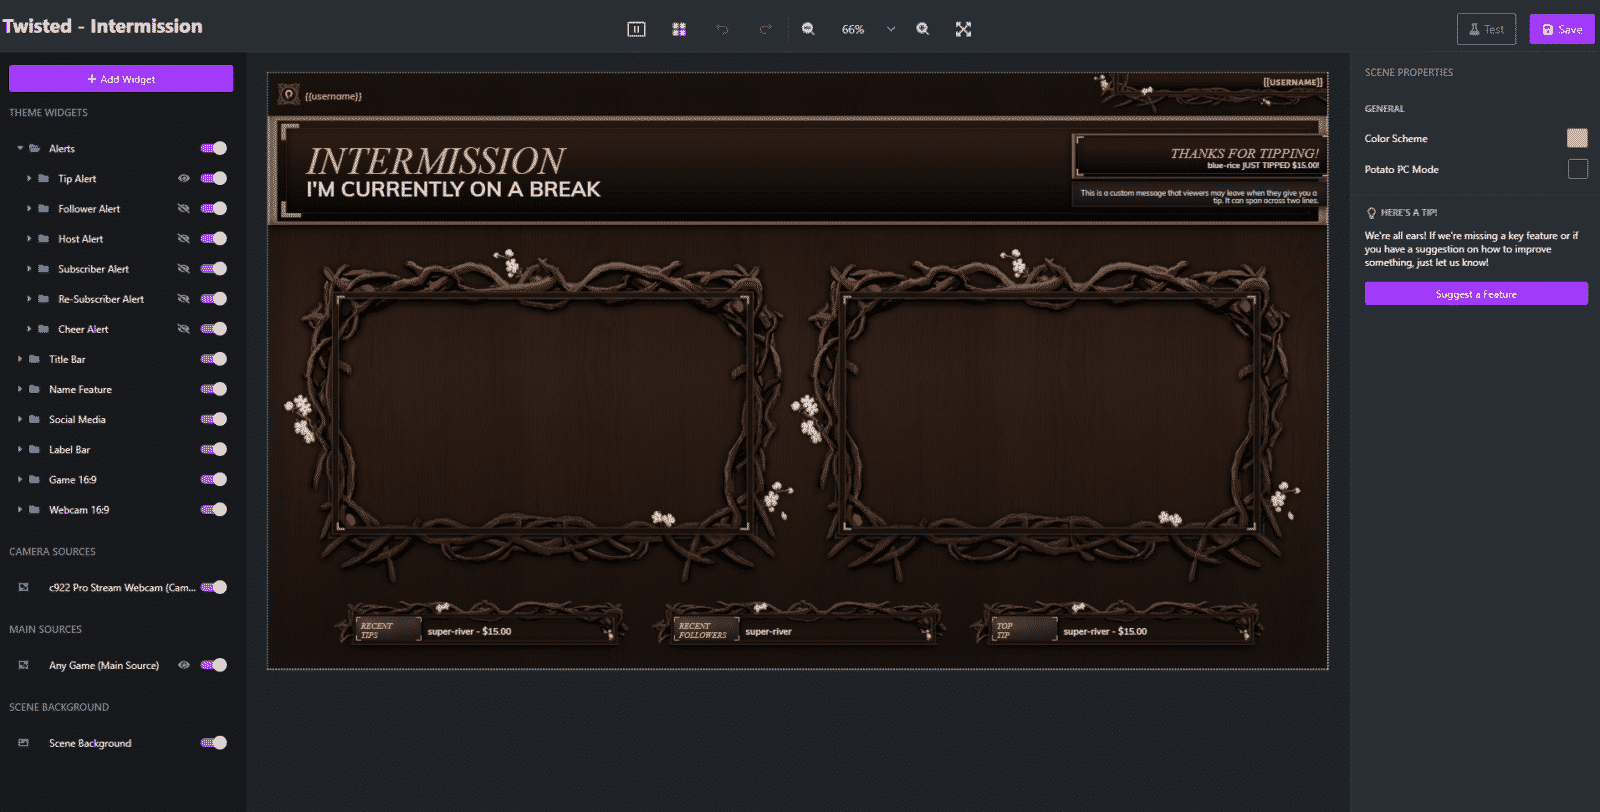
After your theme loads, you will be able to see several scenes at the bottom of the screen. You will be able to go in and customize each one to better fit your content and brand.
-
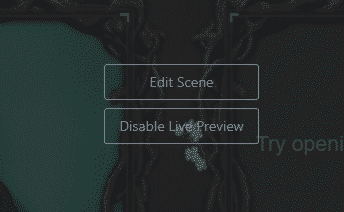
Step 6

Click on the scene, then click the “Edit Scene” button that appears. This will take you to a screen that will allow you to change many elements of the scene, including color, the text that displays, your social media, and more.

-
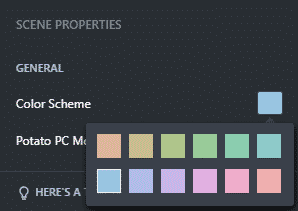
Step 7 – Change the Color Scheme

If you wish to change the color scheme, you can do so on the top right-hand side of the screen. The elements that change will vary depending on the theme you chose to use.
-
Step 8 – Change Your Name

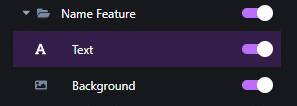
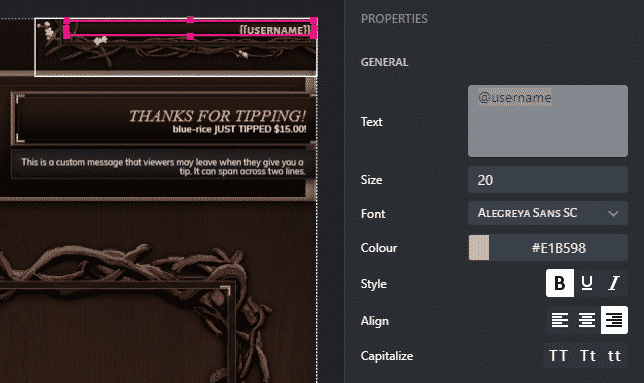
On the left-hand sidebar, you will find many other customization options for each scene. For many of these, you will have the option to change the text, background, or both. To begin editing, select the feature you wish to edit.

The feature you wish to edit will be highlighted on the screen. At the same time, an editable field will populate on the right-hand side of the screen. When changing your name, you can type in your name, change the font and size, as well as other customizations.
-
Step 9 – Add Your Socials

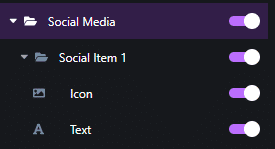
Gamecaster allows you to easily add your socials. You can add multiple accounts. All you need to do is choose the appropriate icon/logo of the platform then type in your username.
-
Step 10 – Change Chroma Key Settings

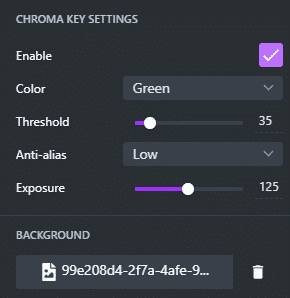
If you are using a green screen with Gamecaster, you will first need to select your camera source in the left-hand sidebar.

You will be able to edit your chroma key settings on the right-hand side of the screen. While you won’t be able to see the results on the edit screen, you can access the live screen by hovering over the Gamecaster logo in your Windows taskbar at the bottom of the screen.

Once you are happy with the results, take note of the settings so that you can quickly input them on other scenes.
-
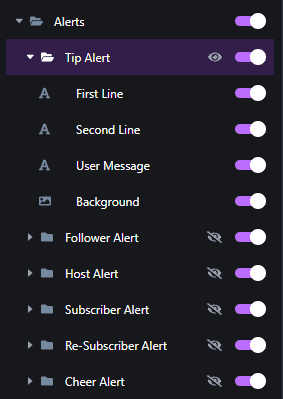
Step 11 – Set Up Your Alerts

With Gamecaster, you can customize each of your alerts to make them unique depending on the event. To start, select the alert you want to edit.

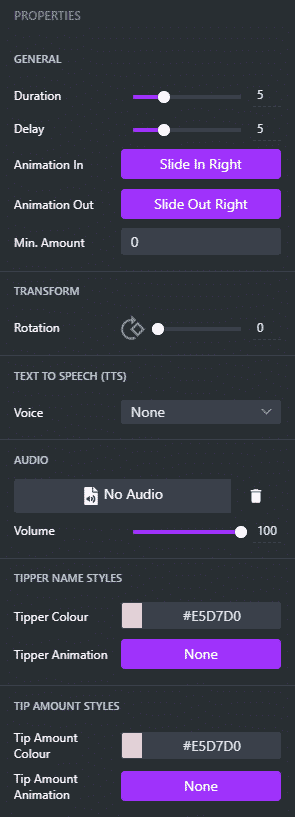
On the right side of the screen, you can edit several different elements of the alert. Almost everything about the alert can be customized, including the duration, how it will appear, how much the person has to donate (etc) to activate the alert, any sound alerts, and whether or not it will activate text-to-speech.

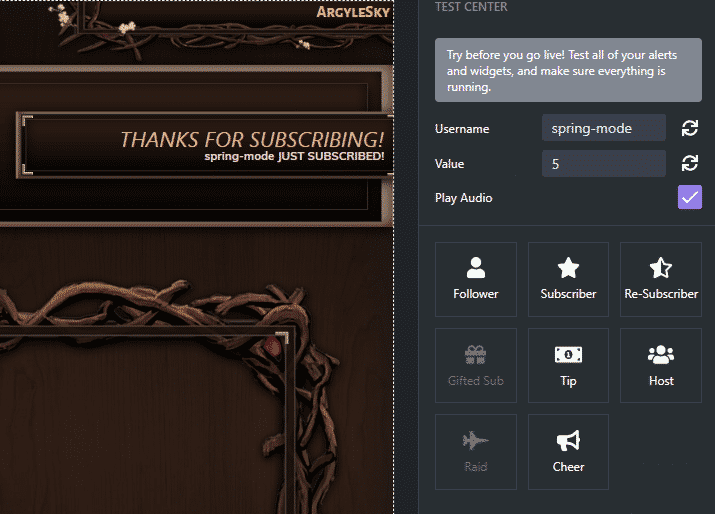
After editing them, you can see how each alert will work in the test center, which you can access at the top right-hand side of the screen. Press the “Test” button next to the “Save” button.
-
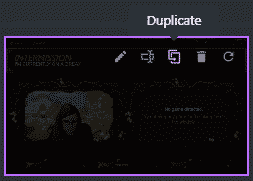
Step 12 – Customize Other Scenes
When you are finished with one scene, go in and edit the other scenes you plan to use while streaming with Gamecaster.

If you want multiple similar scenes, you can easily duplicate some scenes and edit them to be more individual.
-
Step 13

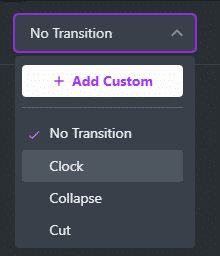
Above where your scenes are stored, you can add transitions that will play whenever you change scenes. You can choose to use one of their options or upload your own.

Set Up Donations (Tipping) on Gamecaster
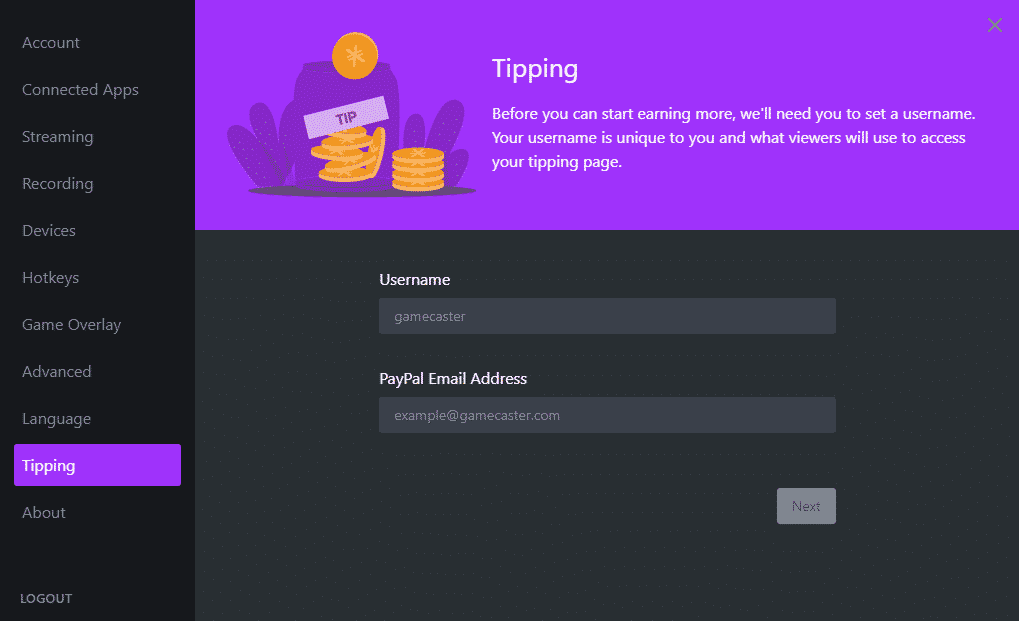
Gamecaster makes it easy for you to earn and collect tips from your viewers. All you need to do is input your username and PayPal address. Gamecaster will then give you link that you can put in your about me so that your viewers can donate to your PayPal directly.
Add Audio and Video Sources to Gamecaster
To give your stream the best quality, you will want to set up your audio and video sources and manage their settings. You can also add multiple camera or game sources through the editor, then widgets, then sources section.
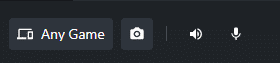
To access them, you can look at the bottom left-hand corner of the screen, where you will find four options:
-
1. Main Source (Any Game)
Clicking this option will allow you to select specific things or screens that you would like to showcase in your stream, such as game or screen capture.
-
2. Camera Source
You can set up or change your webcam. You can also change the delay settings if you wish.
-
3. System Sound
Your system sound will include any sounds other than your mic sounds, such as royalty-free music or sound effects from the game.
-
4. Microphone
Connect your microphone and manage its settings. You can test it or create a delay based on your needs.
Set Up Your Gamecaster HUD
Setting up your Gamecaster HUD will allow you to access valuable information about your stream while you are broadcasting. Once set up, all you’ll need to do is click CTRL + TAB to find out the following information about your chat, viewer counts, and recent stream events.
You can also manage the following from your HUD:
- Start or end your stream
- Record your stream locally
- Mute your audio sources (or change them)
- Remove your webcam feed
- Change to another scene
- Change your stream’s title
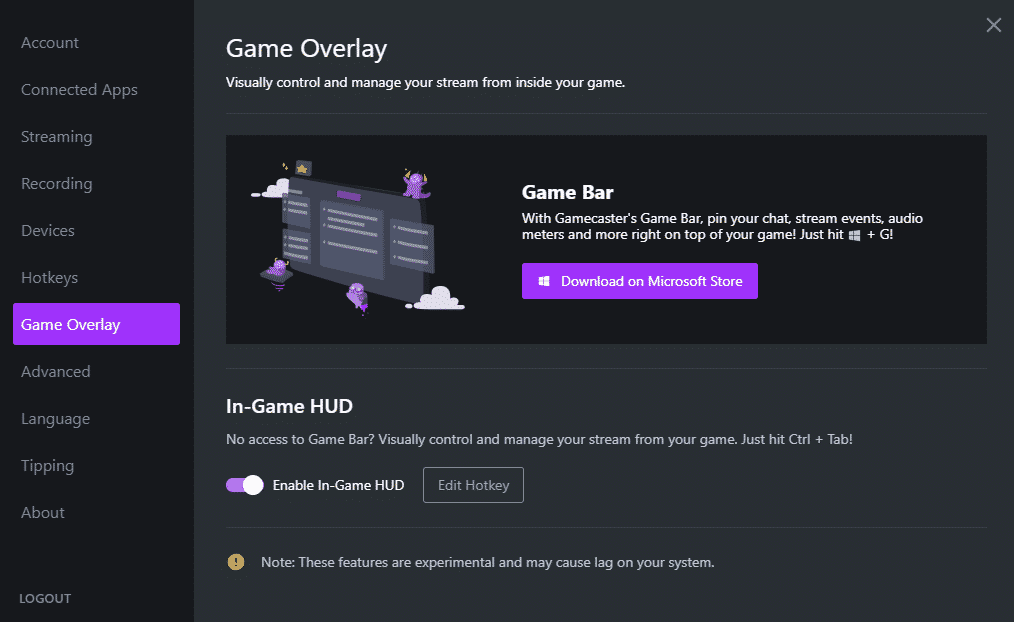
To add your HUD, all you need to do is go to your settings (by clicking the cog on the lower right-hand side of the screen), then go to Game Overlay. At that point, you can click the toggle next to “Enable In-Game HUD.”
Go Live or Record on Gamecaster
Once you have everything set up, you’ll be ready to go live or record on Gamecaster. You can create as many scenes as you wish and alternated between theme sets.

If you want to stream to a different app, you can click the Twitch icon next to stream. This will allow you to stream to YouTube or Facebook as well as connect to Restream to multistream to several platforms.
Streaming Settings
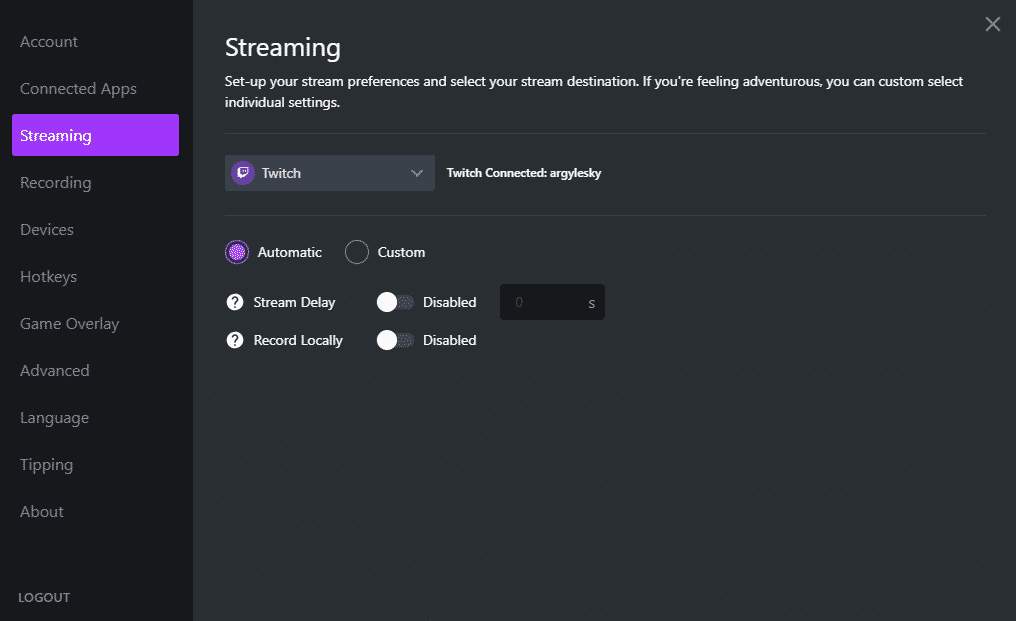
You can manage your streaming settings by clicking the cog on the lower right-hand side of the screen. You can set up a delay and choose to record a copy of your broadcast. You can choose to use Gamecaster’s auto-settings or click the “Custom” option to manage specific preferences.
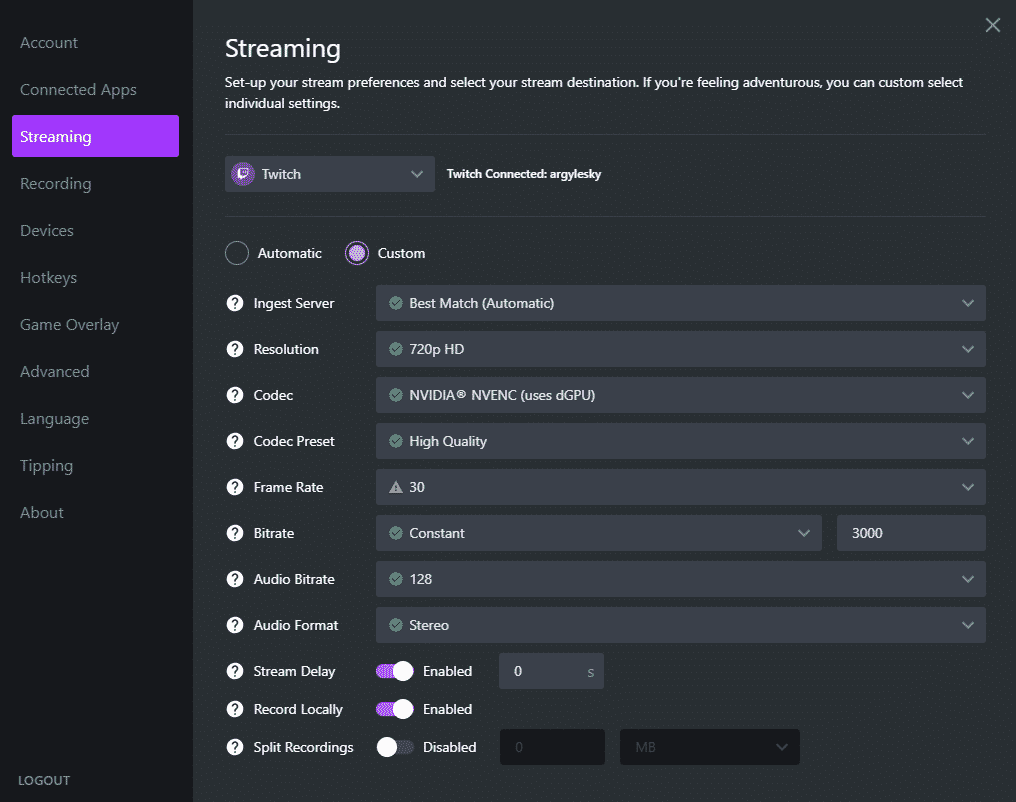
When opening these settings, you will be able to optimize each so that you can stream at the highest quality that your computer will allow.
Recording Settings
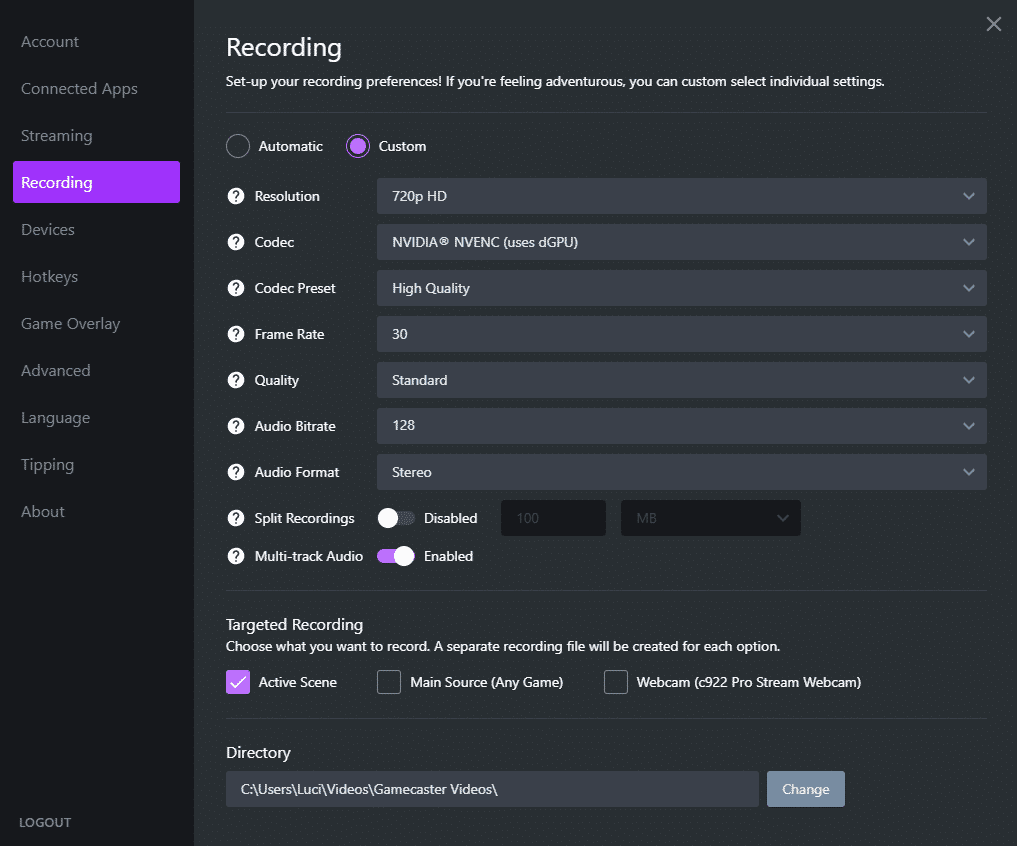
You can adjust your recording settings to get the best audio and visual quality for your videos. You also have the option of recording the active scene, the main source, or just your webcam. You can also change where the videos will be stored in your directory.
Conclusion
Even in its Beta version, Gamecaster is incredibly easy to set up for your first stream. You can continually customize your look and channel over time and enjoy the whimsical style of the app.
Gamecaster is truly showing that they are determined to be a strong contender in the streaming software market and will continue to update and improve their platform over time.
Luci
Luci is a novelist, freelance writer, and active blogger. A journalist at heart, she loves nothing more than interviewing the outliers of the gaming community who are blazing a trail with entertaining original content. When she’s not penning an article, coffee in hand, she can be found gearing her shieldmaiden or playing with her son at the beach.