Twitch overlays are a very important part of your channel’s branding. Good overlays will help make your thumbnail pop to entice people to choose your channel instead of another in the game category.
If you have purchased your overlays from OWN3D, Nerd or Die, or got one of our free overlays on our Discord server, this post will walk you through the steps on how to set them up in Streamlabs.
How to Upload Overlays to Streamlabs
Here is how you can upload your overlays to Streamlabs (for this example, we will be using our Cherry Blossoms Sample):
Step 1: Purchase and/or download the overlays you want to use on Streamlabs. Pay attention to your file location on your computer.
Step 2: Launch Streamlabs.
Step 3: Make sure to delete any scenes you do not want so that they won’t slow down your program when you stream.
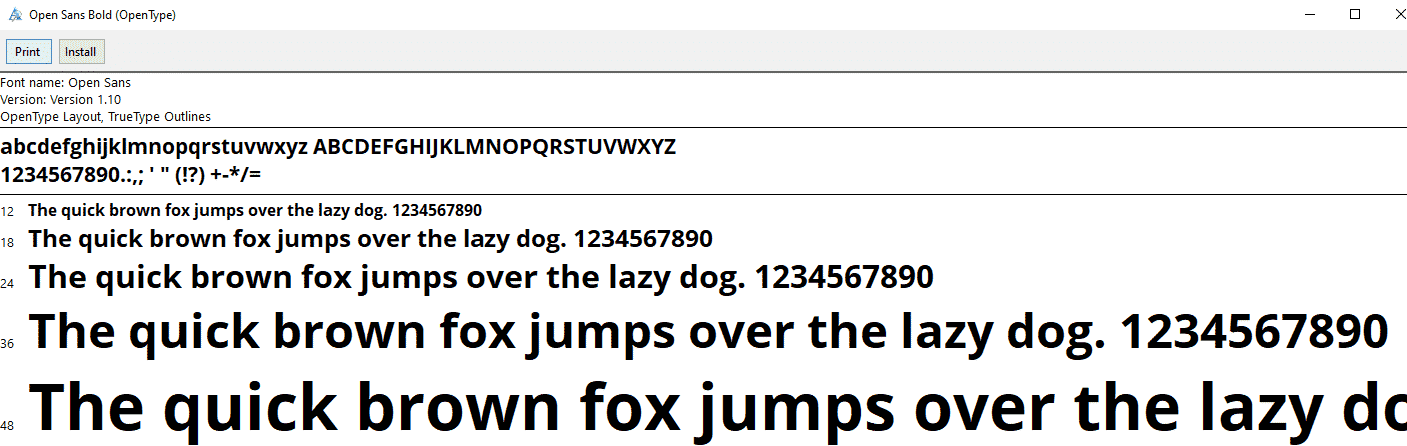
Step 4: (if using a StreamScheme overlay) install the fonts that are included with the graphic assets downloaded in your overlay pack. You must do this before continuing or the overlay may load incorrectly.
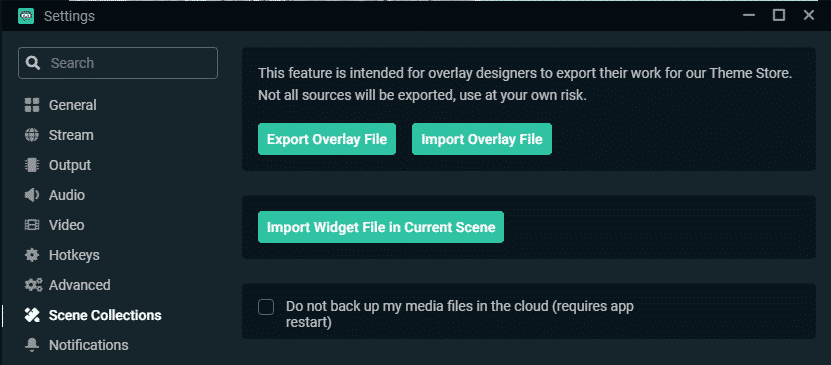
Step 5: In Streamlabs, click the “Settings” cog in the lower left-hand corner of the screen, then select “Scene Collections” from the menu that appears on the screen.
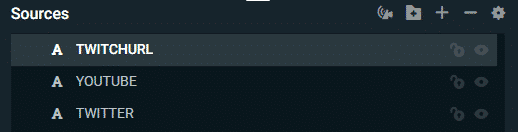
Step 6: Click the “Import Overlay File” button and search for the overlay file that you saved onto your computer. Note: you will need to remove the entire file from the Zip folder. If using one of our overlays, you can access it by opening the folder – the overlay folder (the name will vary depending on which you choose) – Streamlabs overlay folder. The file should be the only one in that folder.
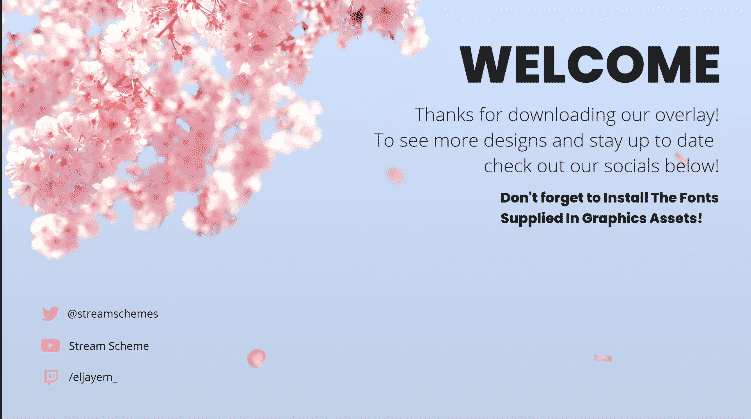
Step 7: Delete the welcome page after reading any instructions on it.
How to Modify Overlays in Streamlabs
Streamlabs has built-in theme installation, meaning that you upload an overlays package, everything should be already integrated for you. If you are uploading each element at a time, however, you will still need to set up integration with alerts and other features. That being said, you do need to go through your overlay pack and ensure everything appears the way you wish:
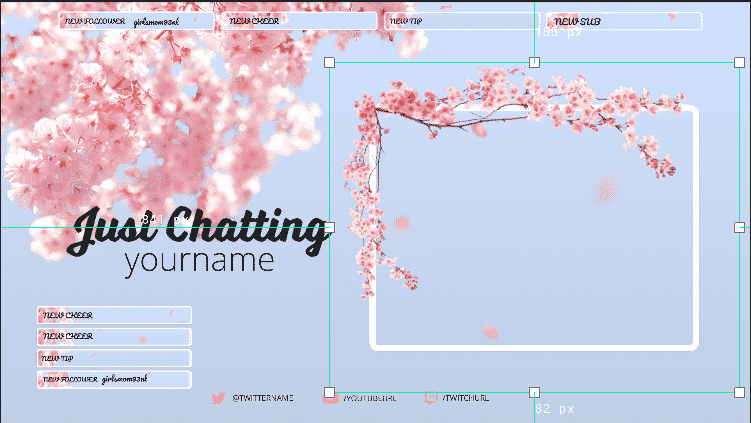
Step 1: Edit the socials. Go through each overlay and change the socials name to your own name.
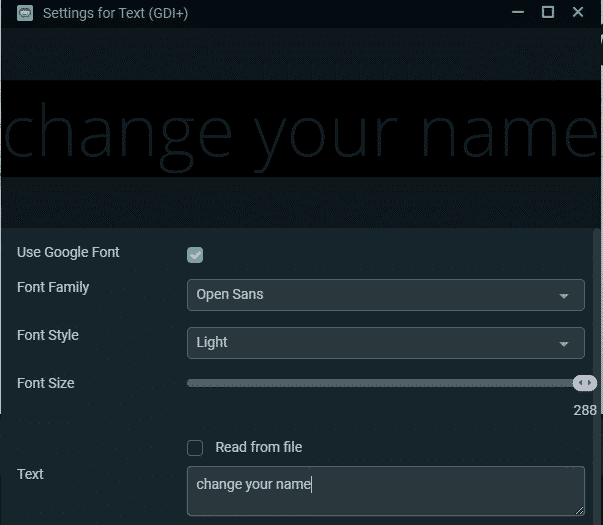
Step 2: Change your name. Most of the time, the purchased overlay will have the word “Username” where you will need to input your own.
Step 3: Set up your webcam. Most will include two webcam overlays that will wrap around your picture. Choose the one that fits your camera and layer it over your webcam feed. Ensure that it fits correctly.
Step 4: Select and edit your support bars. Most packages will come with the option of choosing either 3 or 4 bars to celebrate your community. You can modify these to show your latest followers, subscribers, donations, or anything else you wish to celebrate.
Step 5: Check them all again to ensure that everything is working as it should.
Step 6: Input them into your Elgato stream deck (if you have one) to make it even easier for you to manage things while you stream.
Conclusion
While some of the steps may be tricky to initially figure out, the fact that Streamlabs has built-in theme installation makes the process easy enough. You should be able to have everything set up within 15-20 minutes.

Eljayem
Eljayem_, is a Twitch Partner with a background in video production. He is passionate about combining his love for video with community building. He’s been playing video games since he was old enough to steal his Brothers GameBoy Colour, copy of Pokemon Blue, and accidentally waste his Master Ball on a Dratini.