How to position your mic heavily depends on whether you are using a dynamic, condenser or headset mic. If you’re using the desktop stand that comes with many microphones, you should place the microphone 6 to 12 inches away from your face if you can. If it’s further away, you might not get the perfect sound and your microphone might pick up the background noise.
Good audio on Twitch is important to channel growth, but upgrading your mic is only one part of the equation. Speaking into the wrong part of the mic or not setting it up correctly will limit its utility. This post will go into how you should set up each type of mic to get the best quality audio.
Types of Microphone
There are several types of microphones available on the market, but there are certain types and brands that work best for streamers. Here are the three most common types that broadcasters use:
1. Dynamic Cardioid Microphones
Dynamic microphones do an extremely great job at eliminating background noises and picking up sound that is directly in front of them, namely your voice. These are popular particularly for broadcasters who are streaming in rooms that are not acoustically treated. Often, first-time streamers will be surprised that their streaming setup will not sound that great as there will be sound waves bouncing from the room, desk, and computer, into the microphone. As previously mentioned, dynamic microphones are outstanding at eliminating these sounds. Dynamic microphones are extremely durable and pick up excellent audio, so your voice on stream will sound great.
Perhaps the most popular dynamic microphone on the market right now is the Shure SM7B Cardioid Dynamic Microphone. This microphone specifically is used by many of the top streamers, due to its exceptional sound. You do need to talk directly into the microphone, which limits your freedom to move around while streaming.
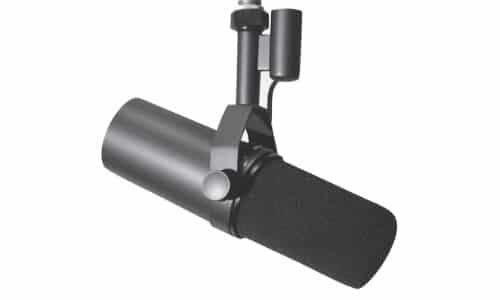
Shure SM7B Features and Overview
The Shure SM7B is a cardioid dynamic microphone. The mic is used by many of the top streamers as well as by thousands of other streamers on Twitch and YouTube. It has a pop filter that eliminates many backgrounds and breathing sounds, a bass roll-off, and an improved rejection of electromagnetic humming. It uses yoke mounting with a captive stand that gives you full control of how it is positioned in front of you. Some of the features include the following:
- Design and build quality
- EQ Frequencies
- 2 Windscreens
For more information, read our Shure SM7B review.
2. Condenser Cardioid Microphones
Condenser microphones are also a great option for streamers. While these microphones tend to sound more rich and detailed than dynamic microphones, they are also way more sensitive and pick up more background room sounds.
If you are speaking closer to the condenser microphone, it will be easier to eliminate background noise with different software. Unlike the dynamic microphone, you have more freedom to move around since condenser microphones can also pick up your voice from a further distance because of their higher sensitivity. Condenser microphones are also considerably cheaper than dynamic microphones.
Blue Yeti X
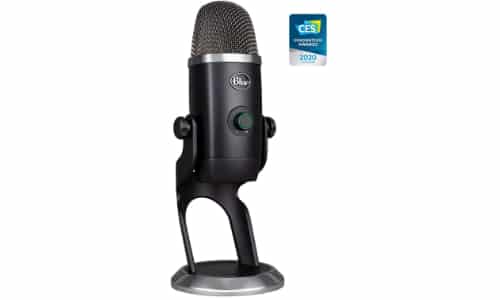
- High-res LED Metering
- Broadcast Vocal Effects
- Smart Knob
HyperX Quadcast
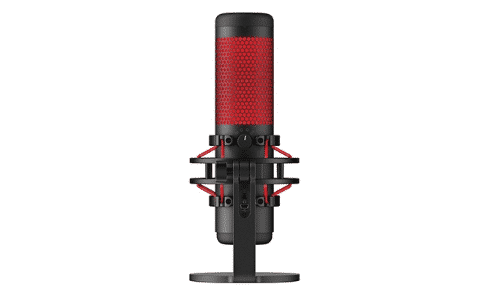
- Tap to Mute Censor
- Shock Mount
- 4 Polar Patterns
AT2020
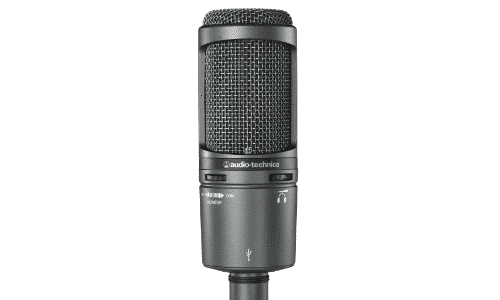
- Studio Condenser
- Low-Mass Diaphragm
- Sound Source Isolation
The most widely used condenser microphone for live streaming is the Blue Yeti. It also happens to be the microphone I use, and it does a fantastic job. Other great options include the HyperX QuadCast or the Audio-Technica AT2020USB+ Cardioid Condenser USB Microphone.
For more information about the mic I use, read my Blue Yeti review.
3. Headset Microphones
Headset microphones are perhaps the least viable option if you want to grow your stream in the long term. Most streamers will opt for dynamic or condenser microphones, as they will sound much better than traditional gaming headset microphones. The main advantage of headset microphones for streaming is that you probably already are using them for gaming with your friends and they are relatively low budget compared to the two aforementioned types of microphones.
Razer Kraken X
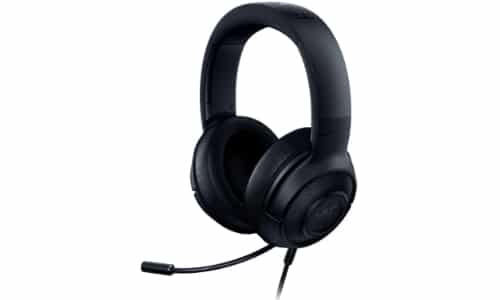
- 7.1 Surround Sound
- Noise Canceling
- Durable
HyperX Cloud II
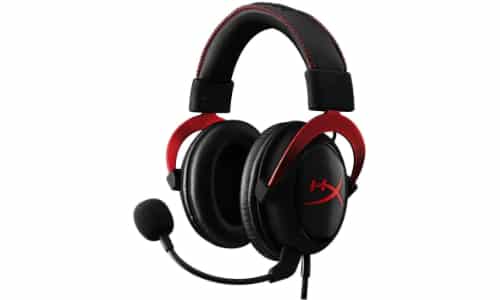
- Noise Cancelation
- Built to last
- 7.1 virtual surround sound
Arctis Pro
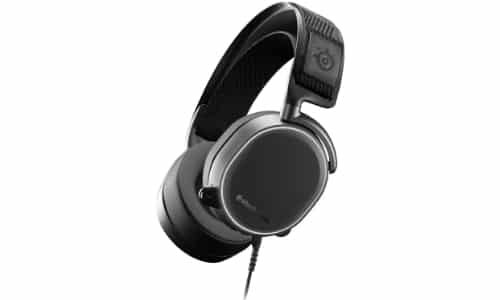
- Studio clarity
- Silicone side grips
- X v2.0 surround sound
Some of the better headset microphones include the HyperX Cloud II or the SteelSeries Arctis Pro High Fidelity. A cheaper alternative is the Gaming Headset Razer Kraken X Ultralight Gaming Headset.
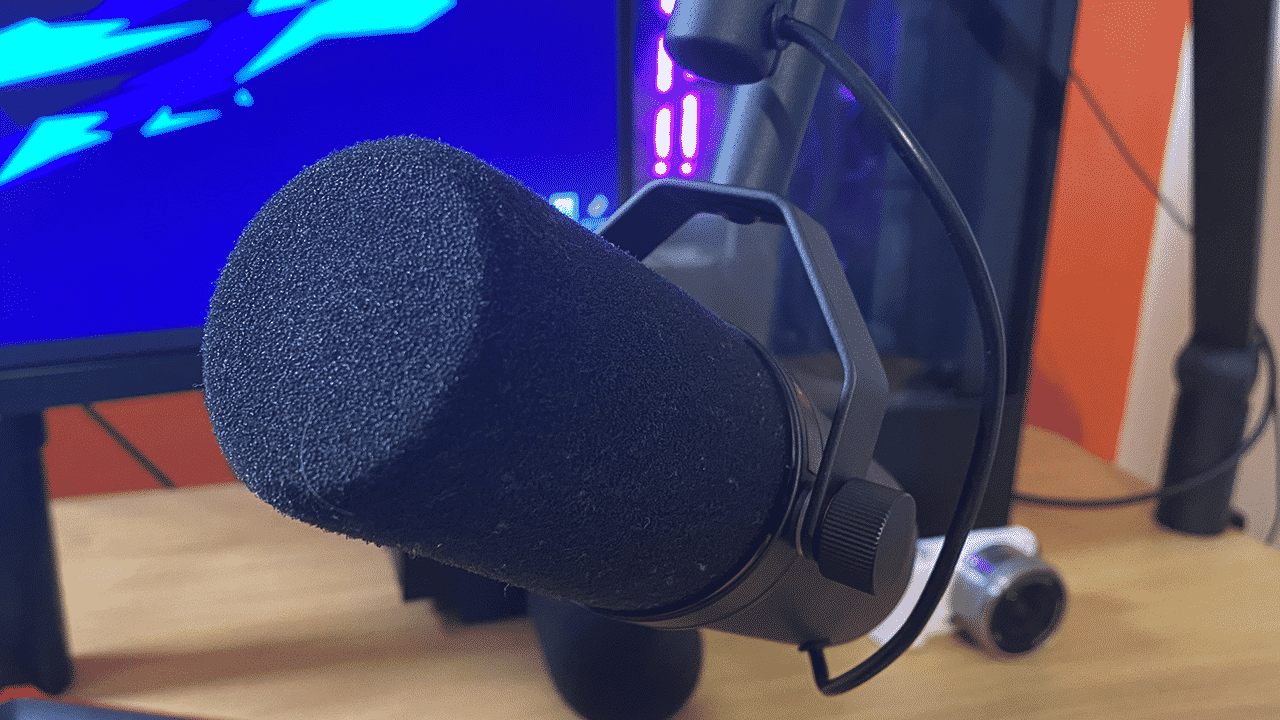
How to Position a Mounted Microphone Boom Arm
The objective of a boom arm is to get your microphone as close to your mouth as possible in order to achieve optimal sound. The most commonplace to install a mounted microphone boom arm is on either side of your desk. Once it is installed, you will easily be able to adjust the boom arm in a way that will not obstruct your field of vision. Also, you want to give yourself enough room to move your hands underneath the boom arm so that you don’t constantly bump your hands into it whenever you need to type.
How to Position a Free Standing Microphone
If you don’t have a boom arm and you’re using the desktop stand that comes with many microphones, you should place the microphone 6 to 12 inches away from your face if you can. If it’s further away, you might not get the perfect sound and your microphone might pick up background noise since you’ll need to turn up the gain. Furthermore, the microphone needs to be angled towards your face in a way that you are talking into the side of it for a side-address microphone, or in the front of it for a front-address microphone.
How to Position a Headset Microphone
When using a headset microphone, you will need to make sure that the microphone is placed approximately one inch away to the side of your mouth, right beside your chin. It should not be placed directly in front of your mouth to avoid hearing breathing sounds or muffled audio. If the front of the microphone is labeled, it is important to have that side angled towards your mouth.
How Far Should Your Mic Be From Your Face?
For optimal results, your condenser or dynamic microphone should be approximately 4 to 12 inches away from your face. If the microphone is too close, it will pick up too much of the low-frequency sounds in your voice. There isn’t much leeway if you have a dynamic microphone.
If you have a condenser microphone, you can place your microphone further away and turn up the gain knob if the sound of your voice is too low. However, there is a risk that your microphone will pick up the background noise in the room such as PC fans or the air conditioning.
For a headset microphone, you will want to place it about an inch away from your mouth, to the side for better results.
Ultimately, the aforementioned suggestions are just a rule of thumb. Everyone has different rooms and voices so it’s important to test out what works best for you before going live.
Should My Mic Be Upside Down?
While it’s not completely necessary to position your microphone upside down, it certainly has benefits for some microphones. This is especially true for side-address condenser microphones such as the Blue Yeti. If you position these upside down, you can still easily talk into the side of the microphone at a 90-degree angle.
Placing the microphone upside down puts it outside of the webcam frame, and it will obstruct your field of vision way less. Also, when you are breathing or pronouncing words with plosives (“P’s and T’s), the air will pass under the microphone as opposed to into it, creating a better sound. However, if you choose to position a front-address microphone such as the Shure SM7B upside down, it is important to angle it so that you are still speaking directly into the front of the microphone.

Alex
Alex, also known as CallMeB27, is a Twitch streamer from Montreal, Canada. He earned his Master’s Degree in Business, Management, and Operations from Georgetown University. His biggest passions include video games, sports, and traveling.

