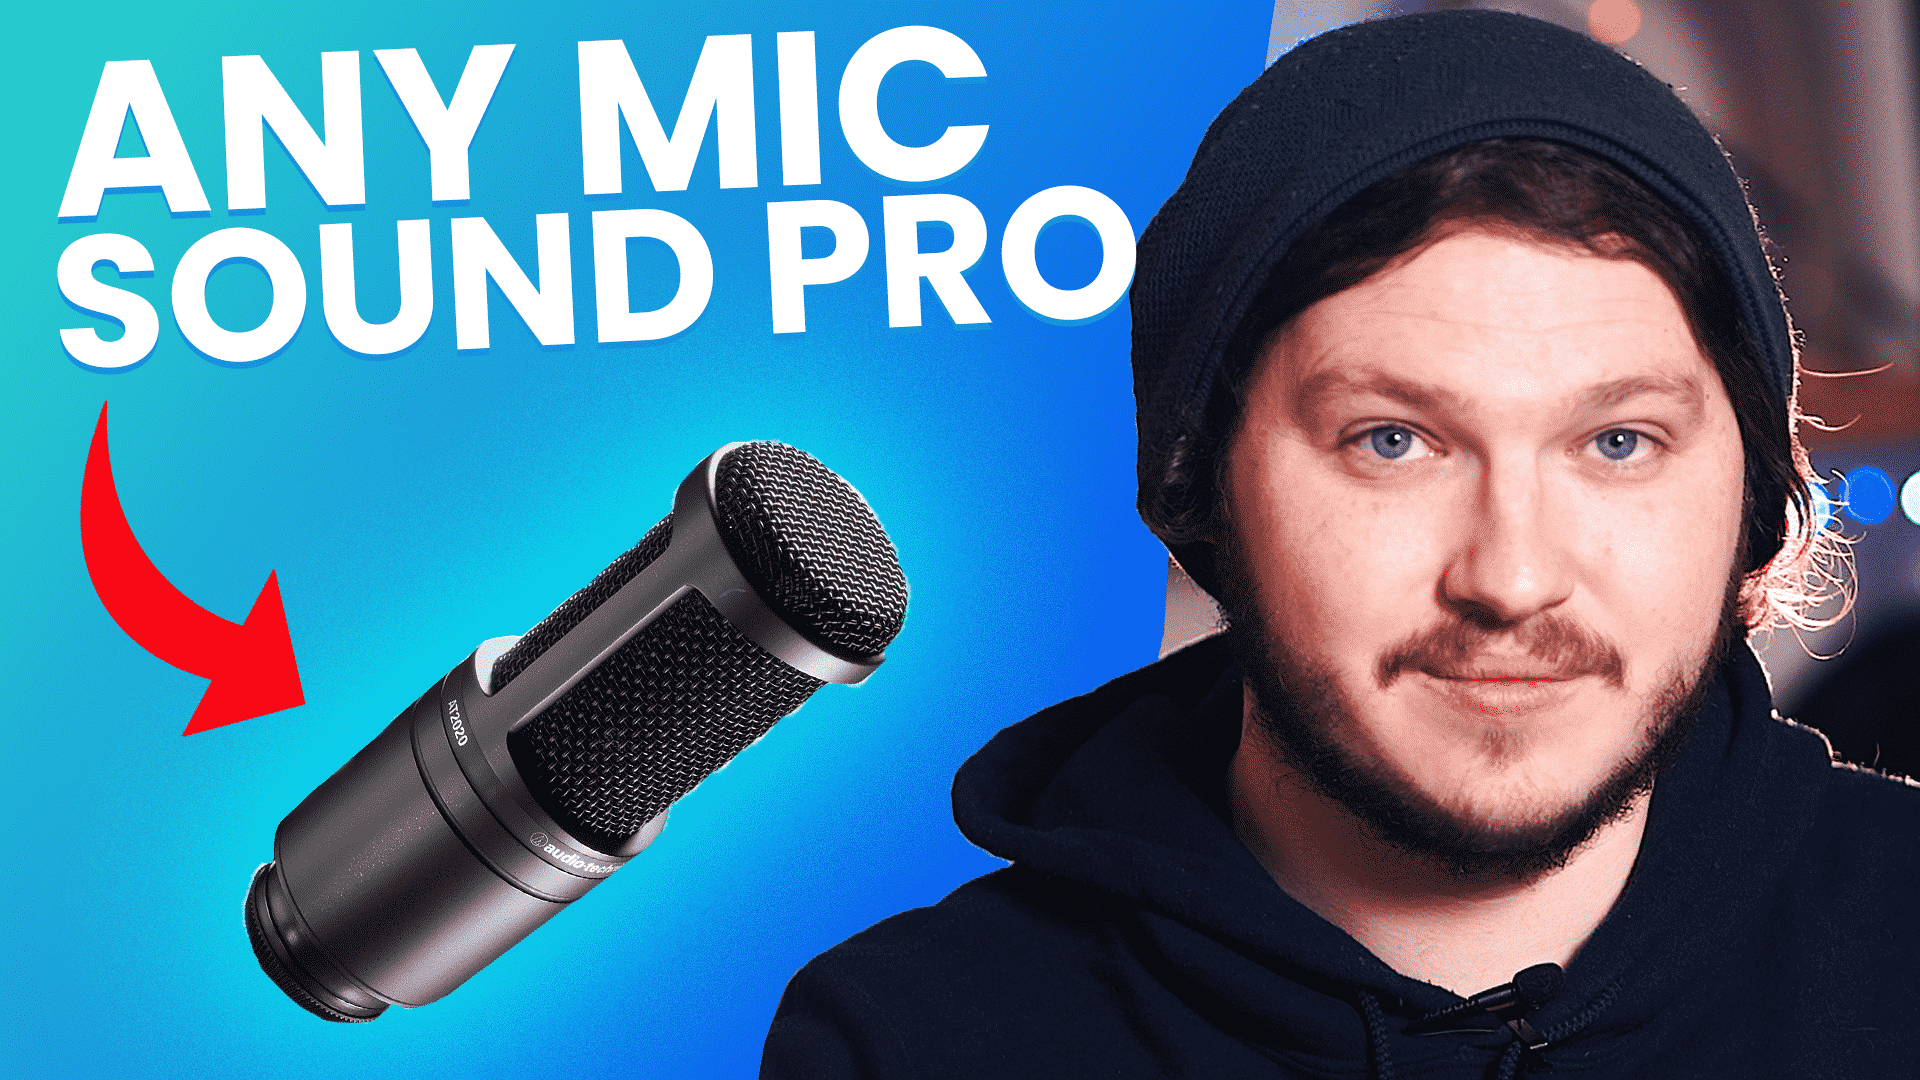
You can’t see or hear when your audio is bad while you are streaming, so it is a good idea to make sure it is set up correctly in advance. The good news is, that just a little understanding of how your mic works can make all the difference in how you sound to your viewers.
Invest in a Good Mic
While the tips in this article will be good for any type of mic, it is a good idea to invest a small amount into a decent USB mic if you intend to take your streaming career seriously. Your sound quality is extremely important to your channel and using a webcam mic or a headset mic is not designed for content creation. They are designed for quick calls between co-workers or friends and can’t offer the same quality as even a basic USB mic.
In the film industry, we have the saying, “60% of your film is audio.” When it comes to Twitch, this can go up to 100% as people will listen to you as they walk around the house or play other games.
While a gaming headset with a built-in mic can be an option, you will still produce better voice quality with a separate and dedicated mic. Now, here are the things you should consider when looking for a good-quality microphone for your Twitch stream.
High Value Microphones
With that, here are three best USB microphones that are affordable and will improve your sound quality:
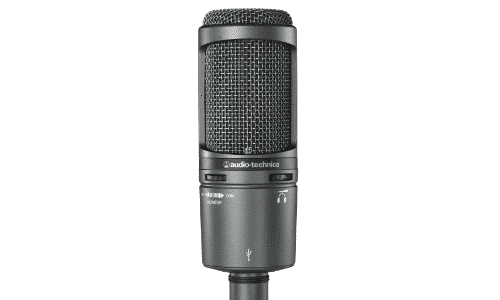
Audio-Technica AT2020+
- Affordable
- Good audio quality
- Plug and play
- Rejects off-axis noise
- Fixed polar pattern
- Tripod is flimsy
The Audio-Techinica AT2020+ is a plug-and-play gaming microphone that’s offered at a budget-friendly price. This mic offers zero latency for headphone monitoring, giving you real-time audio feedback.
The Audio-Technica AT2020+ is a USB mic which is perfect for most beginners. With this mic, you can advance in your broadcasting career, without the complexities of an XLR mic. It is a highly reviewed microphone that is perfect for both podcasts and streams where voice quality is a little more important.
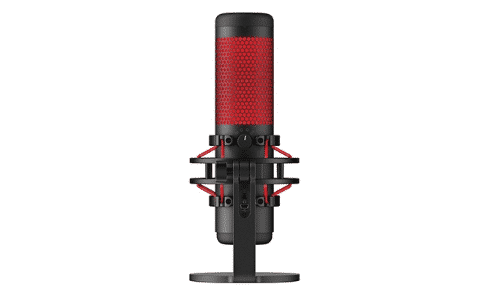
HyperX Quadcast
- Premium build
- Smooth sound quality
- Tap-to-mute
- RGB lighting
- Software only works with PC
Despite being known as one of the better gaming microphones (looking at you, variety streamers), the HyperX Quadcast is also powerful enough to pick up quality ASMR-type sounds to keep your viewers tingling. It has a wide frequency range and four polar patterns: bidirectional, cardioid, stereo, and omnidirectional). You can change these patterns easily with a dial.
Another great feature of the HyperX Quadcast is the tap-to-mute feature. When you are streaming, you can’t always control external noises (such as sirens), which can disrupt your viewer’s experience. With this mic, you can quickly tap it to mute yourself until the unwanted noise has passed.
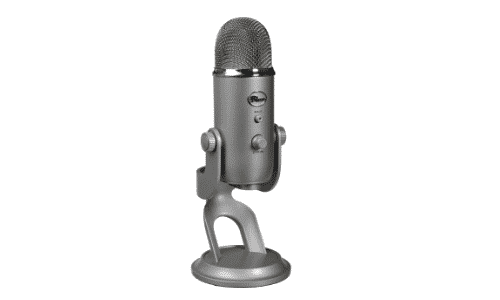
Blue Yeti
- Beautiful and durable design
- Plug and play mic
- Recording studio sound quality
- Accessories sold separately
- Does not have a power switch
- Can be too sensitive that it picks up background noise
Blue microphones have been making their mark for many years. The Blue Yeti is the most popular USB microphone on the market. It’s a reasonably priced streaming mic that’s perfect for content creators.
What’s more, the Blue VO!CE software provides several vocal effects for streamers to play with. Plus, the Blue Yeti has 4 polar patterns you can choose from. This quality mic offers the following modes: Cardioid, Stereo, Omnidirectional, and Bidirectional.
This mic also gives you maximum control over a number of mic settings, such as mic gain, mic sensitivity, and even a dedicated mute button. In addition, you get headphone monitoring without delays. It’s truly a dynamic microphone that’ll help you improve your streaming sessions.
How to Improve Your Audio on OBS or Streamlabs
To improve your audio, you will need to first listen back so that you can diagnose the issues. Here’s what you should do:
-
Step 1
You will need to open OBS or Streamlabs to turn on the monitor feature for your microphone and start speaking.
-
Step 2
Open advanced audio settings from your mixer. You can use preset audio filters on your OBS or choose to mix it yourself.
-
Step 3
Change your microphone monitoring to “monitor only” or “monitor and output” if you are recording your audio through the process.
-
Step 4
At this point, you should be able to hear yourself in your own headphones. Make sure that you are speaking at the mic properly, as it can sometimes be difficult to know where to speak in a condenser USB mic, so it is important to find where you sound the best or loudest.
-
Step 5
Level your mic on your desktop before leveling it on your broadcasting software. Go onto your PC settings, then the sound tab. Select your microphone, then go to device properties. Start to level the volume and listen to yourself as you make adjustments.
-
Step 6
After you have leveled your desktop, open your streaming software and level your mic volume there. Try to aim for the “yellow” bar as the green can be too quiet and the red is too loud.
How to Use Filters to Improve Your Twitch Audio
There are three filters that can really improve the audio of your stream. These are the following:
To add these filters, click on your microphone settings on your broadcasting software and pick “filters” from the options. Turn on each filter you need and adjust the settings until your audio sounds better.
Additional Equipment: Audio Mixer
An audio mixer helps you to combine audio signals. This device is able to control the volume of one audio source to another. For example, a mixer can adjust the volume of a mic and an instrument, even if these are from two different devices. Likewise, you can also play with the audio equalizer with an audio mixer. You can adjust the bass, mid and treble.
How to Mix Your Stream Audio for Professional Results
While mixing your audio can be tricky and confusing at first, it is a very important aspect of streaming that every broadcaster needs to learn. While you won’t be able to use the monitoring process you used earlier, you can record yourself playing the game, listening to your Twitch royalty-free music, and speaking into your mic to play it back later.
While you are recording, play with your mixer settings so that you have an idea of what sounds best when you are done with the experiment. You will typically want to have your game audio quieter than your mic and your background music quieter than your game.
Once you find a good mix, keep track of your settings so that you can make minute changes in the future.
Conclusion
Audio is one of the most important features of any stream on Twitch. I hope the above tips helped you toward creating a higher quality show next time you go live.

Eljayem
Eljayem_, is a Twitch Partner with a background in video production. He is passionate about combining his love for video with community building. He’s been playing video games since he was old enough to steal his Brothers GameBoy Colour, copy of Pokemon Blue, and accidentally waste his Master Ball on a Dratini.