
Having an animated overlay on your live streams can really help bring your channel to life. You don’t necessarily have to have anything too impressive, even a subtle animation like your cam border changing color can make all the difference. In this article, we’re going to go through how to do exactly that!
What You Need to Make an Animated Twitch Overlay
In order to make an animated Twitch overlay, there are a few things you will need. First, get yourself a copy of some animation software – for this, I would recommend either Adobe After Effects (paid) or Davinci Resolve (free). Next, you will need software to actually design your overlay itself (Adobe Photoshop for example).
How to Make a Twitch Overlay
Making an animated overlay can be tricky to begin with. To help you on your way, here’s an example of how to make a simple, yet cool, color-changing cam border!
-
Step 1
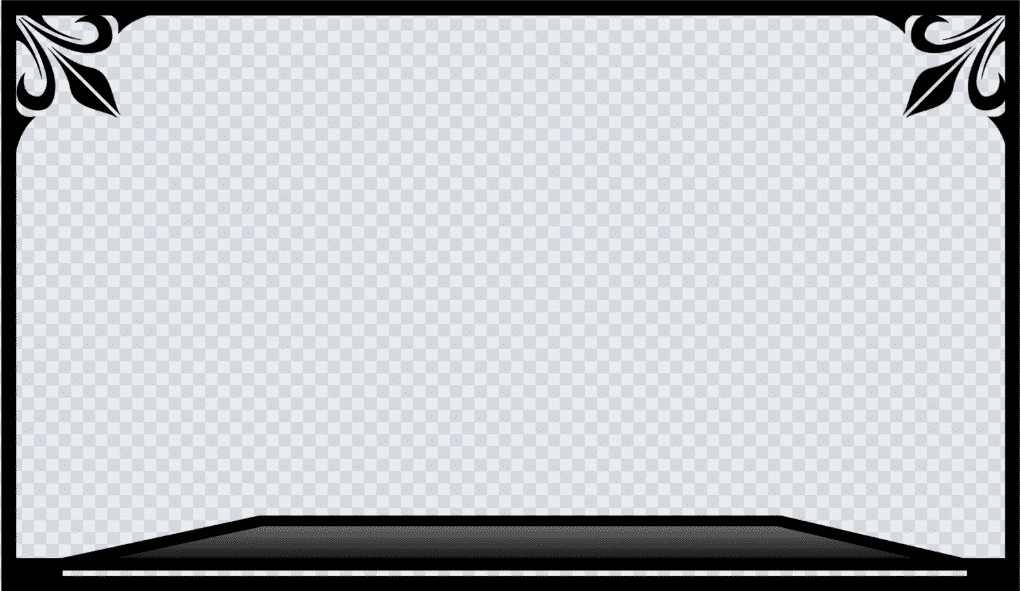
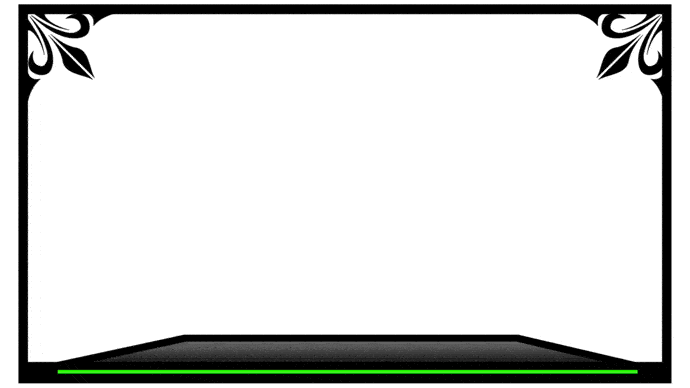
Design your cam border using the design software you just downloaded. For this example, I’ve gone for a pretty simple black border with a space for the color-changing animation at the bottom.
-
Step 2
Save your new cam border as a transparent PNG file!
Now it’s time to animate! In this example, I am using After Effects, though the steps will be fairly similar in resolve.
-
Step 3
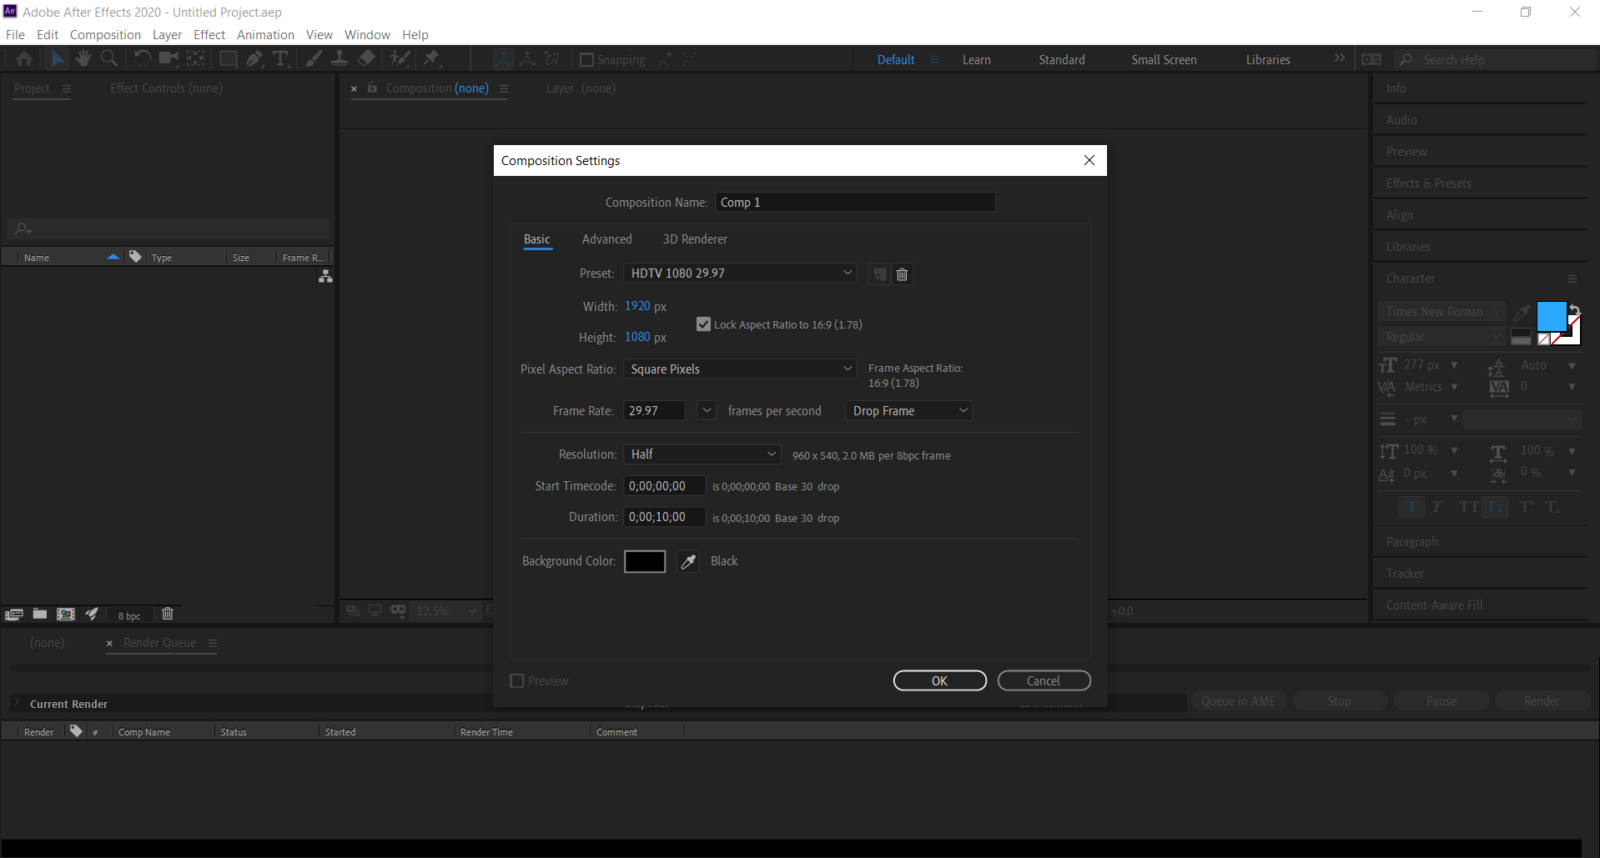
Create a new composition with the canvas of 1920 wide x 1080 high. Change the duration to about 10 seconds then press continue.
-
Step 4
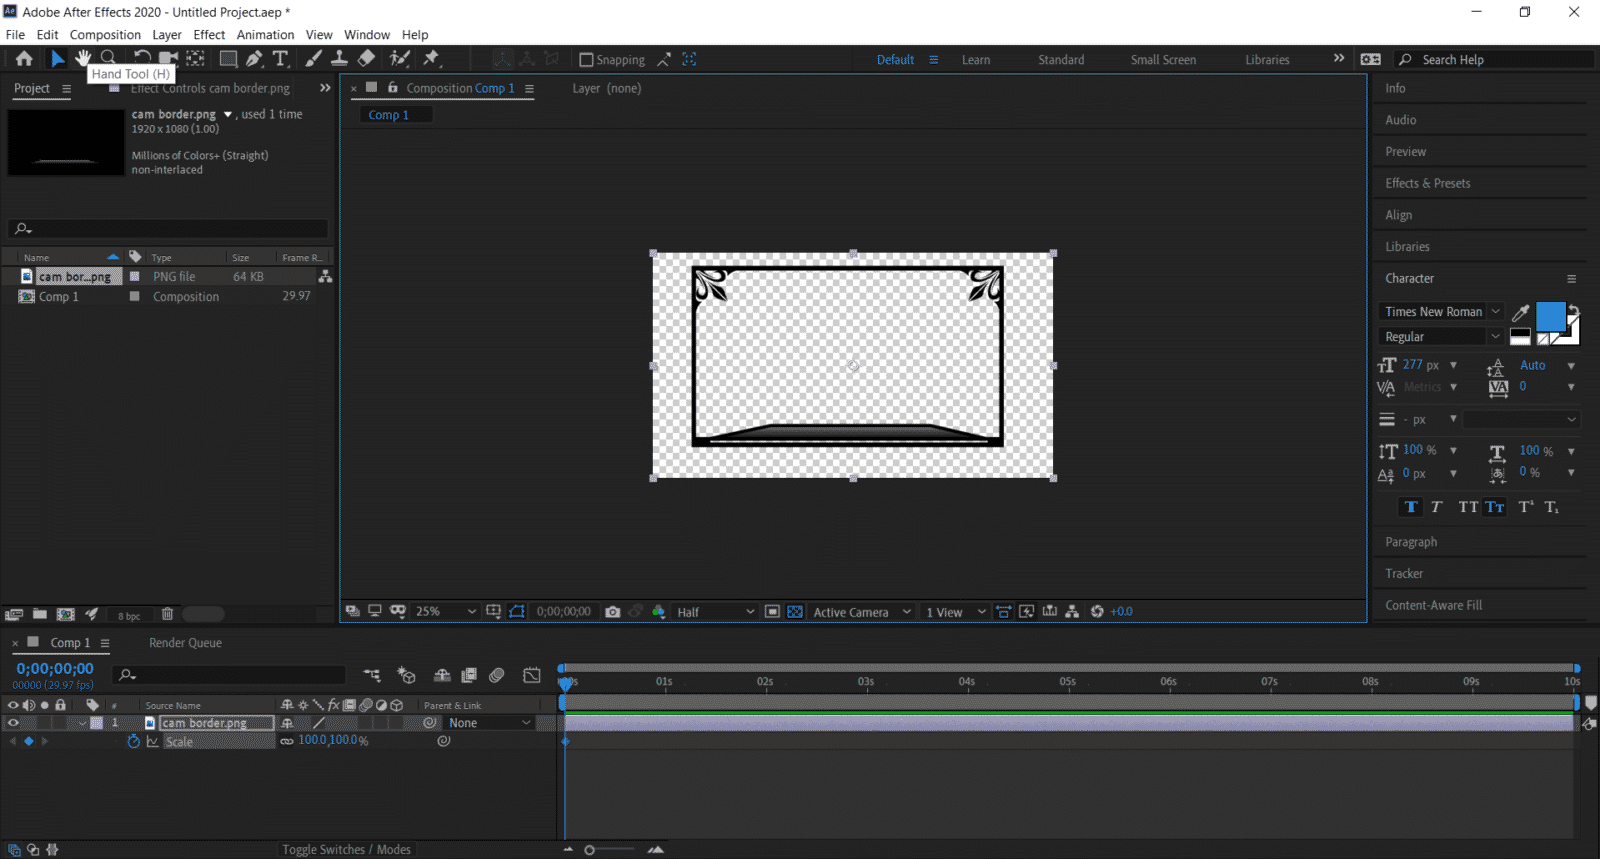
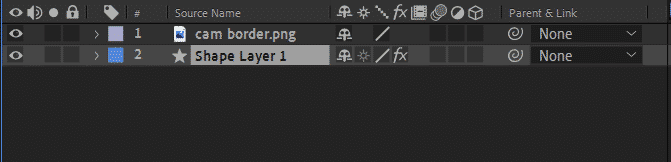
Drag and drop the transparent PNG file of your cam border you just made into the workspace at the bottom.
-
Step 5
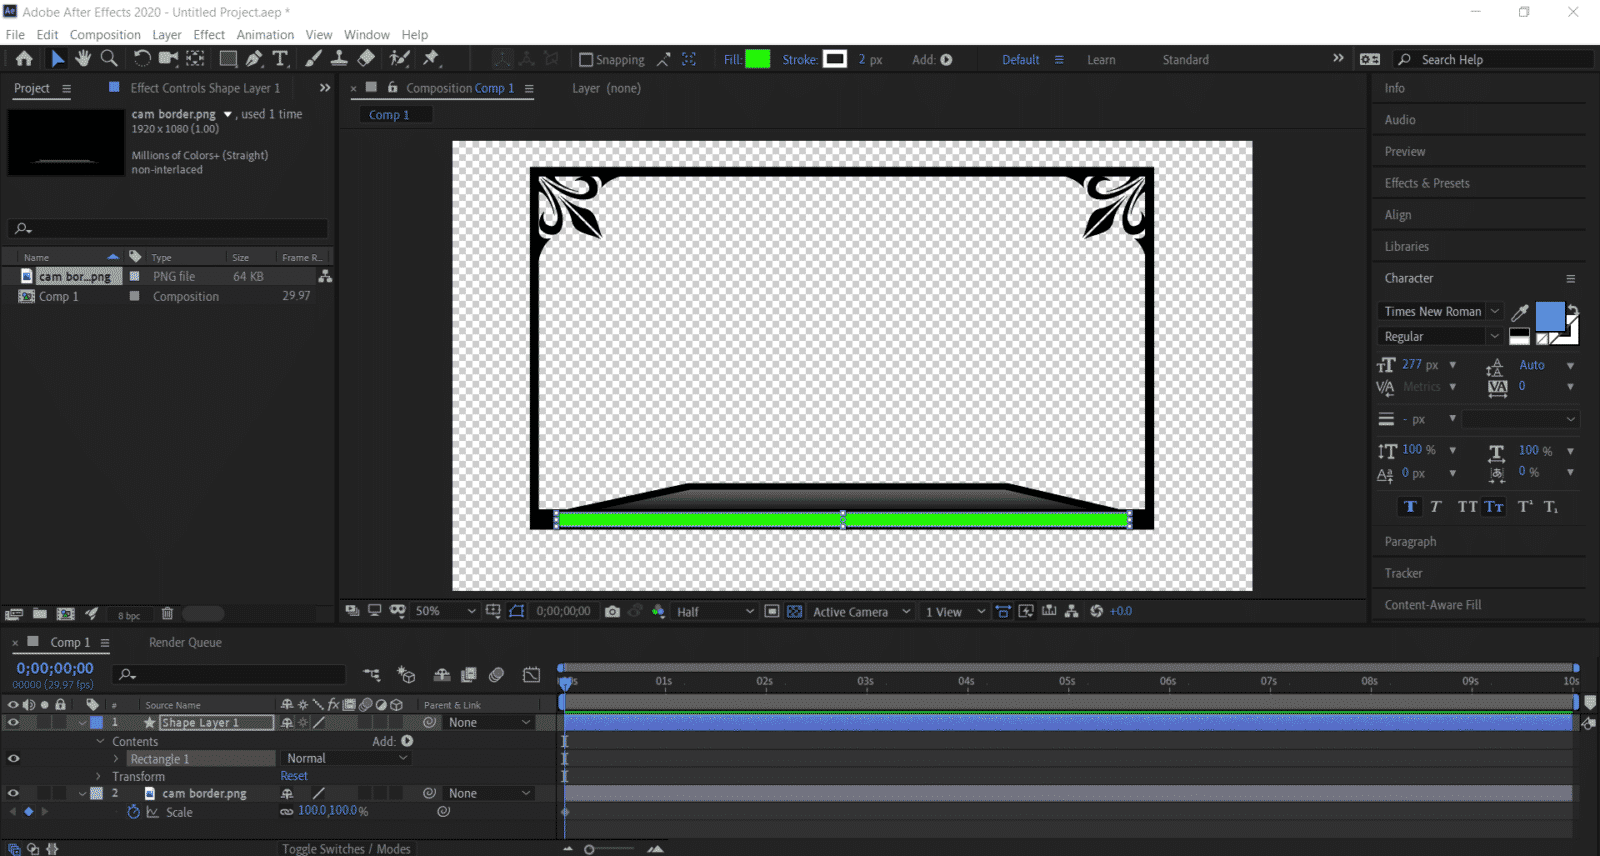
Add a shape layer to your composition about the size of the space you left for the color-changing elements and change the fill color to whichever you choose.
-
Step 6
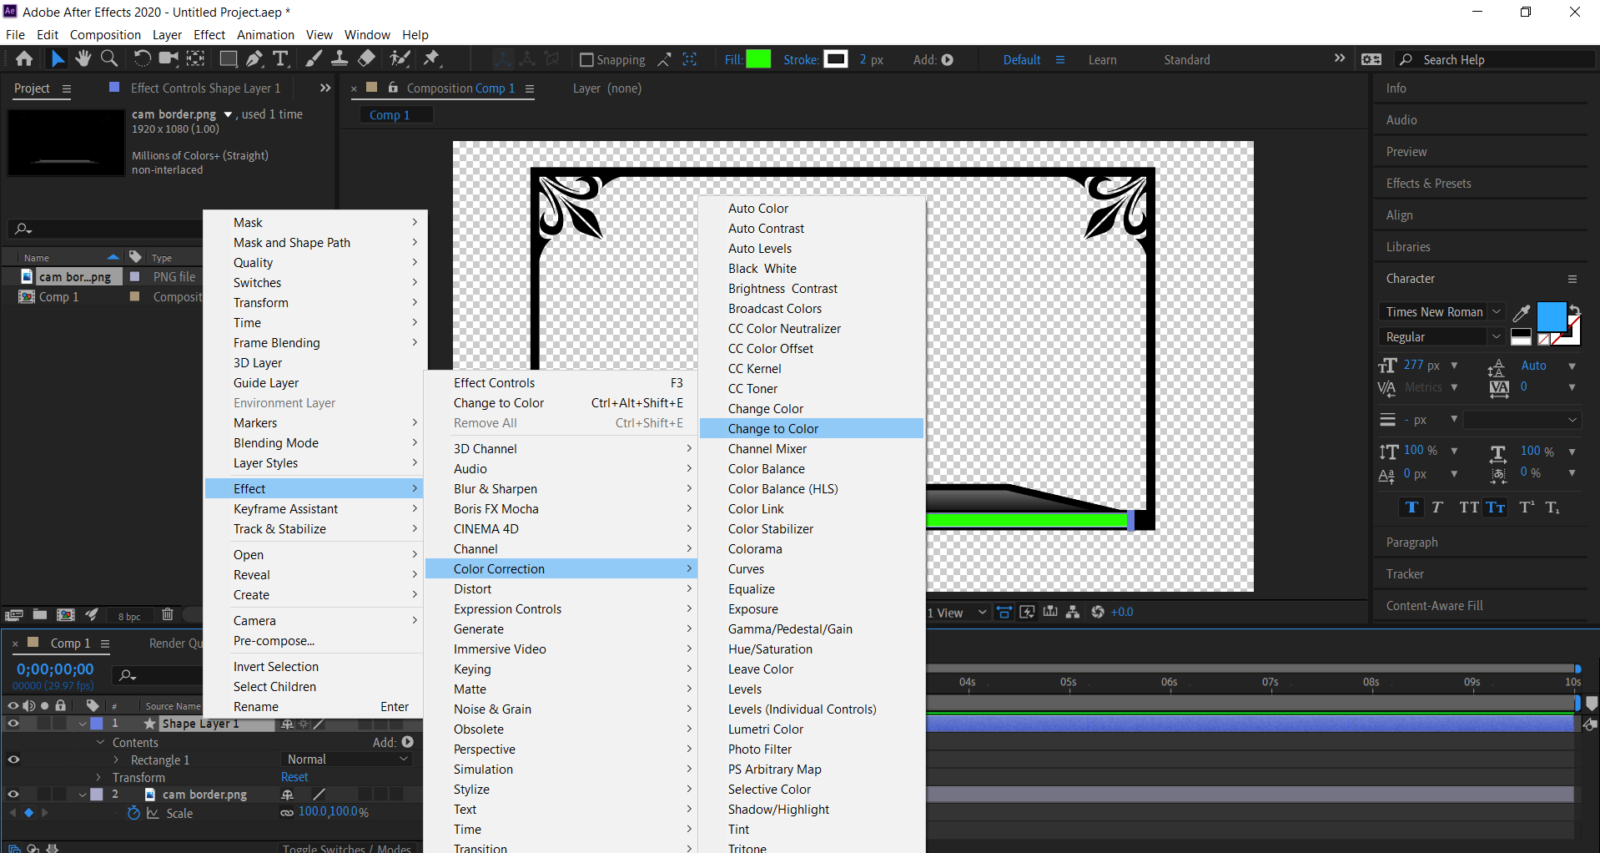
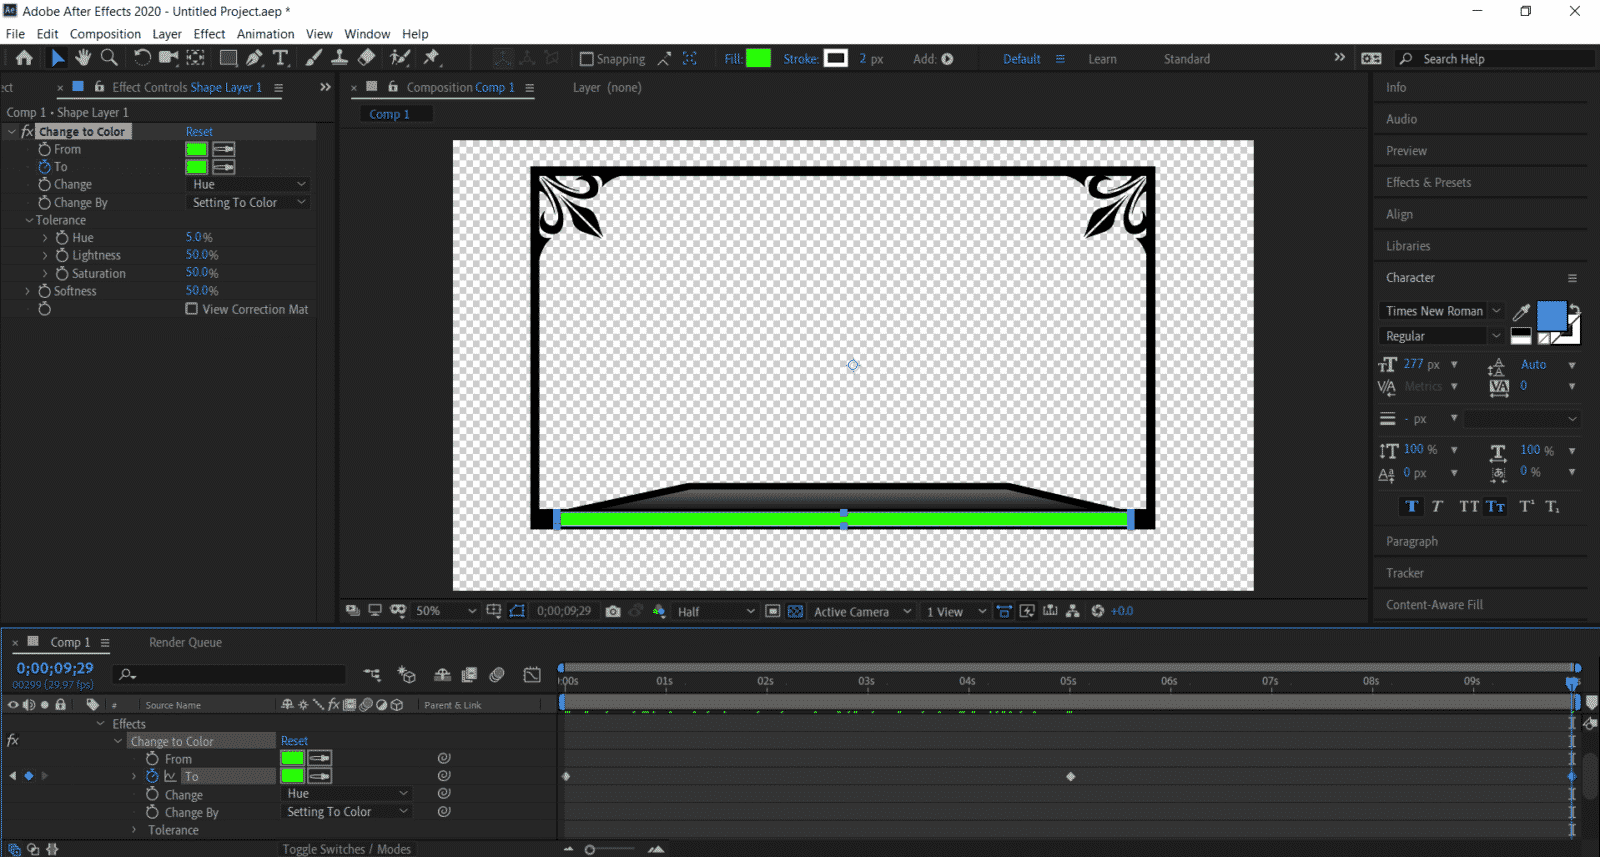
Right-click the shape layer click effects > color correction > color to color effect.
-
Step 7
Click the drop-down arrow on the effects section of your shape and set the from color to the color you chose your shape layer to be.
-
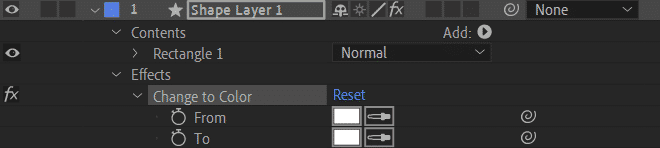
Step 8
Add a keyframe for the to color at 0:00 by moving your current time indicator to the start of your composition and then click the stopwatch icon next to the required section. now set that color the same as your starting color.
-
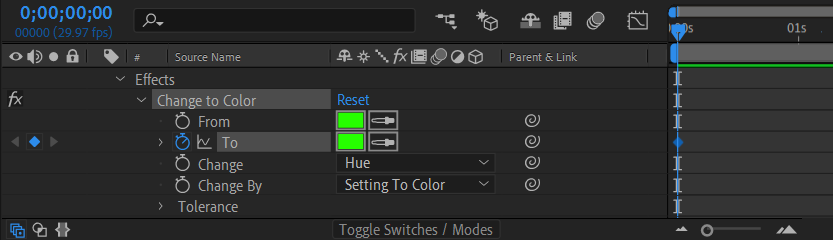
Step 9
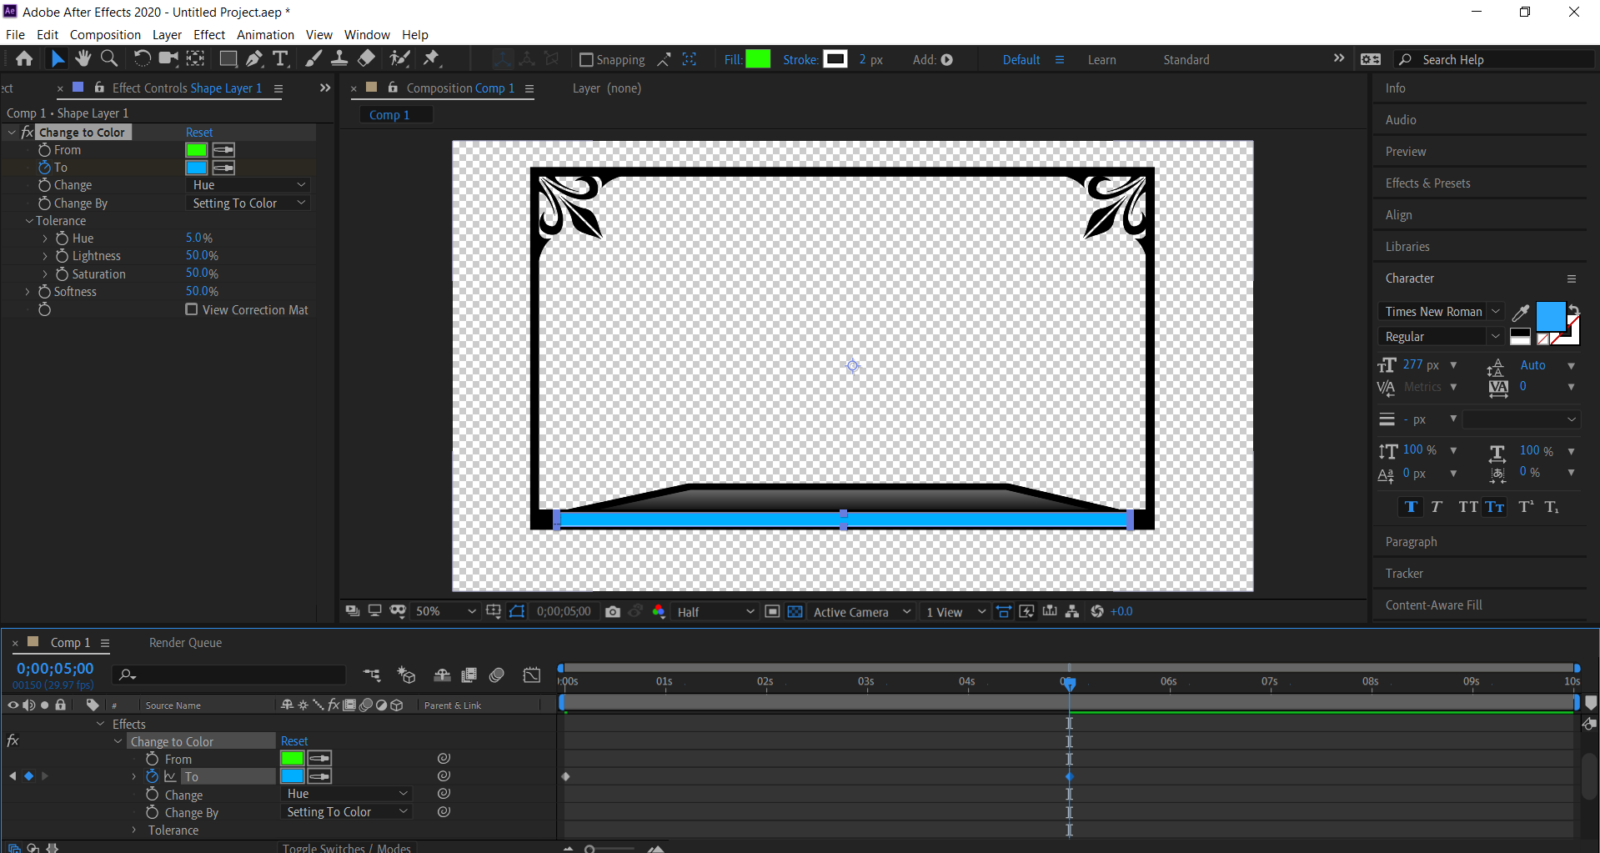
Move your current-time indicator to 5 seconds. Now change the to color to be the color you wish to change it to!
-
Step 10
Move your current-time indicator to 10 seconds (or the end of your composition) and select your first keyframe by clicking on it. Now press ctrl + c to copy the first keyframe then ctrl + v to paste it at the end of your composition.
-
Step 11
Drag the shape layer to the bottom of your composition so the border is over the top.
-
Step 12
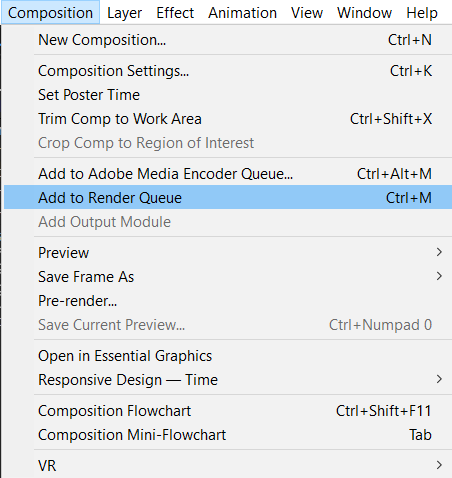
If you are happy with how everything looks, then it’s time to export. Click composition at the top of after effects then click add to render queue.
-
Step 13
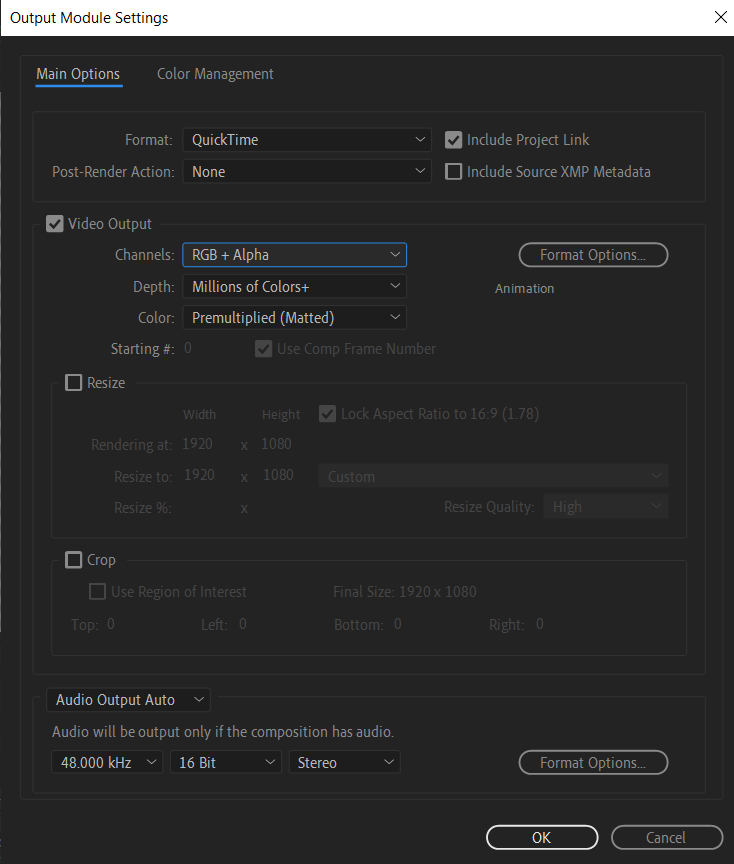
In the render queue, click the part where it says lossless. Select Quicktime as the format and then RGB + Alpha as channels then press ok.
-
Step 14
Click the name of your composition next to output to and save it to a memorable place on your computer.
-
Step 15
Click render, and you’re done!
Benefits of an Animated Twitch Overlay
Animated borders are by no means a necessity to have on your Twitch channel. However, they do add a certain amount of life to your live stream which cannot be done with a static overlay. Having an animated border, even something as simple as this, will go noticed and makes things a little more visually pleasing!
Conclusion
Animated overlays don’t have to be anything too complicated, whatever it may look like, they are sure to bring life to the design of your channel. Paying a professional can be quite expensive (though you will get what you pay for), there are many affordable or free animation programs out there for you to experiment with, all it takes is a little learning!

Arry
Arry, also known as ArryBo, is a full time Partnered Twitch streamer from the southeast of England! Video gaming and music are two of the passions he shares on his stream.