Streamlabs Cloudbot is one of the most popular chat bots available, so why not take it to the next level and give it a name that improves your brand and gives your viewers a smile?
If you haven’t picked a bot yet, check out our guide to all the Twitch Bots where we review the most popular bots in detail, describe the advantages of having a bot, and go through frequently asked questions about bots. But if you’re here, you’re ready to make the most of your Streamlabs Cloudbot by giving it a name.
Requirements to Change Streamlabs Bot Name
Before we start, it’s important to know that in order to change your Streamlabs bot name, you’ll need to sign up for Streamlabs Prime. If you’re on the fence about whether or not Streamlabs Prime is a worthwhile investment for your stream, head on over to our Streamlabs Prime Complete Guide.
How to Change Your Streamlabs Bot Name
To change your Streamlabs Bot name, you will need to complete the following:
-
Step 1
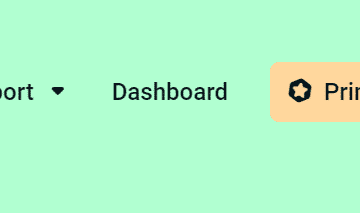
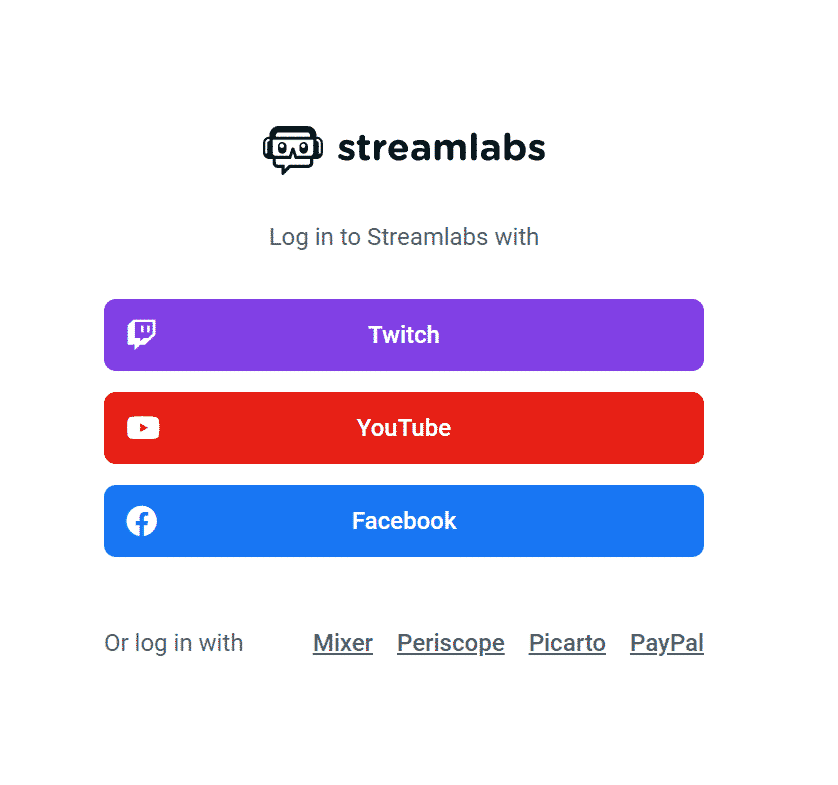
Go to streamlabs.com and click Dashboard if you’re already Logged In or Login if you’re not. If you’re already logged in, you can skip step 2.
-
Step 2
Login with your primary stream network.
-
Step 3
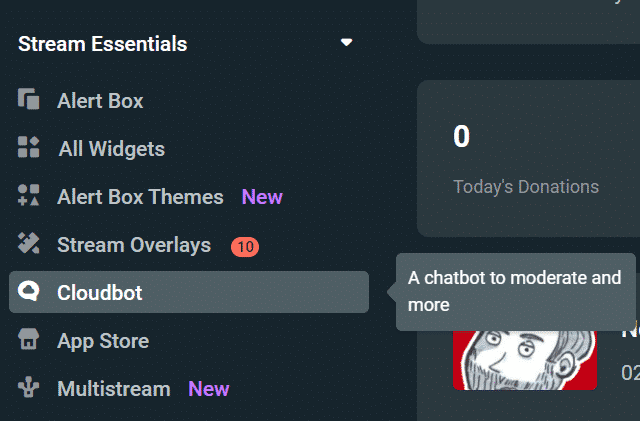
In the left sidebar menu, click Cloudbot under Stream Essentials.
-
Step 4
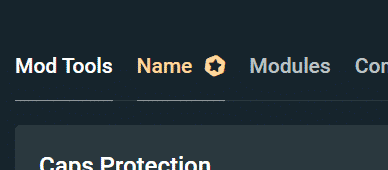
Go to the Name tab. As a reminder, you’ll need Streamlabs Prime in order to use this feature.
-
Step 5
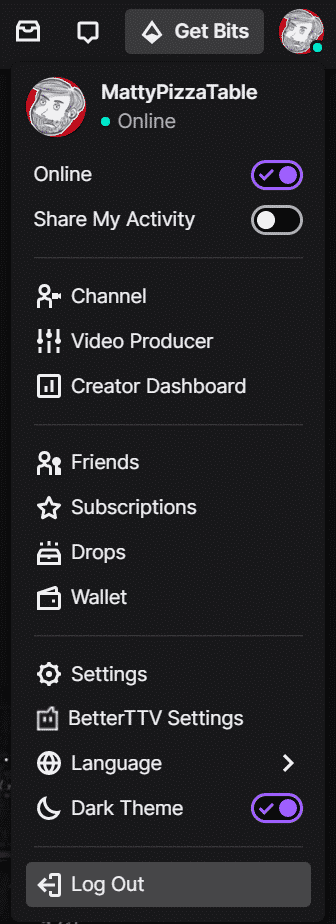
This is the tricky part. If you’re using Twitch, which we are in this example, you’ll actually need to head over to Twitch in a new tab and log out of your account.
-
Step 6
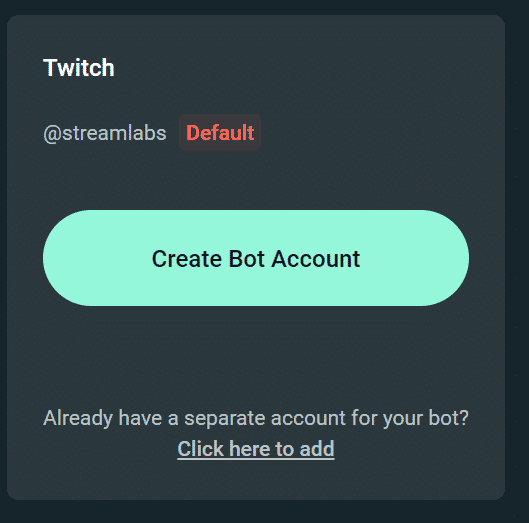
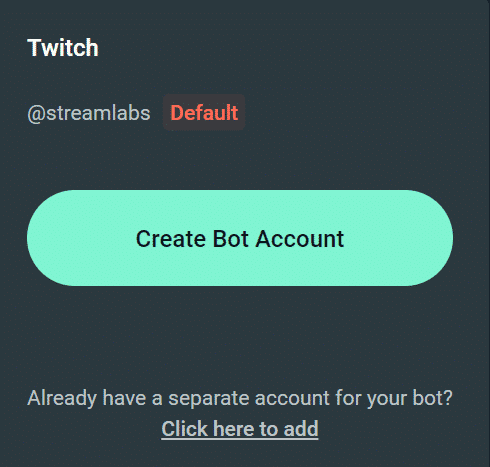
Click the Create Bot Account button. If you already have an account you’ve created for your bot, you can click the Click here to add link and follow on-screen instructions to connect it to your stream.
-
Step 7
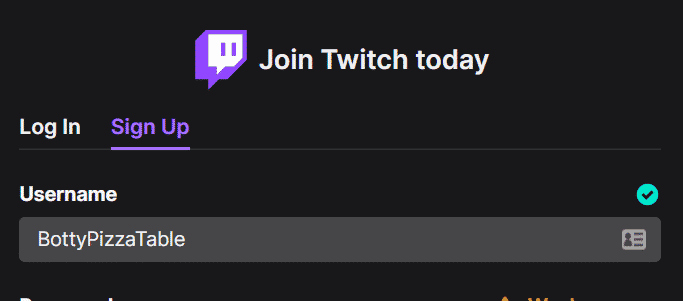
Fill out the signup form, choosing the custom username you’d like for your bot. Need help picking a name? Get some inspiration in the What to Name Your Streamlabs Bot section. If you happen to use Gmail for your email client, you can add +1 as a suffix to your username to simplify future.
So if your email is janedoestreams@gmail.com, your bot’s email can be janedoestreams+1@gmail.com. All emails to this account will show up in the main janedoestreams@gmail.com inbox, and that’s good because it simplifies Step 8!
-
Step 8
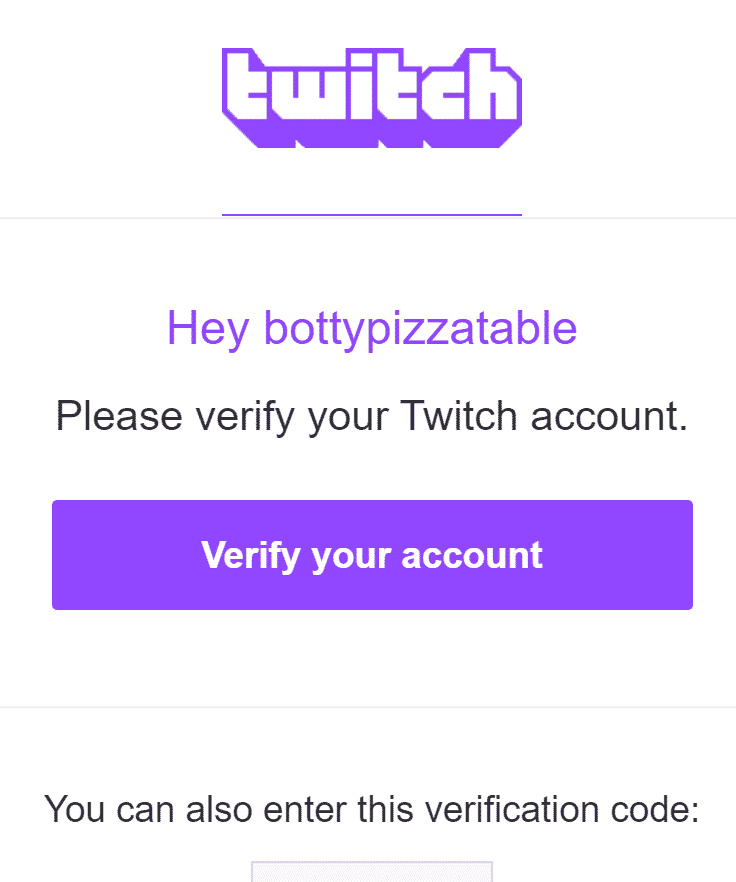
Head on over to your email client and log in. You should have a new email with a Verification Code in it. Copy that code to your clipboard. The above is an example of the one I received.
-
Step 9
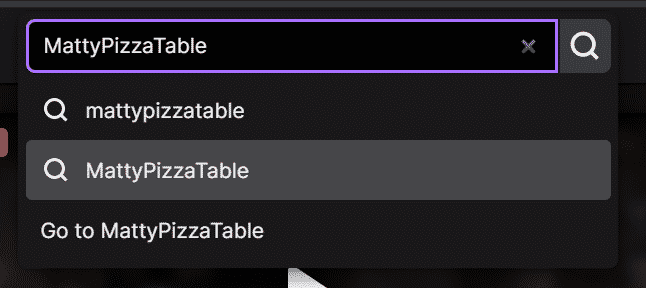
Head back to Twitch and enter the verification in the field provided. You’ll be prompted with the usual welcome banner, which you can X out of. As an added bonus step, do yourself a favor and search for your stream account on Twitch and click the Follow button. Every little bit helps!
-
Step 10
We’re in the home stretch! I found that Streamlabs required you to head back to the Name tab in Cloudbot settings and click the Click here to add link. This will prompt you to authorize your account.
-
Step 11
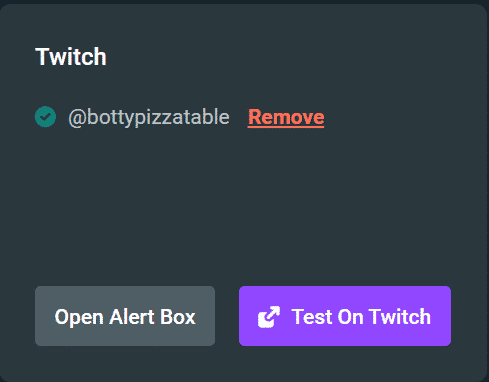
After authorizing, you’ll be brought back to Streamlabs’ Cloudbot section under the Name tab, and you should see something similar to the above.
-
Step 12
Open Streamlabs, and click the arrow on the right side of the interface to expand Chat. Type /mod Your Streamlabs Bot to make them a moderator.
What to Name Your Streamlabs Bot
If you’re not sure what to call your Streamlabs Bot, consider a couple common options:
- Insert the word “bot” into your existing username. For me, I swapped “Matty” for “Botty” to get “BottyPizzaTable.”
- If you’re already an experienced streamer, think of your overall brand and some of the running jokes you have with Chat. Is there a pun you can make based on that?
Conclusion
A custom bot name is one of those small touches you can add to your stream to show people that you care about it and put in the effort. There are so many details like this in the streaming industry, and collectively it makes your stream stand out from the rest.

Matt
Matt lives south of Boston with his wife, his one-eyed dog, and his clown car full of children. He variety streams as MattyPizzaTable on Twitch, sometimes from the public library, so keep it down, will ya?


